

How to Add Points in TravelAnimator
TravelAnimator has a feature to add points, allowing your travel animation videos to be more realistic and visually engaging by bending paths.
Imagine you’re mapping your weekend road trip from San Francisco to Los Angeles using TravelAnimator. You’ve added both cities as your start and end points, but the route looks like a straight diagonal line cutting across California. That’s where adding points makes the path feel real.
In this guide, we’ll explain everything you need to know, including understanding what they are, how to add points in TravelAnimator, and how to use them strategically for smoother, more engaging animations.
What Are the Points in the TravelAnimator?
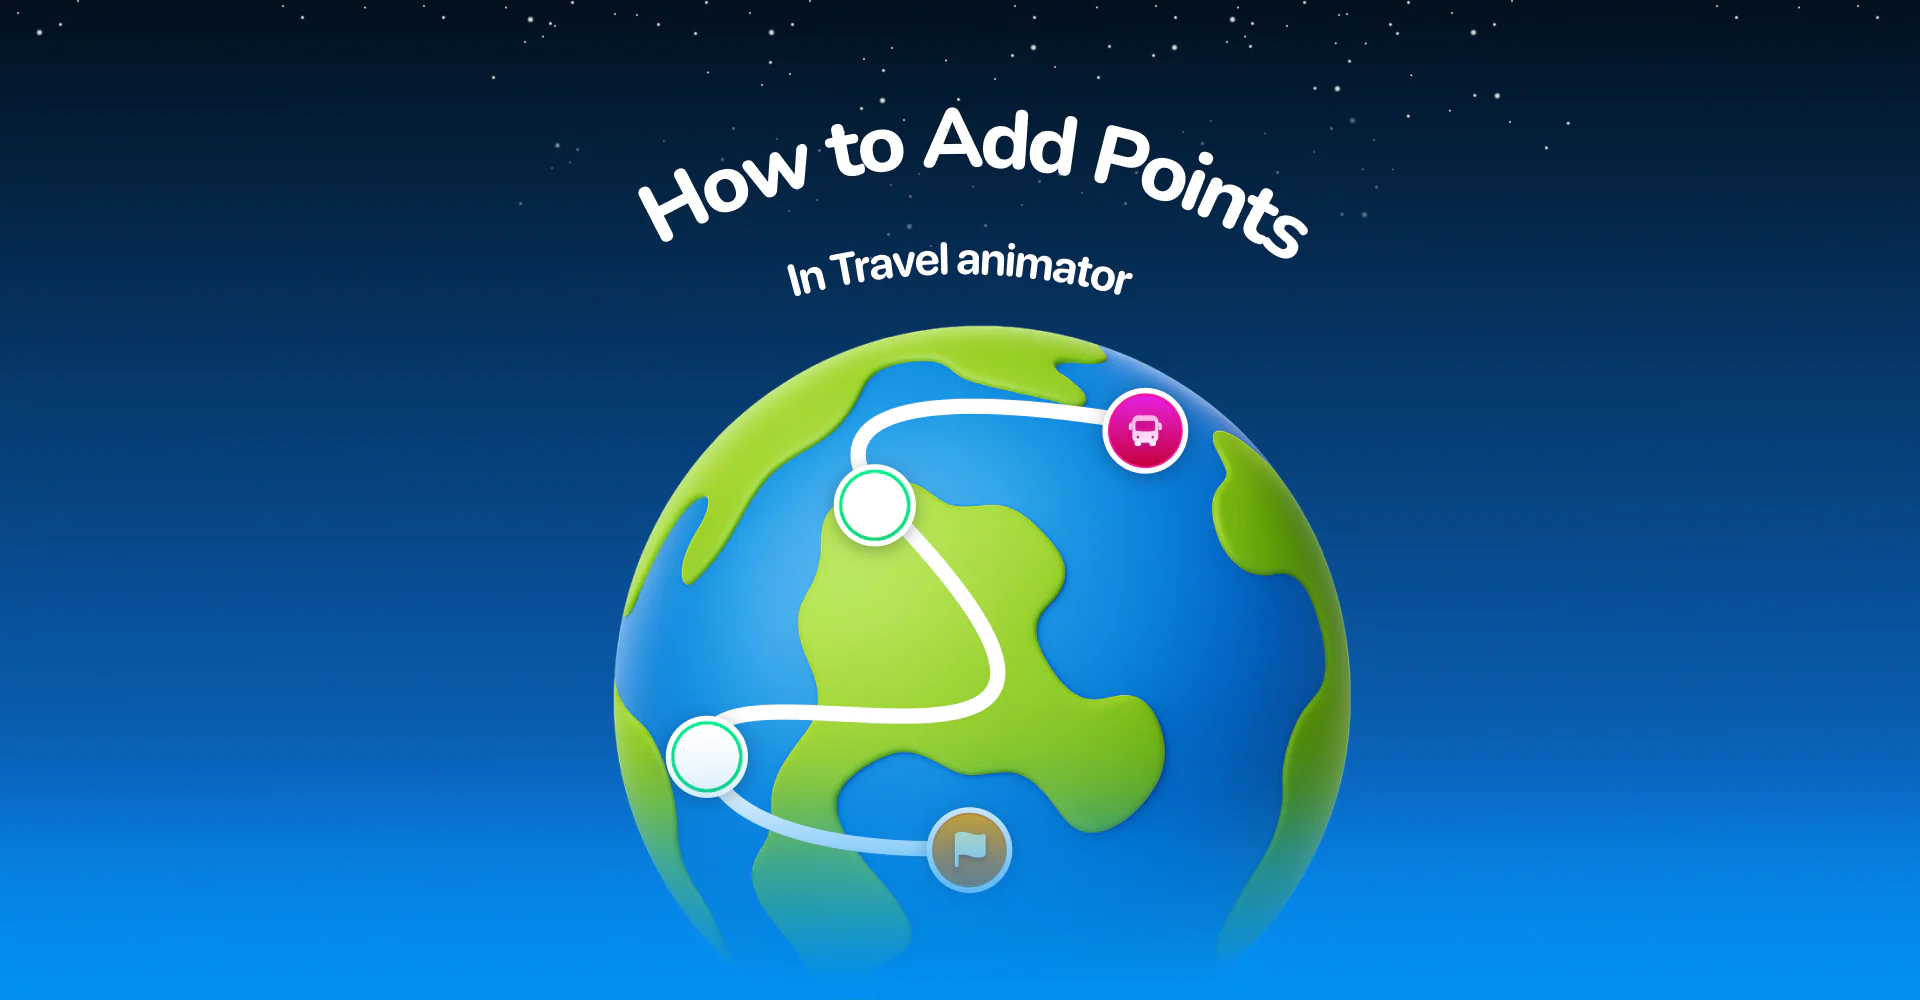
In TravelAnimator, points are the markers that define your route’s shape. It connects the map of your journey from start to finish. When you plot two points, the app automatically draws a straight line between them. By adding more points in between, you can bend or curve that line to match real roads, trails, or even creative patterns you want to form.
How to Add Points in TravelAnimator
- Open the TravelAnimator app and create a new animation project.
- Tap on the map to set your starting point. Then, tap again to place your ending point.
- A straight line will appear between the two points, representing your route.
- Simply tap and drag along the line to add points. Each tap adds a new point that can be adjusted or moved.
- Once you’ve added points, drag them around to adjust the shape of your route. You can bend the line to match real roads, trails, or create custom patterns.
- Long-press on any point to add a travel model or even an image to highlight a specific moment in your journey.
- Tap the preview button to see how your animation looks. If something feels wrong, simply drag or delete points to smooth the path.
Benefits of Adding Extra Points in TravelAnimator
Real roads and paths aren’t perfectly straight. Extra points help your animation mimic real-world travel, adding natural curves and turns.
You can design creative shapes or patterns like hearts, letters, or waves to make your animation more artistic.
The animation will get a better flow with more points that feel smoother and more organic.
Adding extra points makes it easier to tweak specific parts of your route without affecting the entire path.
Each point can represent a location, stop, or moment, helping you tell a more engaging story visually.
Some Use Cases to Add More Points
For Real Road Routes – If your route follows a mountain road, highway, or coastline, adding points helps recreate the exact path.
For Creative Patterns – Draw patterns like a heart-shaped route, or a wave with points, because it gives you the exact pattern.
When Using Rough Animations – If you’re creating a rough route without using GPX or Google Maps, adding points helps create better curves.
For Highlighting Destinations – You can drop points at key spots and later attach images or labels to highlight them in your animation.
For Adjusting Route Flow – When your animation looks too stiff or linear, extra points help make it visually dynamic.
Common Mistakes When Adding Points
Adding excessive points can make your route cluttered and challenging to manage.
Points with uneven spacing can cause uneven curves if they are too close or too far apart.
Placing points too close to each other might create loops or zigzags unintentionally.
For realistic journeys, ensure curves match how roads or paths actually flow on the map.
Always preview your animation; it helps spot areas where the path might look awkward in motion.
Tips for Smooth Route Creation
- Begin with fewer points, then gradually add more where needed.
- Use curves wisely because they make routes feel natural, but too many can look messy.
- Use map visuals as a reference for realistic path shaping.
- Preview often to see how your route flows and tweak points for better flow.
- Zoom in when placing or adjusting points for fine detail.
- For long-distance routes, use fewer and well-placed points to avoid overcrowding.
- Add labels and images to make your animation more informative and personal.
- Try drawing patterns or shapes with routes to add creativity and fun.
Minor Points Make a Big Difference
Adding points might seem like a small detail, another step in creating your animation. But in reality, points are what make your route attractive. They define the shape, flow, and character of your journey. Whether you’re creating a professional project, a travel vlog intro, or a creative animation, learning to use points effectively transforms your map from simple to stunning. With every tap and drag, you bring accuracy, creativity, and storytelling together. So the next time you open TravelAnimator, build your journey point by point, and let your story move beautifully across the map.
Download TravelAnimator Now from the Play Store or App Store.

Jaseel S is the CEO and founder of Lascade, the app studio behind Travel Animator. He leads a team of 40+ engineers and designers building consumer mobile apps.
Related Articles
How to Customize the Scene Style of Your Animation Video in TravelAnimator

How to Add Your Brand Logo to Travel Animator Videos

How to Add Your Avatar in TravelAnimator Videos

How Can I Access Routes Saved on One Device from Another Device in Travel Animator?

How to Add 3D Elements to Your TravelAnimator Videos


