

How to Change the Units in TravelAnimator
TravelAnimator allows you to easily change the distance measurement units used in your travel animations. Depending on your location, audience, or type of journey, you can switch between kilometers (km), miles (mi), or nautical miles (nm).
Imagine creating a travel animation that beautifully showcases your journey across multiple destinations. The routes, locations, and visuals look perfect. But then you notice that the distance measurement displayed in the animation doesn’t match the audience you’re sharing it with. For example, viewers in Europe expect kilometers, while viewers in the United States are more familiar with miles. If you’re showing flight or sea routes, nautical miles might be the most accurate option.
TravelAnimator gives you the flexibility to adjust these units instantly. In this guide, you’ll learn what distance units are, how to change them in TravelAnimator, and when to choose each option for your animations.
What Are Distance Units in TravelAnimator?
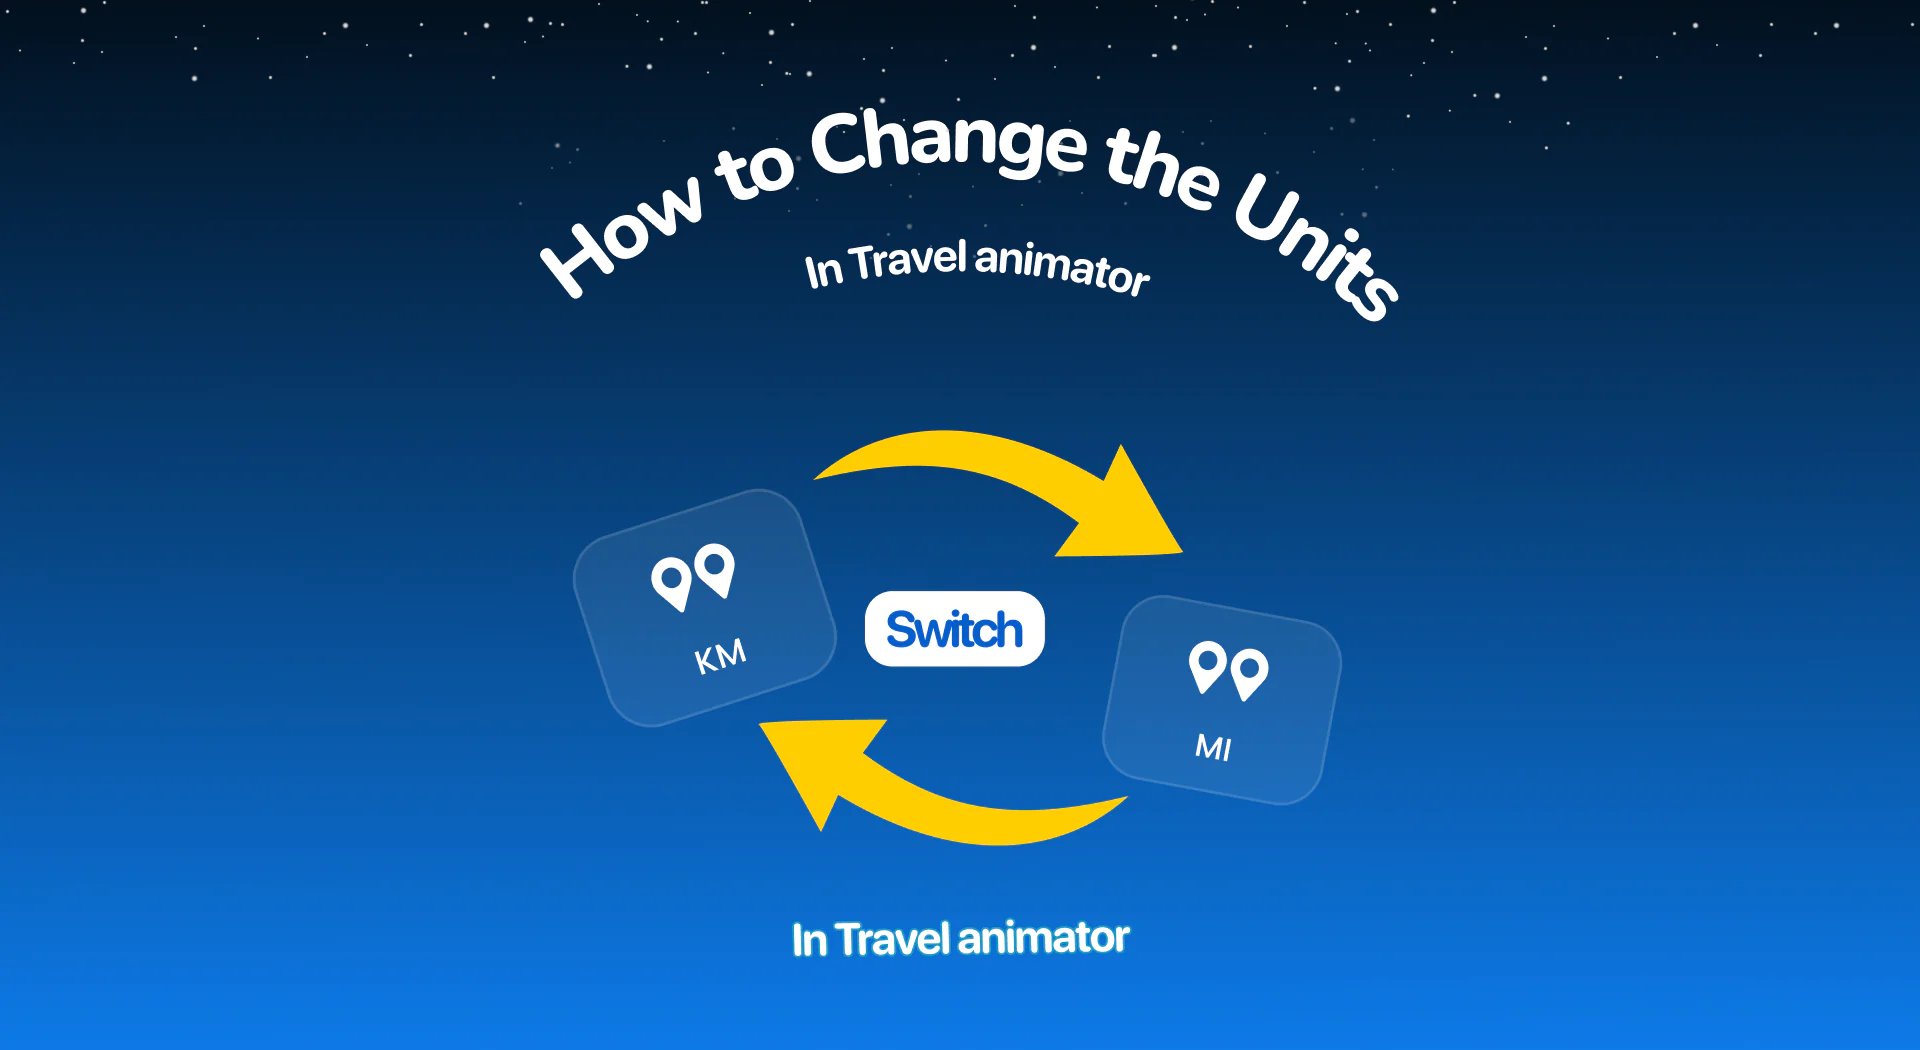
In TravelAnimator, distance units represent the measurement system used to display the length of a route in your animation. When you create a travel route between locations, the app can calculate and display the total distance using one of three units.
TravelAnimator currently supports the following distance formats:
Kilometers (km)
Kilometers are widely used throughout the world, including Europe, Asia, Africa, and many other regions. It is the standard unit used in most countries for measuring road distances and travel.
Miles (mi)
Miles are commonly used in countries such as the United States and the United Kingdom. Many travelers and audiences from these regions prefer distances shown in miles.
Nautical Miles (nm)
Nautical miles are primarily used in aviation and maritime navigation. If your animation represents flight routes, sea routes, or long-distance international travel, nautical miles provide a more accurate measurement.
How to Change Distance Units in TravelAnimator
- Open the TravelAnimator app on your device and take your route or project.
- Add your starting point, destination, and any stops along the route.
- Tap the Preview button to open the preview screen, where you can adjust animation settings.
- Locate the Unit option near the export settings in the preview panel.
- Tap the unit display to switch between Miles (mi), Kilometers (km), or Nautical Miles (nm).
- The distance displayed in your animation will instantly update based on the selected unit. You can switch between units anytime while editing your animation, allowing you to preview how the distance will appear in your final video.
- Once you are satisfied with all the adjustments, export the animation video in HD or 4K.
Benefits and Use Cases of Changing Distance Units
- Audience Localization – Different regions use different measurement systems. If your content targets a global audience, selecting the appropriate unit helps viewers easily understand the distances shown in your animation. For example, European viewers typically expect kilometers, while U.S. viewers are more comfortable with miles.
- Aviation and Maritime Travel – If your animation shows flight routes or sea travel, nautical miles are often the most accurate unit of measure. Pilots and maritime navigators commonly measure distances in nautical miles because they align with global navigation standards.
- Professional Content Creation – Travel vloggers, educators, and tourism professionals often need consistent measurements across videos, captions, and presentations. Using the correct unit helps maintain clarity and professionalism in travel storytelling.
- Accurate Route Representation – If you are recreating real-world routes using GPX files or imported map links, matching the unit to the source data ensures your animation reflects the journey accurately.
- Ease of Communication – When collaborating with clients, partners, or brands across countries, switching units ensures everyone understands the same measurements without conversion errors.
Tips for Choosing the Right Distance Unit
Choosing the correct unit can make your animation easier to understand and more relevant to your audience. Here are a few tips to help you decide.
- If your content targets viewers in Europe, Asia, or most parts of the world, kilometers are generally the most familiar option.
- If your audience is primarily in the United States or the United Kingdom, miles may be the better choice for displaying travel distances.
- For air travel, aviation content, or maritime journeys, nautical miles often provide the most appropriate measurement system.
- Maintaining the same unit across your video, captions, and narration also helps create a more consistent and professional presentation.
Before exporting your video, it’s always a good idea to double-check the selected unit on the preview screen to ensure the distance appears correctly.
When Should You Switch Units?
Switching distance units in TravelAnimator is useful whenever you want your travel story to align with your viewers’ expectations. For example, you might change units when creating content for different regions, preparing travel tutorials for international audiences, or presenting flight routes where nautical miles make more sense.
Even for personal travel animations, having the ability to toggle between kilometers, miles, and nautical miles allows you to present your journey in the most accurate and meaningful way.
Try switching units and see how a small toggle can make a big difference in your storytelling.

Jaseel S is the CEO and founder of Lascade, the app studio behind Travel Animator. He leads a team of 40+ engineers and designers building consumer mobile apps.
Related Articles
How to Customize the Scene Style of Your Animation Video in TravelAnimator

How to Add Your Brand Logo to Travel Animator Videos

How to Add Your Avatar in TravelAnimator Videos

How Can I Access Routes Saved on One Device from Another Device in Travel Animator?

How to Add 3D Elements to Your TravelAnimator Videos


