How to Create a Travel Animation for Instagram Stories & Reels
To create a travel animation for Instagram Stories or Reels, plot your route in Travel Animator, choose a vehicle and customize the labels. In Preview, select a vertical 9:16 format, check that the text is readable and export the video for upload to Instagram.
 Jaseel S6 min read
Travel Animator helps you create travel animation videos optimized for Instagram stories and reels to showcase your itineraries.
Whether you are a travel enthusiast, content creator, or business, regular photos often fail to capture the excitement of your journey. That’s where TravelAnimator helps to create stunning travel animation videos that show your route, destinations, photos, and moments in a visually engaging way.
This guide explains the full process, from adding the route to exporting it in the right format for Instagram, including how to customize it with the features available in TravelAnimator.
Why Use TravelAnimator for Instagram Stories & Reels?
TravelAnimator makes it easy to create travel route videos that are ready to share on Instagram.
- Made for vertical videos – Export your animation in a 9:16 format that fits Instagram Stories and Reels perfectly.
- Easy for beginners – You don’t need any editing experience to create professional-looking travel animations.
- Free HD and Pro 4K exports – The Free plan lets you export videos in HD with a watermark. Upgrade to Pro for watermark-free 4K exports.
- Accurate travel routes – Create animations using Google Maps links, GPX files, or manually added points to match your real journey.
- Customize your video – Change the route colour, line style, and map view, and choose from a wide range of vehicle models. Pro users get access to 300+ premium models.
- Add photos and labels – Personalize your animation by adding destination names, flags, and photos at different stops.
- Create videos in minutes – Most travel animations are ready in just 3–5 minutes.
This is also where TravelAnimator differs from general-purpose editors like CapCut or Canva. ravelAnimator creates your route animation automatically from your travel data. You don’t have to manually draw routes or record maps, making the process much faster and easier.
Steps to Create Travel Videos for Instagram
1. Download and Sign up
- Download TravelAnimator from the App Store or Play Store.
- Sign up with your email or continue with Google.
- New users can claim one Pro model for free right after signing up. It is a good way to try a premium model before deciding on a subscription.
2. Add Your Destinations
- Tap Add Locations and set your start point, end point, and any stops in between. There’s no limit to the number of locations you can add.
- Drag to reorder stops if needed.
- Long-press on any route to enable real routes and get the real routes.
- You can also add routes through GPX or Google map imports.
- Assign the model you actually travelled in at each, such as car, bike, bus (including regional operators like KSRTC or TNSTC), flight, train, or a seasonal/specialty model.
3. Customize Your Video
- Long-press any stop to change the vehicle model for each part of your travel.
- Tap the Add Media to add photos, text or elements to each stop. You can combine text and images together.
- Adjust line colour, thickness, and style to match your animation from the media.
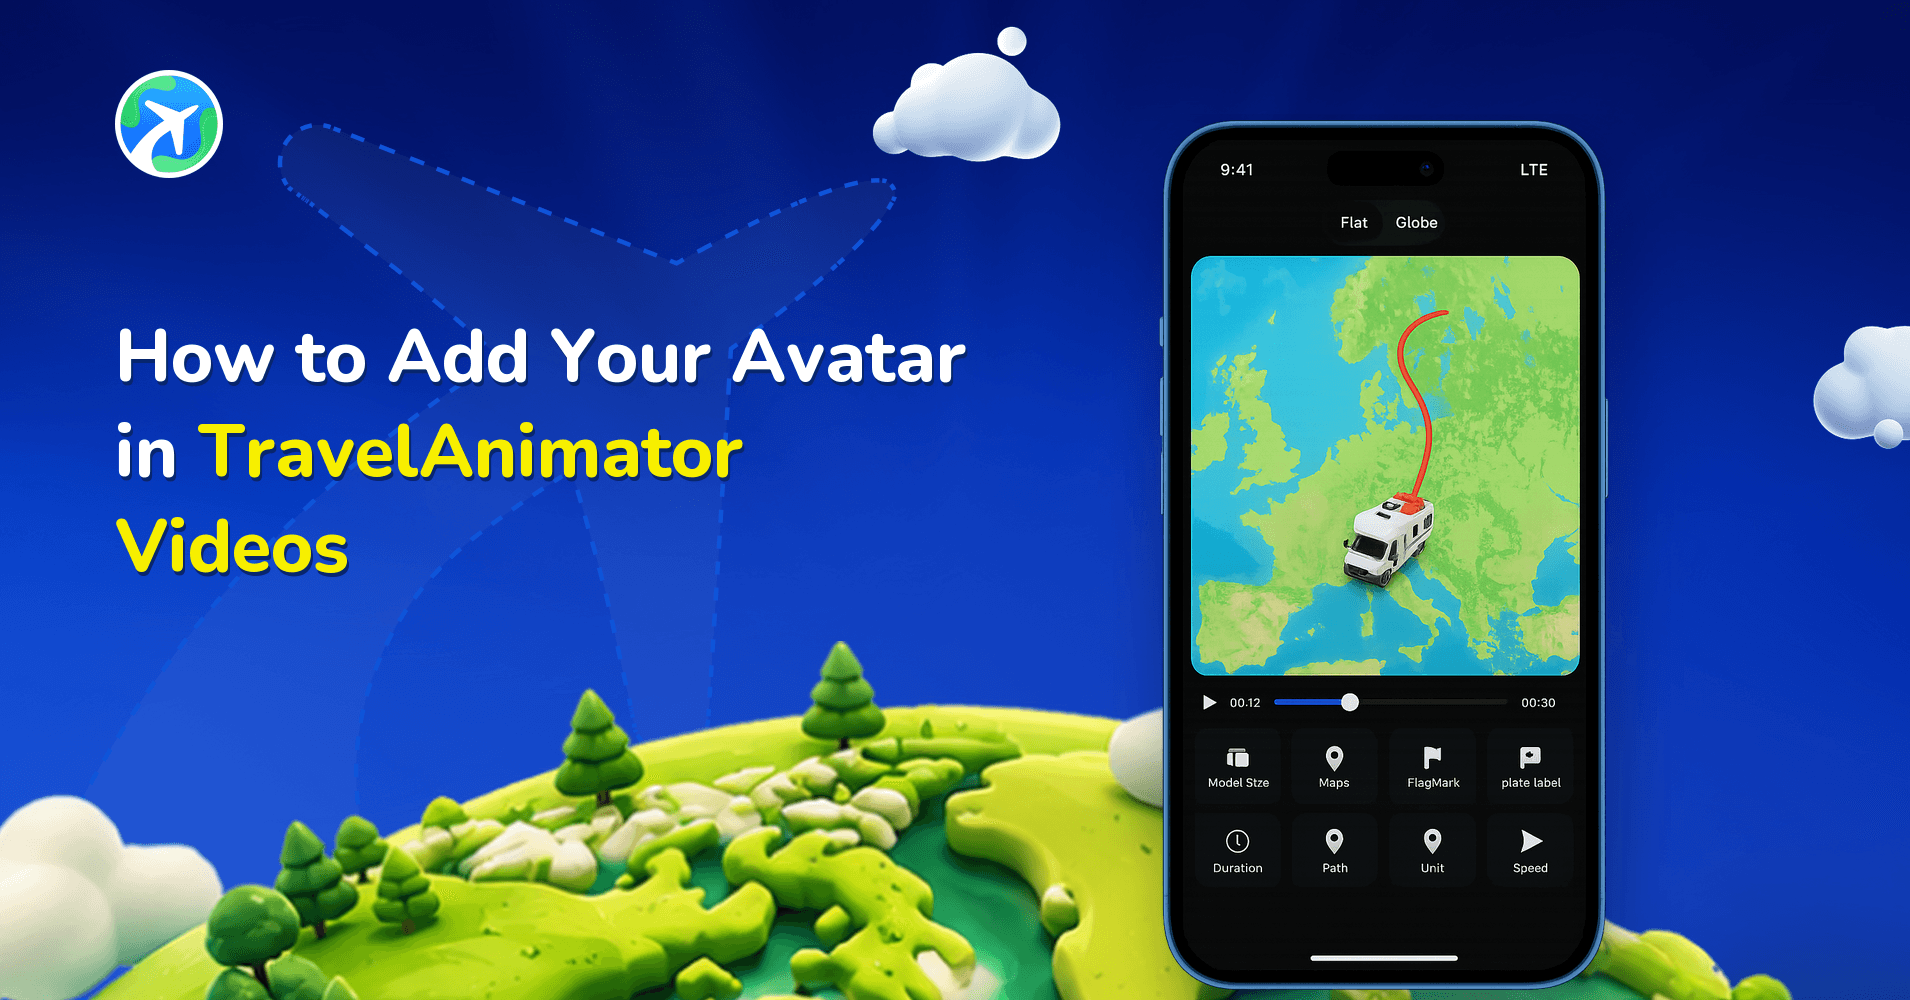
- You can add your Avatar from the option when long-pressing any stop.
4. Preview the Video & Optimize for Instagram
- Select the 9:16 ratio for Stories and Reels.
- Choose 2D or 3D map view.
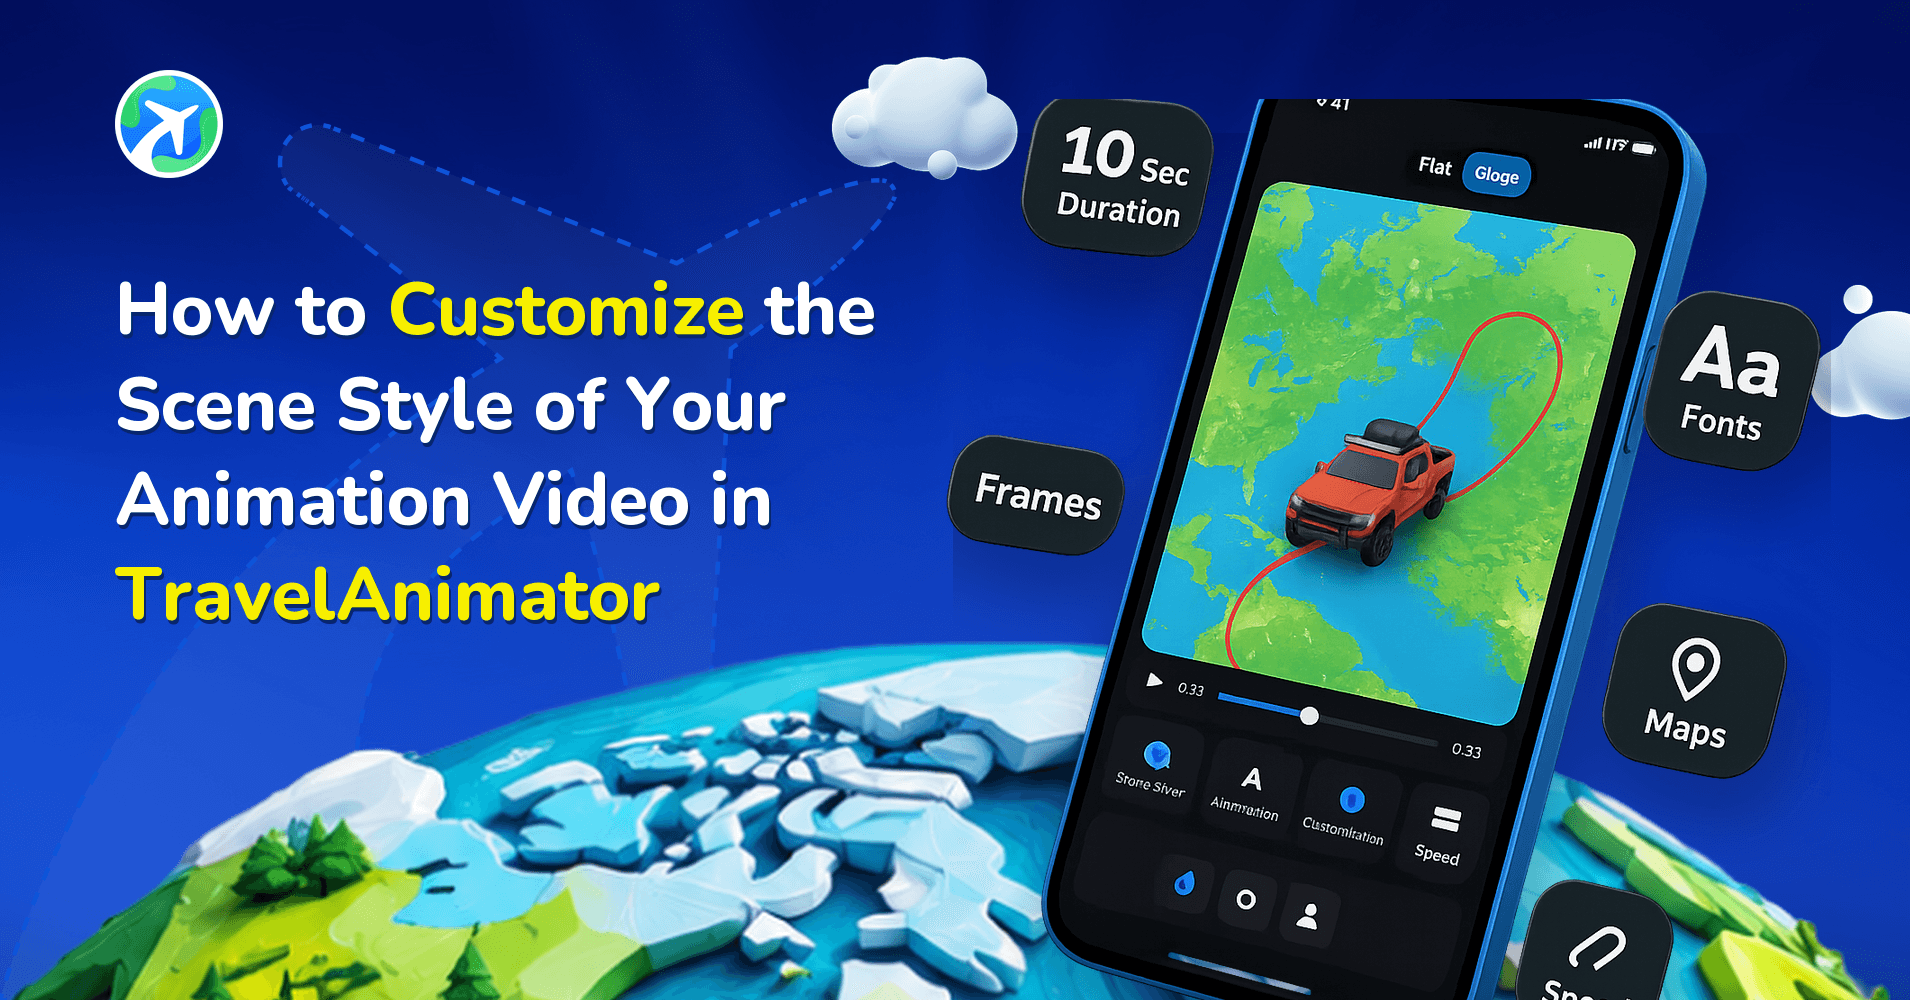
- Customize model size, maps, path, place labels, highlight, duration, scene style, units, flags, and cover image from the preview screen.
5. Export, Add Trending Audio, and Share
- Export in HD (free plan, with watermark) or 4K (Pro, watermark-free).
- Important: TravelAnimator doesn’t have a built-in audio or music feature, so trending audio isn’t something you add inside the app.
- Export your video first, then add the audio track in Instagram itself when you upload it as a Reel or Story. If you want more control over syncing the audio to specific moments, run the exported video through an editor like CapCut or InShot first, then upload the finished file to Instagram.
- Once uploaded, add hashtags and tag relevant accounts to help with reach, then invite viewers to react, comment, or share.
Best Practices for Instagram Travel Reels & Stories
- Stick to 9:16, it fills the screen and is what Reels is optimized to show.
- Keep the animation to 15–30 seconds because shorter animations tend to hold attention better.
- Add trending audio in Instagram after uploading. Timing your route’s speed to a popular sound is one of the more reliable ways to improve reach.
- Use location tags so your Reel is visible in city and destination search pages.
- Name your destinations clearly in the video; vague labels make a route harder to follow and less shareable.
- Add photos at each stop to keep the story personal rather than purely map-based.
- Use relevant hashtags.
Who Uses TravelAnimator for Instagram
- Solo travellers and vloggers turning a multi-day trip into a 20-second Reel.
- Families sharing vacation memories with animated routes, photos, and destination stops.
- Tourism boards and travel agencies showcase city tours or multi-stop itineraries to prospective travellers.
- Road-trippers who want to show the exact route they travelled instead of posting only photos.
- Local audiences who want to use familiar vehicles, such as a KSRTC bus, to make their videos feel more relatable.
TravelAnimator Free vs. Pro for Instagram Videos
You can create and share Instagram Stories and Reels with the Free plan. If you want more customization and higher-quality exports, you can upgrade to Pro.
| Feature | TravelAnimator Free | TravelAnimator Pro |
|---|---|---|
| Vehicle models | 10+ | 300+ |
| Map styles | Basic 2D map | 30+ 2D & 3D maps |
| Export quality | HD with watermark | 4K without watermark |
| Elements | 80+ | 80+ |
| Photos per stop | Multiple | Multiple |
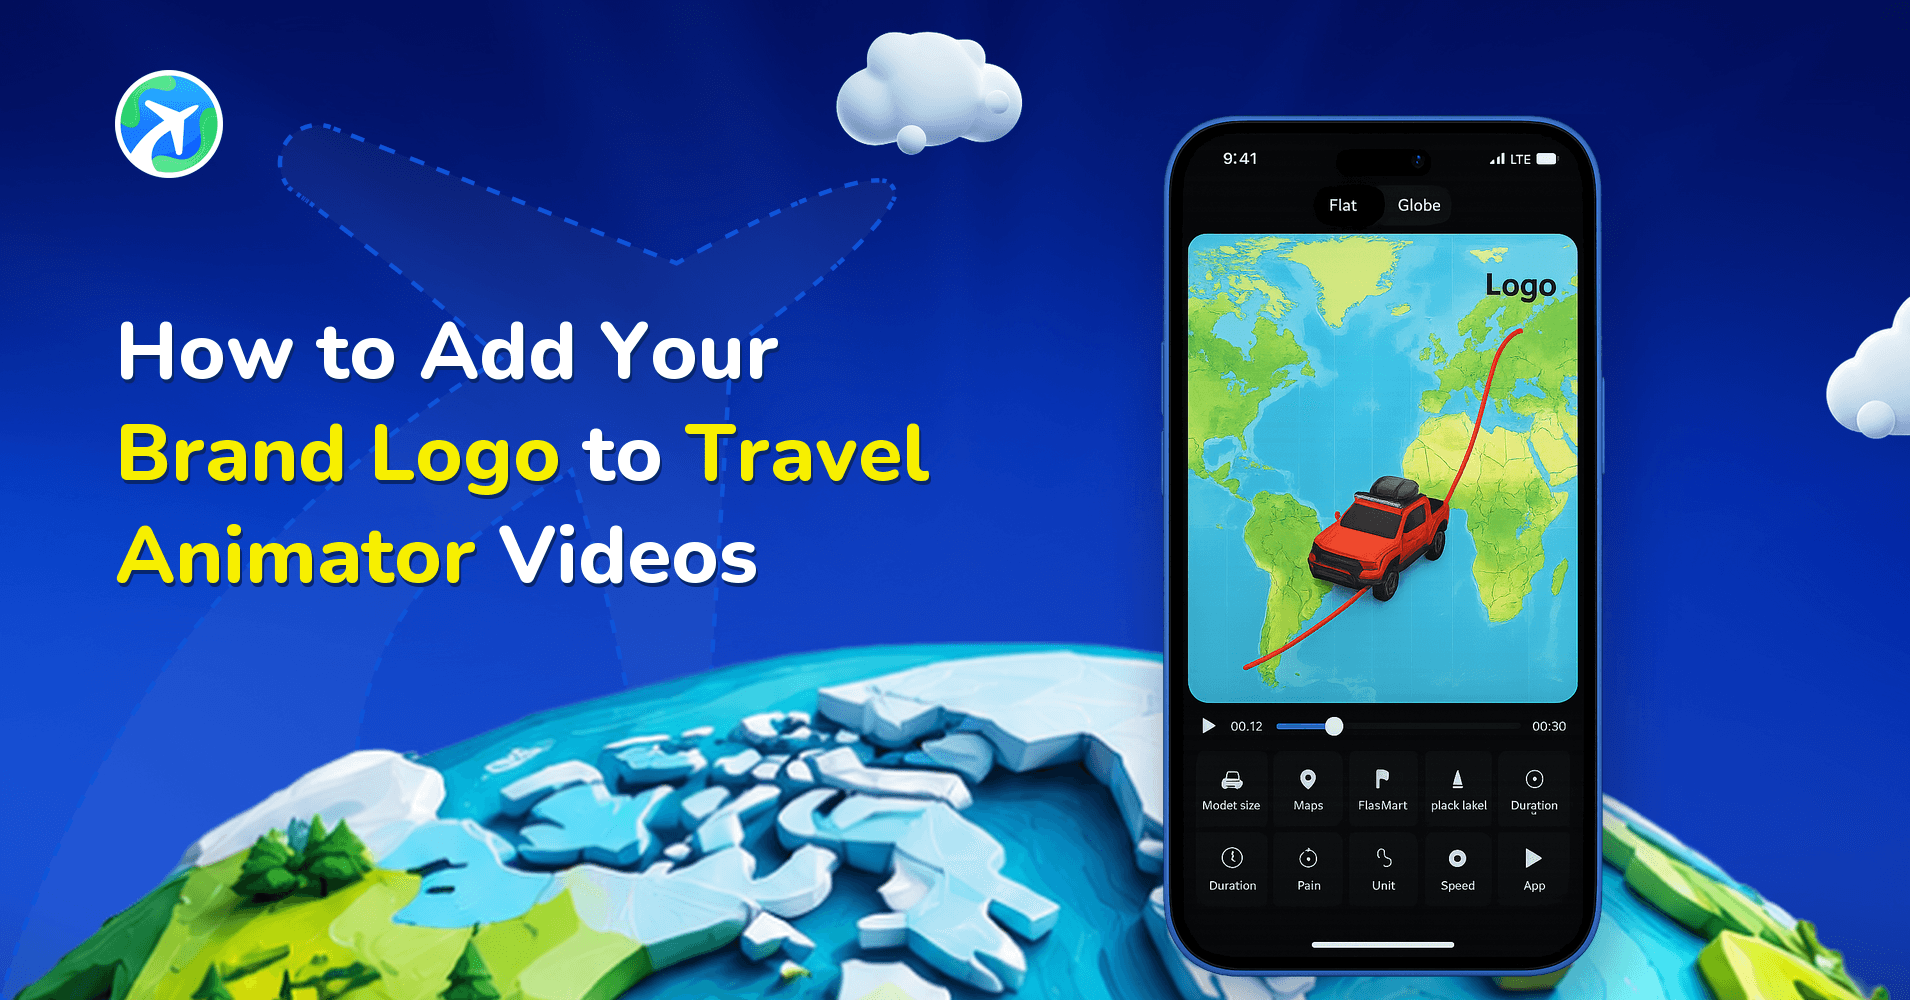
| Custom Logo | Not Available | Available |
TravelAnimator Pro is available with weekly, monthly, yearly, or lifetime plans. You can cancel a subscription anytime through the App Store or Google Play.
If you need watermark-free 4K videos and access to all premium models and map styles, Pro is the better choice. If you’re creating videos for fun or occasional Instagram posts, the Free plan has everything you need to get started.
Frequently Asked Questions
Do I need to pay to export a video for Instagram?
No. The Free plan lets you export unlimited videos in HD quality, which is suitable for Instagram Stories and Reels.
Can I add music or trending audio inside TravelAnimator?
No. TravelAnimator doesn’t include a music feature. After exporting your video, you can add trending audio directly in Instagram or use another app, such as CapCut, to edit the audio before posting.
How long should my travel animation be?
For Instagram Reels and Stories, 15–30 seconds is usually the ideal length. It’s long enough to show your journey while keeping viewers engaged.
What if I don't have a GPS track of my trip?
No problem. You can create your route by adding locations manually or by importing a Google Maps link.
Does TravelAnimator work on both iOS and Android?
Yes, TravelAnimator is available for both iOS and Android devices. You can download the app from the App Store or the Google Play.
Ready to Create Your Next Instagram Travel Video?
TravelAnimator has a 4.3-star rating with 36.4K reviews on the Play Store and a 4.6-star rating with 1.8K ratings on the App Store. Most travel animation videos can be created in just 3–5 minutes.
Download TravelAnimator on the App Store or Google Play and start creating your Instagram travel videos today.