

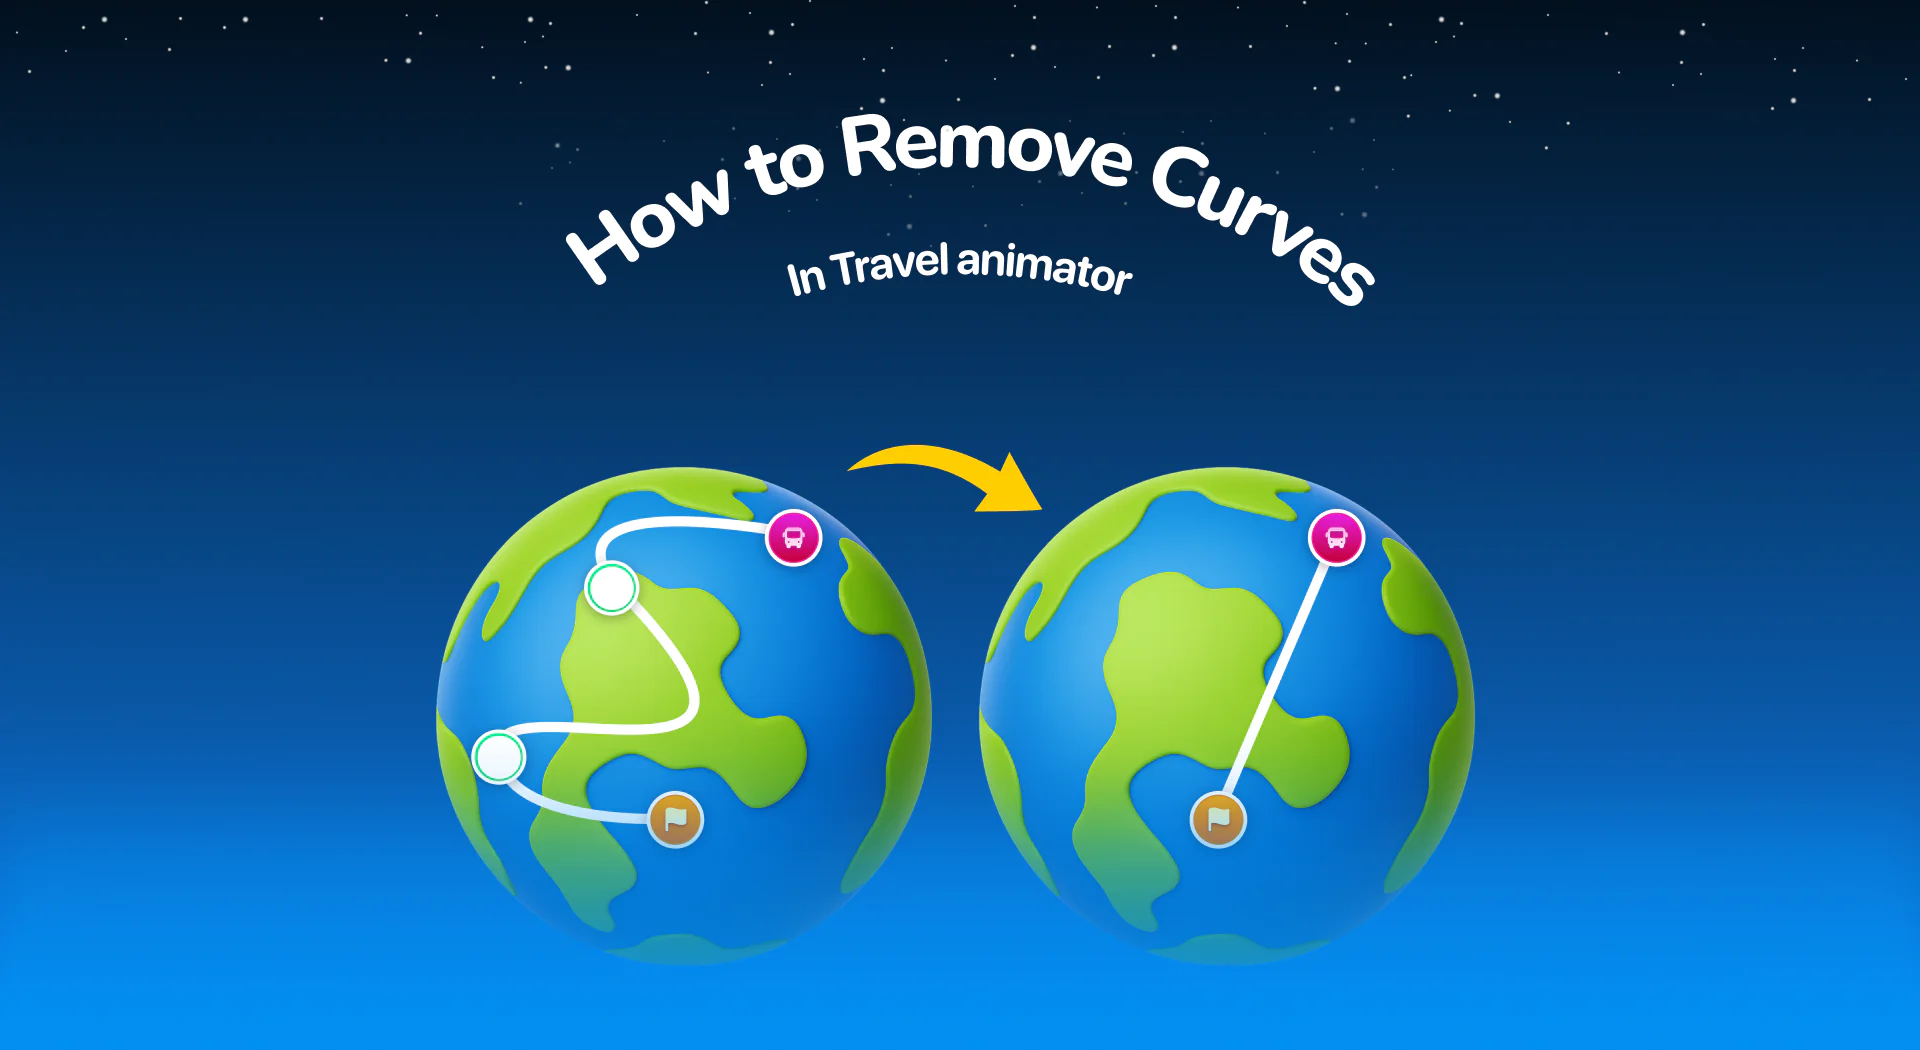
How to Remove Curves in TravelAnimator
Travel Animator allows you to remove the curves in your path, giving you full control over how your route looks, whether you want a clean, straight line for simplicity or need to fine-tune a winding road for visual balance.
Curves naturally form when you add multiple points to create a realistic route, just like roads and trails in the real world. However, there are times when a straight, direct path works better. For instance, when showing air travel, city-to-city connections, or conceptual animations, you might want your route to look clean and sharp without unnecessary bends.
This blog will explain what curves mean in Travel Animator, how to remove curves in Travel Animator, and when to use straight lines instead.
Curves in TravelAnimator
Curves are bended paths created by tapping and dragging points on the travel path line. Each extra point changes the route’s direction slightly, creating natural bends and arcs. This makes the animation feel realistic, especially for road trips, cycling routes, or any ground travel.
Adding too many curves can sometimes make your video look cluttered or unrealistic, particularly if you’re creating a flight path, where straight lines look cleaner, or a presentation animation, where clarity matters more than realism. In such cases, you can remove some curves to bring clarity with straight paths.
How to Remove Curves in TravelAnimator
- Open the TravelAnimator app and open the animation project that contains the curved route you want to edit.
- Identify the curve you need to remove.
- To remove a curve in TravelAnimator, drag the point along the route until it forms a straight line between your starting and ending locations.
- You’ll notice the curve flattening as you move the point.
- If you need a perfectly straight route, you can double-tap on a point to delete it to remove unnecessary points.
- After editing, preview your animation to check how the route looks. You can always tweak by re-adding or re-adjusting points later.
How to Restart the Tutorial to See How to Add Curves
- Go to the app’s main Settings menu.
- Look for the option labeled Restart Guided Tour. You can find it below the Remove Watermark section.
- Tap on the Restart Guided Tour.
- If you already have a route open, the app will prompt you to choose one of two actions:
Save and Continue – your current animation will be stored before the tutorial begins.
Continue Without Saving – The guided tour will start immediately without saving your progress. - After selecting your preference, the tutorial will replay from the beginning, including how to remove curves, shape your path, and add curves.
When Should You Use Straight Routes in TravelAnimator?
Air Travel Animations – Plane routes are meant to show long-distance journeys cleanly. Straight lines give a sense of distance and direction without distraction.
Long Distance Journeys – If you’re showing “from Country A to Country B” in a global or minimal animation, avoiding too many curves is clearer and more visually balanced.
Business or Presentation Use – When you need to show data or connections like delivery routes or service coverage, simplicity communicates better than detail.
Creative or Cinematic Designs – Straight lines can enhance minimal visuals, especially in animations focused on transitions, timing, or symbols.
Can You Re-Add Curves Later in TravelAnimator?
Absolutely. Removing curves in Travel Animator isn’t permanent. You can always bring them back anytime. To re-add curves,
- Tap anywhere on your straight route line to add a new point.
- Drag the new point slightly off the line. This will bend it smoothly.
- Repeat with multiple points if you want more natural turns or bends.
- Try a mix of straight and curved routes to see which works best.
Common Mistakes When Trying to Remove Curves
Deleting too many points can make your animation too simple, losing flow or direction.
Misaligning points when dragging points may still appear slightly bent. Zoom in on the map for finer control while editing.
Always preview your animation after changes. The route might look straight in edit mode, but appear slightly curved in animation, depending on the map projection.
If you’re working on long-distance maps, even small point movements can look excessive. Use smaller adjustments to maintain the real look.
Straight or Curved – Which One Do You Choose?
Travel Animator gives you the creative freedom to tell your story your way. Whether you prefer the minimal clarity of straight lines or the realistic flow of curved paths, the choice should reflect your purpose. If you’re creating a clean presentation or a high-altitude flight route, it’s better to choose straight. If you’re narrating a road trip or cycling adventure, add some curves. The beauty of Travel Animator is that you can experiment, switch, and refine anytime just with a few taps.
Read this blog to know the difference between the straight vs. curved paths in TravelAnimator.

Jaseel S is the CEO and founder of Lascade, the app studio behind Travel Animator. He leads a team of 40+ engineers and designers building consumer mobile apps.
Related Articles
How to Customize the Scene Style of Your Animation Video in TravelAnimator

How to Add Your Brand Logo to Travel Animator Videos

How to Add Your Avatar in TravelAnimator Videos

How Can I Access Routes Saved on One Device from Another Device in Travel Animator?

How to Add 3D Elements to Your TravelAnimator Videos


