How to Resize an Image in TravelAnimator

Understanding how to resize an image in TravelAnimator is an important part of creating clean, professional, and engaging travel animations.
Images play a powerful role in travel storytelling, but if they are too large or poorly sized, they can easily distract from the journey itself. Creating beautiful travel animations isn’t just about routes, vehicles, and destinations; it’s also about how well your visuals are balanced on the map.
In this guide, you’ll learn why image size is important, how image resizing works inside TravelAnimator, and how to choose the perfect size for different video formats.
Why is Image Size Important in Travel Animations
Travel animations are unique because they combine maps, routes, models, images, and text into a single visual experience. Here are the things that happen when an image is too large.
- It can cover essential parts of the map
- It may hide routes or destination labels
- It can make the animation feel cluttered or overwhelming
- The viewer may lose track of where the journey is happening
- When an image is sized correctly:
- The route remains visible and easy to follow
- The image highlights a destination instead of overpowering it
- The animation feels balanced and professional
- The viewer’s attention flows naturally between the map and the image
Step-by-Step Guide to Resize an Image in TravelAnimator
- Open the TravelAnimator app and open an existing project or create a new one by selecting your start point and destination on the map.
- Before adding images, make sure your route is set. Add multiple stops if your journey includes several destinations.
- Select the location where you want to add an image. Choose a photo from your device’s gallery. As soon as you select the image, TravelAnimator shows you the image resizing options. This is the most essential step, because this is the only time you can resize the image.
- Choose the Image Size Based on Video Ratio. You’ll see ratio options such as 1:1 (Square), 9:16 (Vertical) and 16:9 (Horizontal). Select the ratio that best matches your final video format and the level of map visibility you want to maintain. After this step, image resizing is no longer available. If you want a different size, you’ll need to remove the image and add it again.
- Once you tap the tick button to confirm, the image is placed into the animation at the chosen size. You can visually preview how the image fits on the screen.
- You can change the animation ratio to match the image ratio and adjust the image size, whether it needs to be big or small.
Choosing the Right Image Size for Different Video Ratios
- 9:16 Vertical Videos
This is the most popular animation video format for Instagram Reels, TikTok, and YouTube Shorts.
For vertical videos, use smaller or medium-sized images, keep the screen clear for routes, and avoid oversized images that block the map vertically.
A well-sized 9:16 image ensures the route remains visible while still highlighting key destinations.
- 1:1 Square Videos
Square videos work well for Instagram posts and some feed-based platforms.
For 1:1 animation videos, images can be slightly larger than vertical formats. Don’t let the image cover the route, so use a balanced image-to-animation ratio. Also, keep enough space around the map for context.
- 16:9 Landscape Videos
Landscape videos are commonly used for YouTube and presentations.
For 16:9 animations, images can be wider without blocking routes. The horizontal space allows more flexibility while still ensuring the route remains the focal point.
Common Mistakes When Resizing Images
Many beginners run into issues simply because they don’t realize resizing happens only once. Here are some common mistakes to avoid when resizing images.
- Confirming the image too quickly without checking the ratio
- Choosing a large image that hides the route
- Forgetting which platform the video is for
- Assuming images can be resized later
- Adding too many large images to a single animation
Best Practices for Image Resizing in TravelAnimator
- Always think mobile-first, especially for social media
- Choose the image size after deciding on your animation video ratio
- Use images to highlight moments without dominating the map
- Keep routes and destinations clearly visible
- Preview your animation before exporting
- Start with a smaller image to make it easier on the viewer
Why Image Resizing Improves Travel Storytelling
- Clear storytelling helps viewers instantly understand where the journey started and how the route is going.
- Properly sized images highlight destinations without covering the map or route.
- Well-balanced images enhance attention naturally instead of distracting the viewer.
- Correct sizing keeps the animation visually organized and easy to follow.
- Images sized correctly strengthen the emotional connection to each location.
- A clean layout improves viewer retention and overall engagement.
- TravelAnimator allows image resizing only during image selection to avoid design mistakes.
- This approach keeps layouts consistent across the entire animation.
- Limiting resizing simplifies editing and makes the app beginner-friendly.
- The result is a professional-looking travel story without complicated editing steps.
Resize the Image and Tell Better Travel Stories
TravelAnimator keeps image resizing simple, but you’re never restricted. You can resize images during selection, remove an image anytime, or replace it with a better one if your story changes. This flexibility helps you keep the map visible, highlight destinations clearly, and maintain a balanced layout throughout your animation. Whether you want to make an image smaller to reveal more of the route, swap it for a new photo, or clean up the screen for a smoother flow, TravelAnimator gives you the control you need without complicated editing tools.
Start creating more engaging travel stories today. Open TravelAnimator, fine-tune your visuals, and turn your journey into a perfect travel animation worth sharing.

Jaseel S is the CEO and founder of Lascade, the app studio behind TravelAnimator. He leads a team of 40+ engineers and designers building consumer mobile apps.
Related Articles

How to Participate in the #MadeUpCountry Creator Challenge
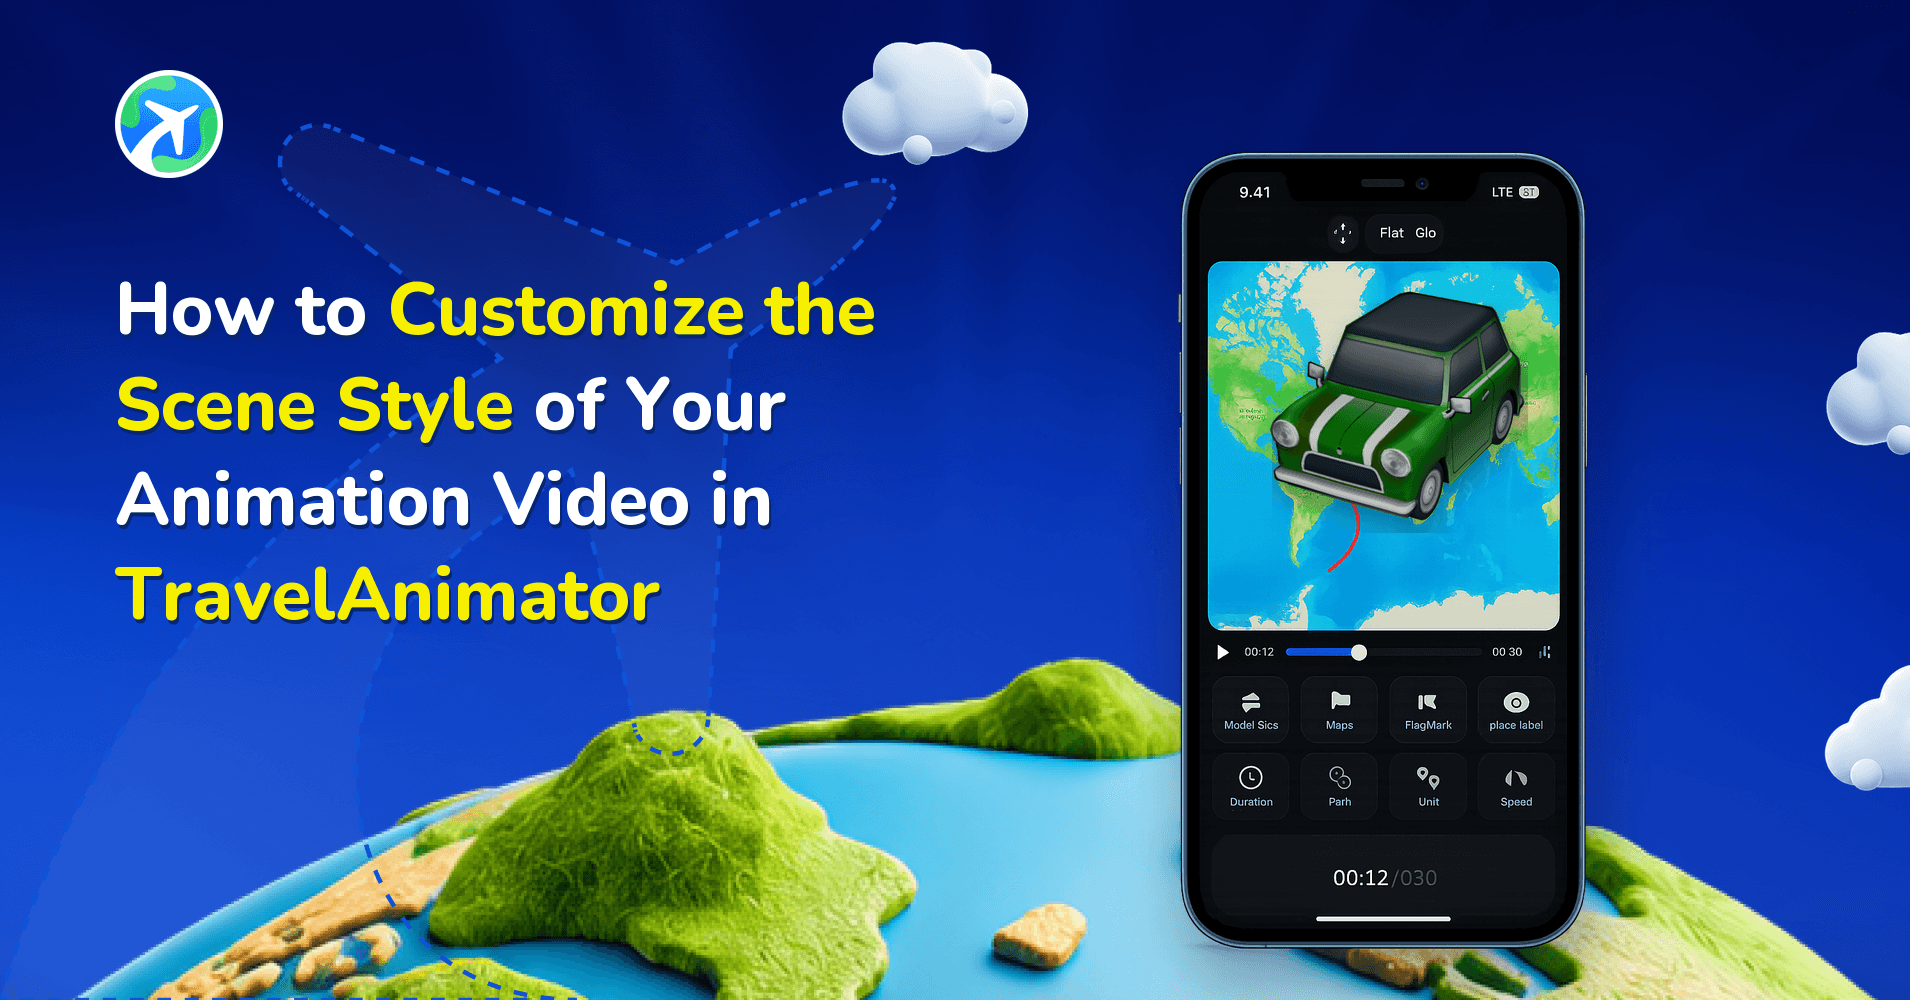
How to Customize the Scene Style of Your Animation Video in TravelAnimator
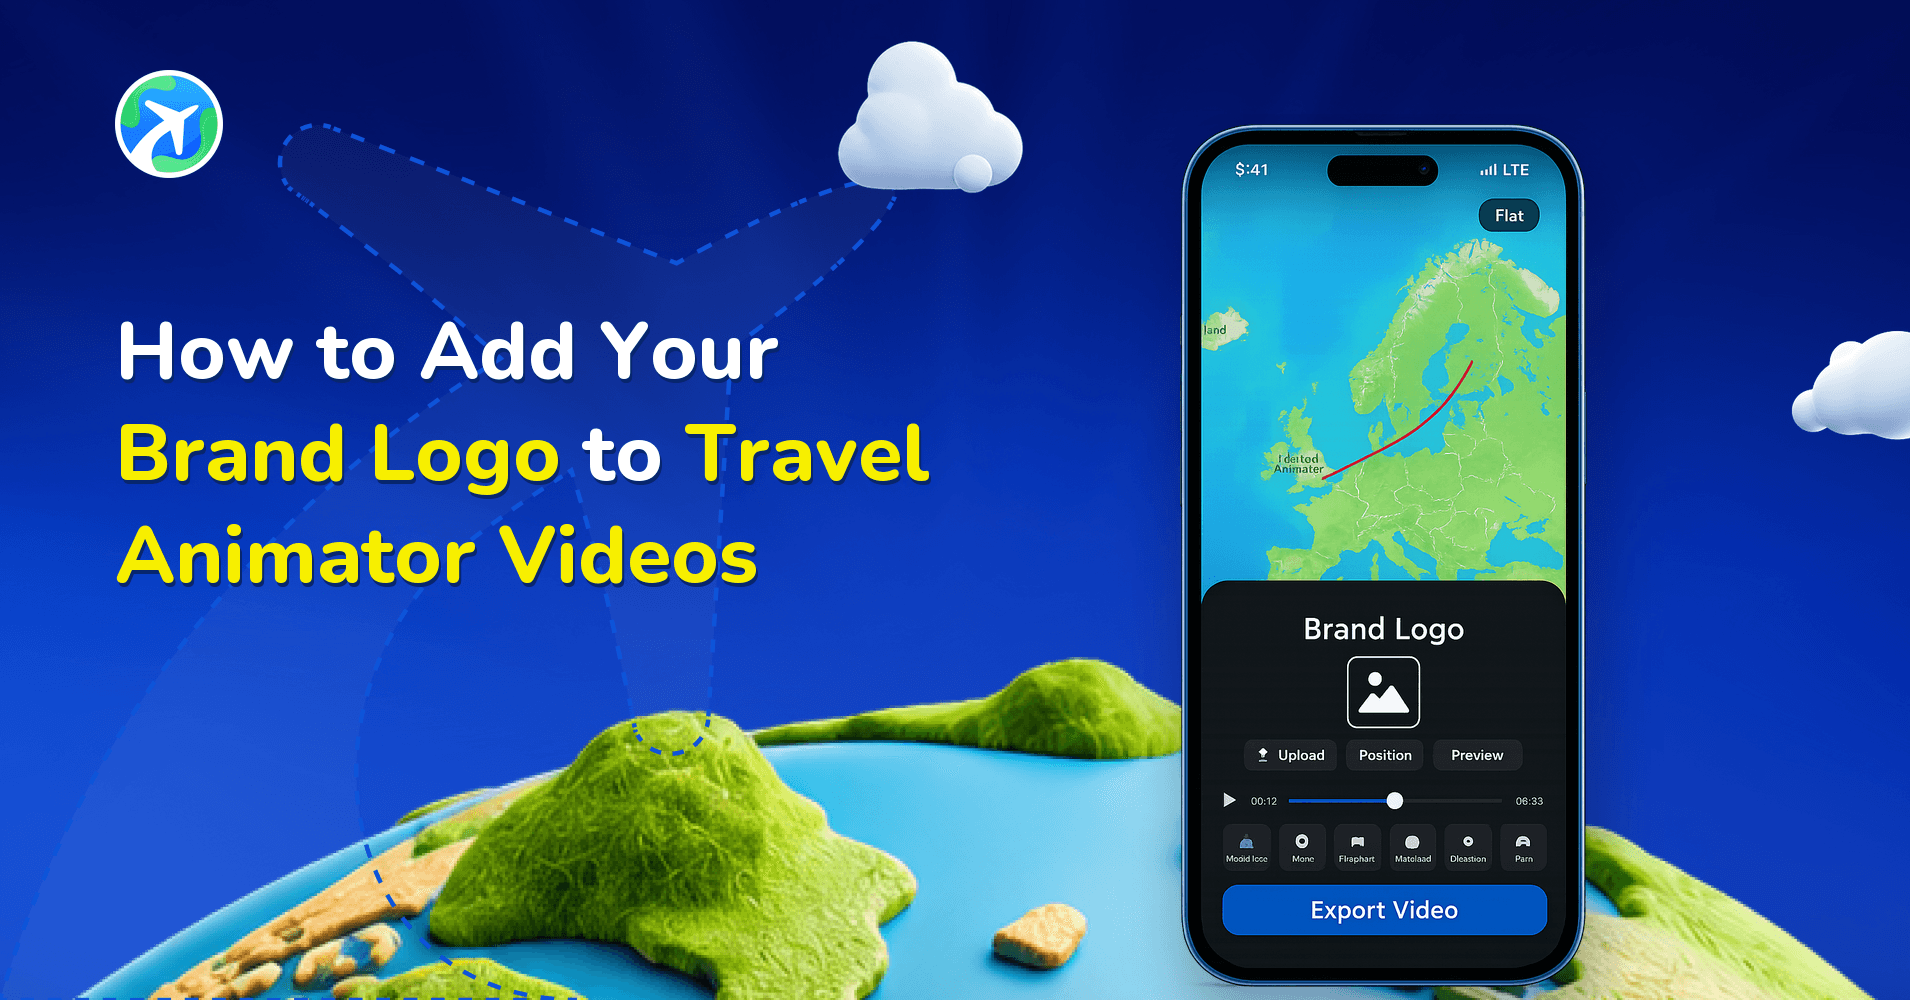
How to Add Your Brand Logo to Travel Animator Videos
How to Add Your Avatar in TravelAnimator Videos

How Can I Access Routes Saved on One Device from Another Device in Travel Animator?