

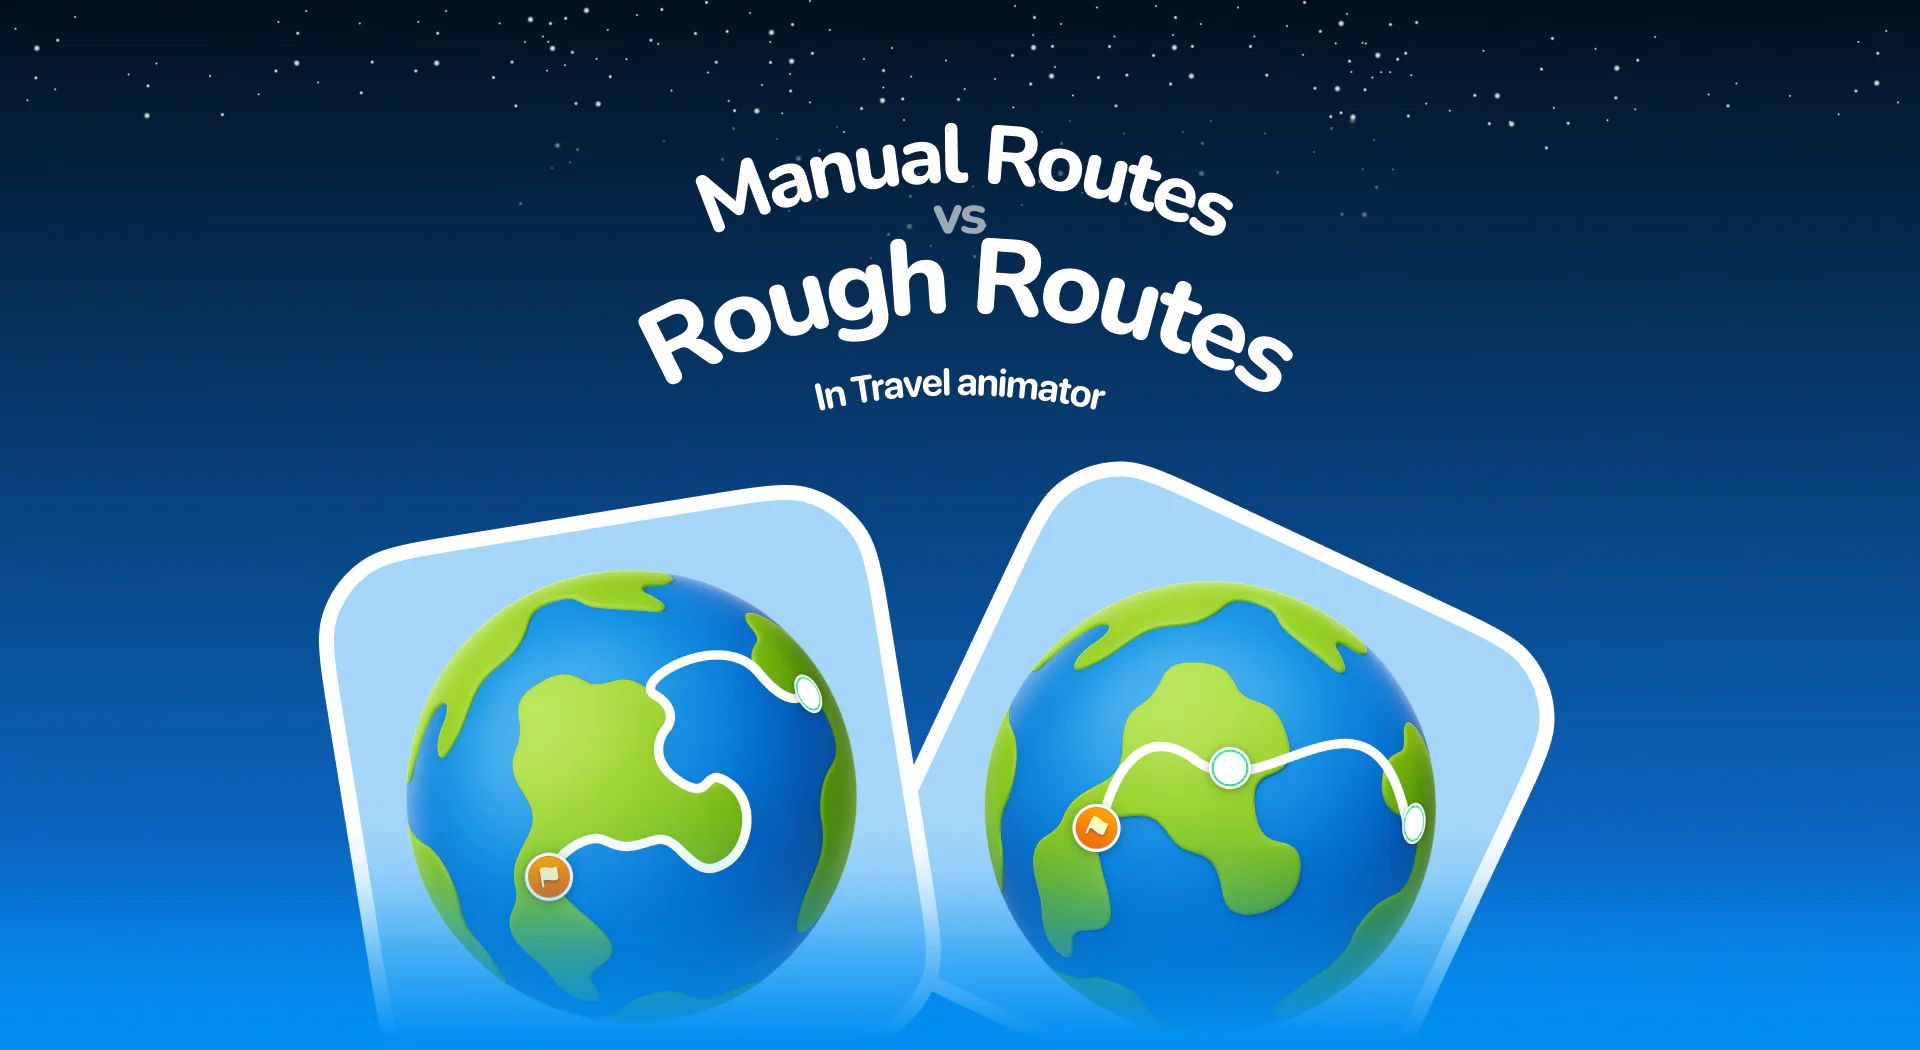
Manual Routes vs. Rough Routes in TravelAnimator
TravelAnimator offers multiple ways to create your routes by accurately adding real destinations and freely sketching paths right on the map.
Whether you’re a travel vlogger wanting to showcase a real trip or a creator experimenting with shapes, an aware of when and how to use each method can completely transform your final output.
This blog will explain both manually adding routes with rough animations and comparing them, and show which method works best for your needs.
What are Manual Route and Rough Routes in TravelAnimator?
Manual route adding is the method used when you want your animation to represent a real-world journey by using the search bar to type in each location, including the starting point, ending point, and adding multiple destinations. This approach makes sure your route appears exactly as it would on a map. It works well for travelers, vloggers, or tour agencies that need authentic accuracy.
Rough route animation works by simply tapping directly on the map to plot points, rather than searching for real locations. The first tap marks your starting point, the second marks your destination, and every tap in between helps shape the path. You can drag, curve, or bend the line as you want, making it suitable for quick drafts, creative experiments, or visually engaging stories where accuracy isn’t the goal.
Step-by-Step: How to Create Routes
How to Manually Add Routes in TravelAnimator
- Open the TravelAnimator app on your device.
- Tap on the Starting point and search for your starting location.
- Add the destination by search on the endpoint.
- Continue adding destinations on the + icon.
- Adjust the routes, change the models, and add images and labels to customize the animation.
- Preview the video and adjust the features before exporting.
How to Create Rough Routes in TravelAnimator
- Open TravelAnimator and start with a blank map.
- Tap anywhere on the map to set the starting point.
- Tap again anywhere to set the end destination, and it creates a line.
- Add points between the lines to drag and curve your route.
- Drag points to adjust the line freely, and you can form loops, patterns, or shapes.
- Long-press on the starting point to add a model or choose no model.
- Preview the video and adjust ratio, duration, etc.
- Export the video and share your creatives on social media.
Comparison of Manual Routes vs. Rough Routes in TravelAnimator
| Feature | Manual Routes | Rough Routes |
|---|---|---|
|
Accuracy
|
High accuracy
|
Moderate because of freehand
|
|
Speed
|
Takes time to search and add locations
|
Very quick with just a tap and a shape
|
|
Ease of Use
|
Simple but structured
|
Extremely simple and visually engaging
|
|
Best For
|
Real journeys, travel vlogs, tours, etc.
|
Concept videos, patterns, etc.
|
|
Customization
|
Add stops, models, and labels
|
Drag depends on shape and flow
|
|
Creativity Level
|
Limited to real-world paths
|
More creative and fun
|
|
Output Style
|
Documentary style
|
Artistic and fun
|
|
Data Needed
|
Requires locations
|
No data needed, just creativity
|
When to Use Manual Routes and Rough Routes in TravelAnimator
Manual route creation is the perfect choice when accuracy and real routes are needed most. It’s best suited for creators who want to document their exact journeys, such as travel vloggers recreating their real trips, agencies designing tour itineraries, or educators showcasing specific locations in lessons. Professionals sometimes depend on manual adding for client presentations, where real map routes help explain travel logistics or highlight historical or geographical paths. This method is all about reliability if your goal is to show exactly where you’ve been and make your audience experience the real route.
Rough route animations are the go-to choice when creativity takes priority over accuracy. They’re ideal for artistic storytelling, where you can freely draw shapes, letters, or icons using routes to create expressive visuals. Many creators use rough animations to visualize planned journeys or ideas without depending on exact data, making them perfect for concept videos or quick drafts. With this approach, you can even design visually stunning, pattern-based routes like hearts, loops, or waves right on the map. Rough animations let you focus on the visual emotion and storytelling of travel rather than the location accuracy.
Can You Combine Both?
Absolutely. One of the best things about Travel Animator is that you’re not locked into one method. You can start rough, then refine manually by adding destinations manually, or do the reverse.
For example:
- Start by roughly tapping points to visualize your route’s shape. Then, replace those points with real searched locations for accuracy.
- Add your real route manually. Then, tweak the line or curve manually to make it flow more cinematically.
This hybrid approach gives you both creative flexibility and realistic storytelling.
Which Method Should You Choose?
There is no such good and best fit, and it all depends on your purpose. If you’re a traveler, teacher, or professional creator, manual route adding gives you the reliability and structure you need. You’ll get exact locations, smooth transitions, and a route that truly represents your journey. And, if you’re a designer, storyteller, or creative explorer, rough animations give you instant results and limitless freedom. You can experiment, sketch, or create expressive shapes in minutes. Travel Animator also lets you use both, anytime. So try now.
Learn more about Manual Routes
Learn more about Rough Routes

Jaseel S is the CEO and founder of Lascade, the app studio behind Travel Animator. He leads a team of 40+ engineers and designers building consumer mobile apps.


