How to Change Distance Units from Miles to Kilometers in Travel Animator

In Travel Animator, you can easily change the distance units from miles to kilometers in just one click, helping your audience better understand your journey based on their local measurement system.
Imagine you just finished animating your dream road trip across France, Italy, and Switzerland using Travel Animator. Before exporting, you notice your units are shown in miles. Most of the viewers are from Europe, where kilometers are the standard. So you need to switch it to kilometers, and you don’t know where to change it.
In this blog, we will explore how to change distance units from miles to kilometers.
What Are Distance Units in Travel Animator?
In Travel Animator, Distance units are the distance traveled between the locations that the app calculates itself when you create a route in Travel Animator. These distances are presented in two units: miles and kilometers.
- Miles (mi) — Commonly used in the United States and a few other countries.
- Kilometers (km) — Used in most other parts of the world, including Asia, Africa, and Europe.
Why Changing Distance Units Matters
Using the correct unit can avoid confusion if your video is meant for a global audience.
Little details like the unit can affect how professional your video looks.
Distance tells a story of how far and wide you’ve traveled. Showing it in the familiar format makes the journey more relatable and understandable to your audience.
Steps to Change Distance Units from Miles to Kilometers in Travel Animator
- Open Travel Animator and select the project you need to change the distance unit from miles to kilometers.
- Preview the video and tap the Unit button from the options below the screen to show the distance. This button controls how the distance is displayed.
- The distance appears in miles by default. Tap the button again to switch it to kilometers.
- Once it is shown in kilometers, export the video in HD or 4K quality.
- You can directly share the video to specific social media platforms from the app.
Common Mistakes to Avoid When Switching Units
Travel Animator switches this in a single tap. So, always double-check before exporting the video.
Always consider your target audience. If you are creating content for a US-based audience, Miles may be more suitable. Otherwise, choose kilometers.
The Unit changing option only appears on the preview page. Some users assume it’s missing by looking for it in the main editor. So, just preview the video, and it will show up below the screen.
Ready to Switch Your Distance Units?
Changing the distance units in Travel Animator is a one-click process, but it has a significant impact on how your travel story is to the audience. Whether you’re creating videos for YouTube, Instagram Reels, or Personal use, using the right units adds clarity and professionalism.

Jaseel S is the CEO and founder of Lascade, the app studio behind TravelAnimator. He leads a team of 40+ engineers and designers building consumer mobile apps.
Related Articles

How to Participate in the #MadeUpCountry Creator Challenge
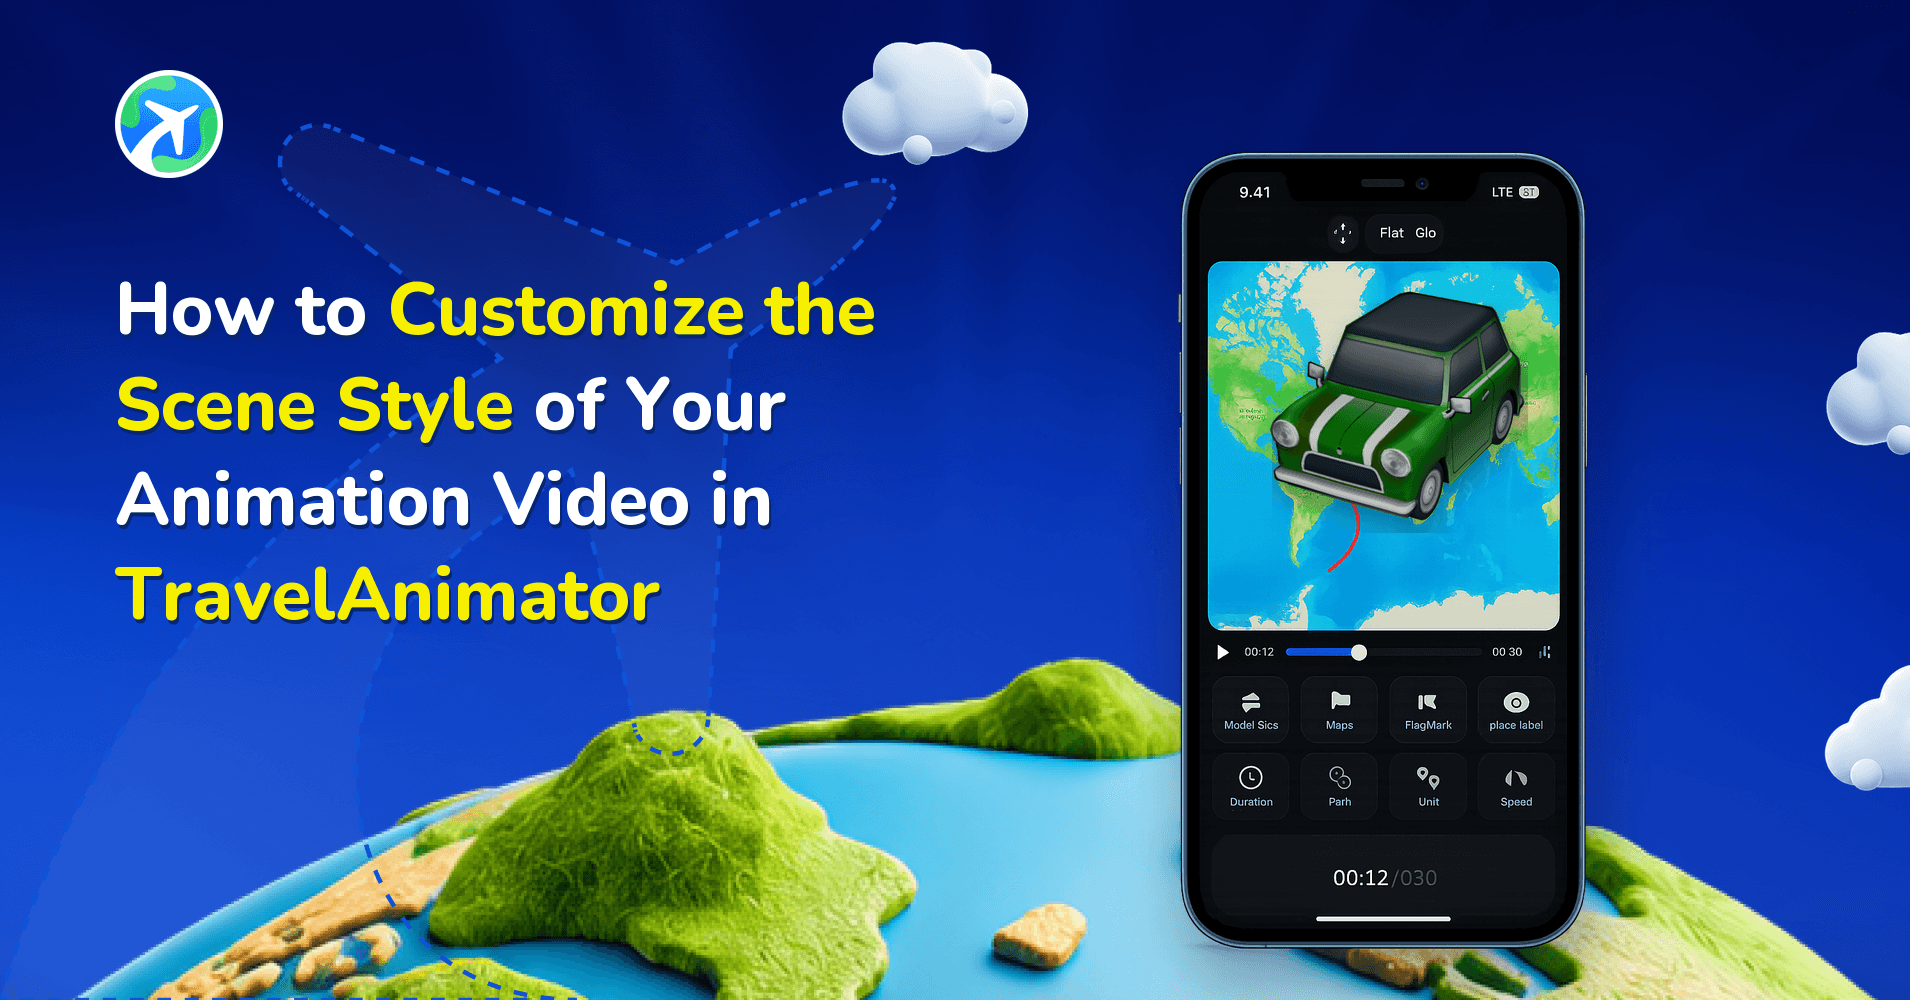
How to Customize the Scene Style of Your Animation Video in TravelAnimator

How to Add Your Brand Logo to Travel Animator Videos
How to Add Your Avatar in TravelAnimator Videos

How Can I Access Routes Saved on One Device from Another Device in Travel Animator?