

How to Add 3D Elements to Your TravelAnimator Videos

TravelAnimator released the new 3D Elements feature in the Travel Animator app. This feature lets you place interactive, visually appealing 3D objects directly on your travel route, turning a simple animation into a more immersive, expressive experience.
Whether you want to show an airport for a flight, a beach for a vacation stop, or a landmark for a destination highlight, adding elements helps you bring your journey to life in a way that viewers can instantly understand and connect with.
Let’s explore how to add 3D elements to your TravelAnimator video, when to use them, and best practices for using elements effectively.
What is the Elements Feature in Travel Animator?
The Elements feature lets you add 3D objects at specific points along your travel route. These objects visually represent locations, activities, or experiences, making your animation more dynamic and meaningful.
Instead of relying only on lines and models, you can now enhance your map with elements such as Airports, Beaches, Buildings and landmarks, Cafes and lifestyle icons and Monuments and tourist attractions.
For example, if your journey includes a stop at a coastal destination, adding a beach element instantly conveys the location’s character without extra text.
Elements vs Models: What’s the Difference?
Models represent the movement of vehicles or transport modes, such as cars, planes, and trains. Elements represent locations or experiences, such as airports, beaches, cafés, etc.
Together, they create a complete visual story, models show how you travelled, while elements show what you experienced.
Step-by-Step: How to Add Elements in Travel Animator
1.Open the Travel Animator app and create a new project or open your travel animation project.
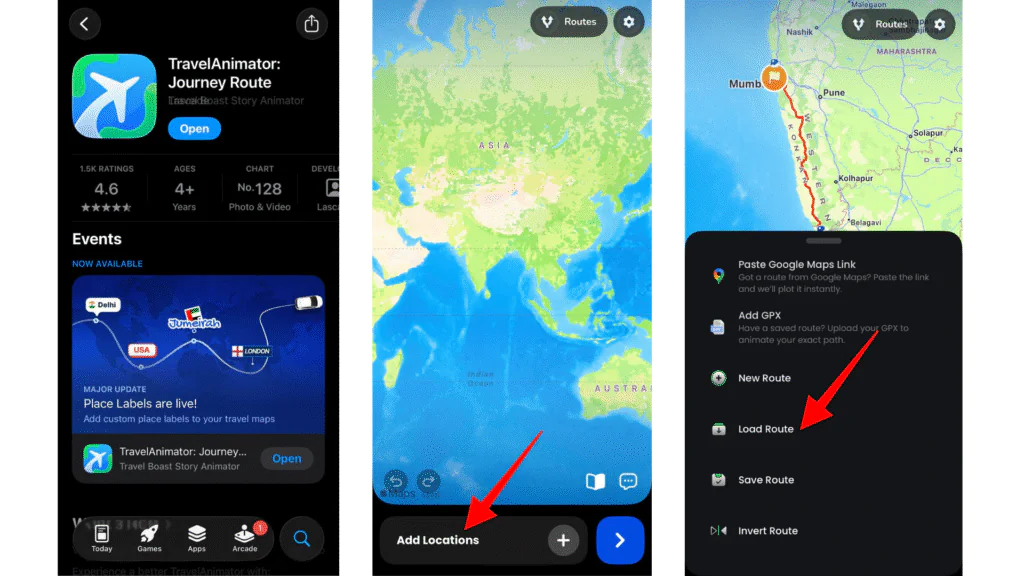
2. Add your destinations and complete your route setup.
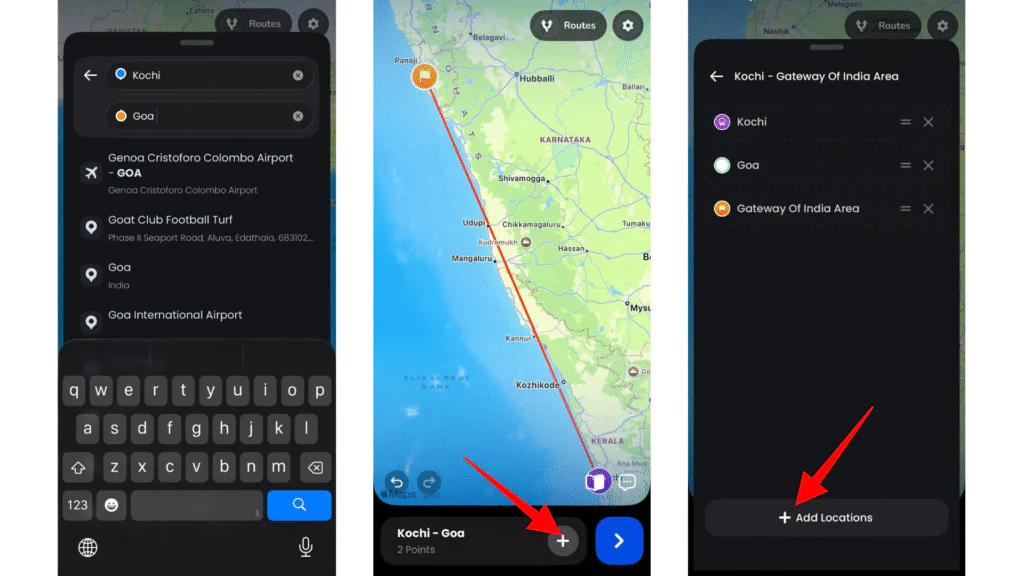
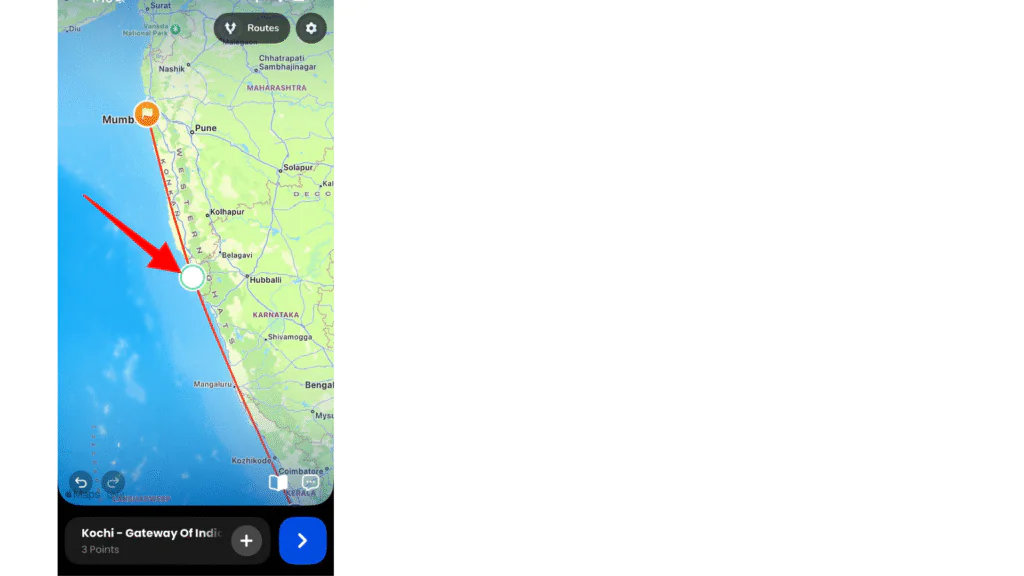
3. Find the specific destination point where you want to add an element.
4. Long-press the point and tap Add Media to open the annotation/editing menu.
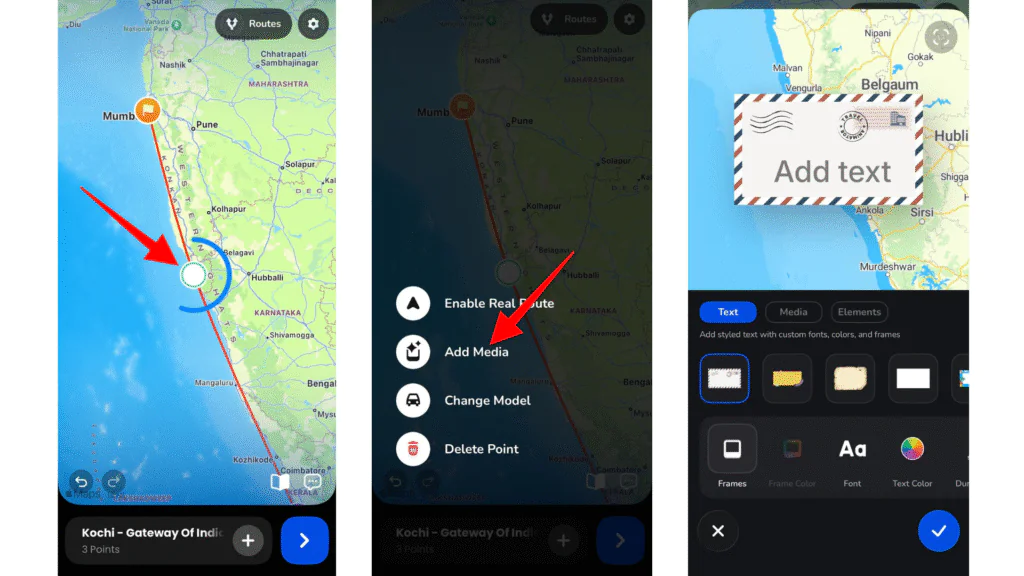
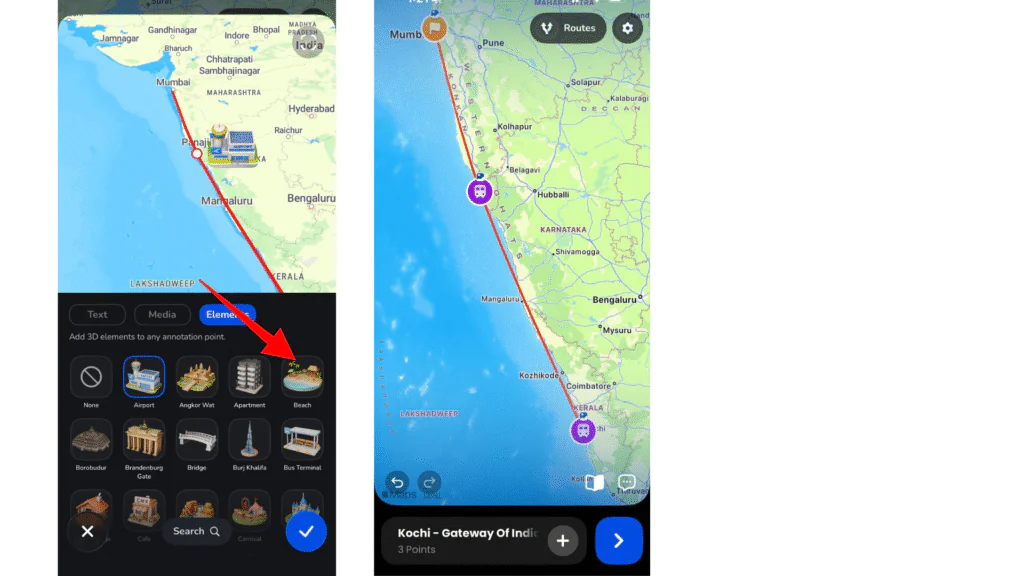
5. In the menu, navigate to the Elements tab (next to Text and Media) and browse the available 3D elements to find the one you want.
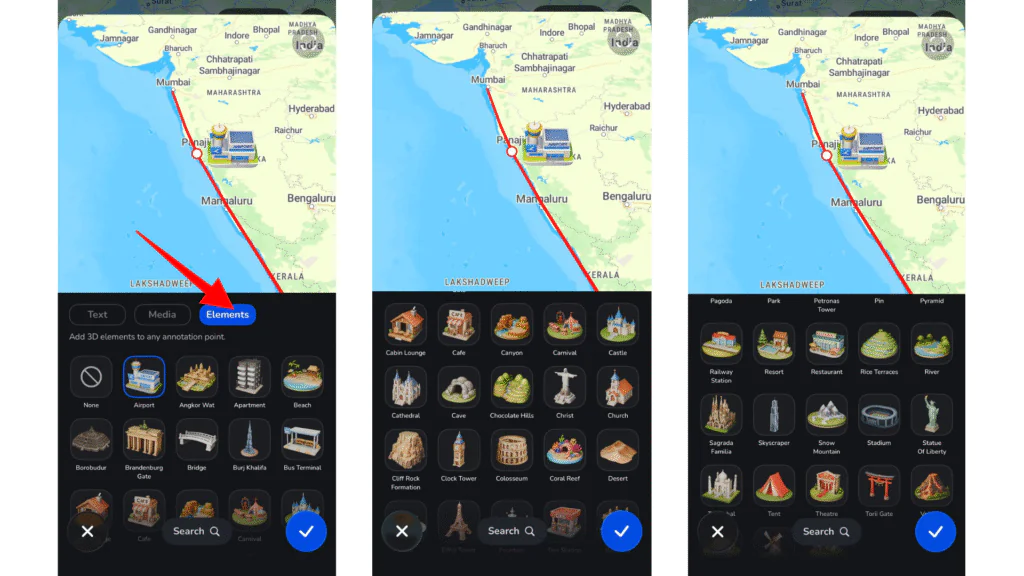
6. Tap on the element you want to use (e.g., airport, beach, landmark) and apply the element to the selected point. Repeat the process for other destinations if needed.
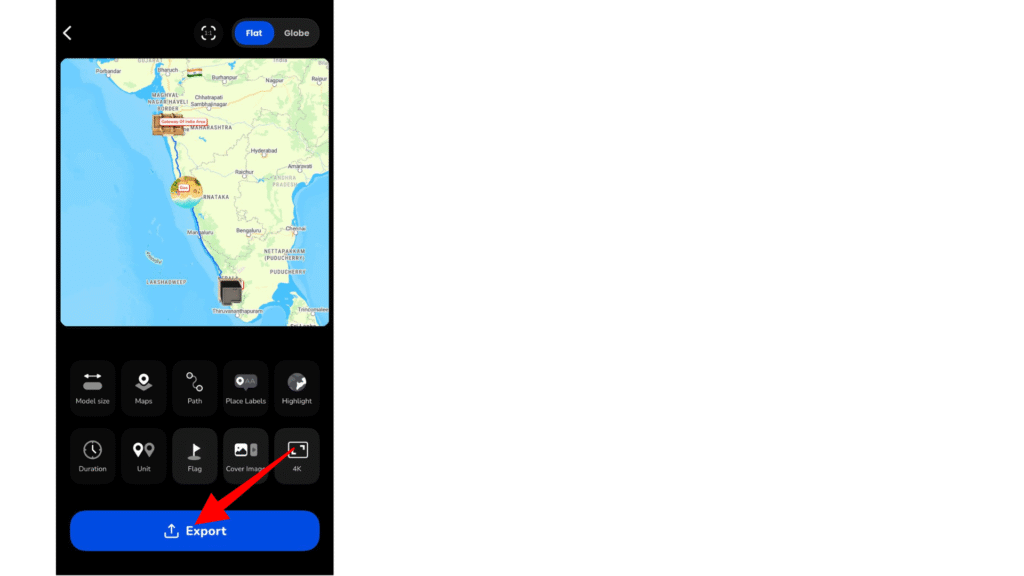
7. Preview your animation to see how the element appears during animation.
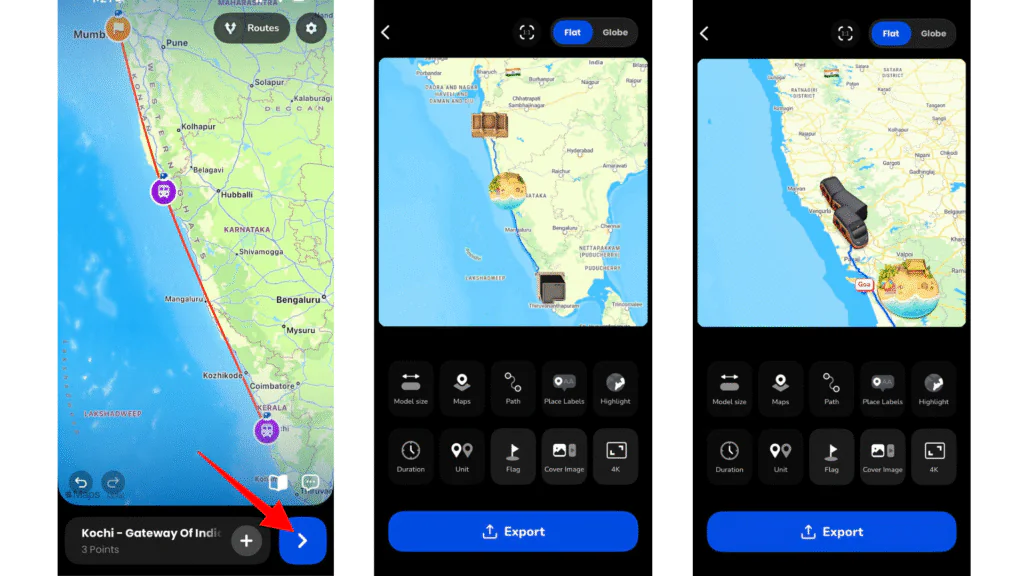
8. Once everything looks good, export your video in HD or 4K quality.
When to Use Elements in Your Travel Videos
The Elements feature is versatile and can be used in multiple scenarios depending on your storytelling goals.
- You can use elements to highlight important destinations, such as adding a landmark icon for famous tourist spots. This helps viewers instantly recognize a location’s significance.
- They are also useful for representing activities. For example, a beach element can indicate a relaxing coastal stop, while a café element can represent a food or leisure experience.
- If your journey includes flights, adding an airport element helps visually explain transitions between locations.
- Travel agencies can use elements to present itineraries more engagingly, showing clients what they can expect at each stop.
- Even for personal travel videos, elements add personality, making your content more relatable and visually appealing.
Common Mistakes to Avoid in TravelAnimator
While elements can enhance your animation, improper use can reduce its quality.
- Avoid adding too many elements, as this can clutter your map and distract viewers.
- Do not use irrelevant elements that do not match the location or story.
- Poor placement can make elements overlap with routes or labels, reducing clarity.
- Skipping the preview can result in misaligned or poorly visible elements.
- Using elements without a clear purpose can confuse viewers rather than improve storytelling.
- Keep your design intentional and aligned with your narrative.
Make Your Travel Animations More Immersive
The 3D Elements feature in the Travel Animator app is a powerful addition that transforms how you create travel animations. It allows you to go beyond simple routes and build a richer, more engaging story. By adding meaningful elements to your journey, you can highlight destinations, represent experiences, and create visually compelling content that stands out. Whether you are a content creator, traveller, or agency, this feature helps you communicate your journey more effectively and creatively.
So the next time you create a travel animation, use the elements creatively to enhance storytelling. Download TravelAnimator now from the App Store or the Play Store.

Jaseel S is the CEO and founder of Lascade, the app studio behind TravelAnimator. He leads a team of 40+ engineers and designers building consumer mobile apps.
Related Articles

How to Participate in the #MadeUpCountry Creator Challenge
How to Customize the Scene Style of Your Animation Video in TravelAnimator
How to Add Your Brand Logo to Travel Animator Videos
How to Add Your Avatar in TravelAnimator Videos

How Can I Access Routes Saved on One Device from Another Device in Travel Animator?


