How to Create High-Quality Map Animations in TravelAnimator
 Jaseel S4 min read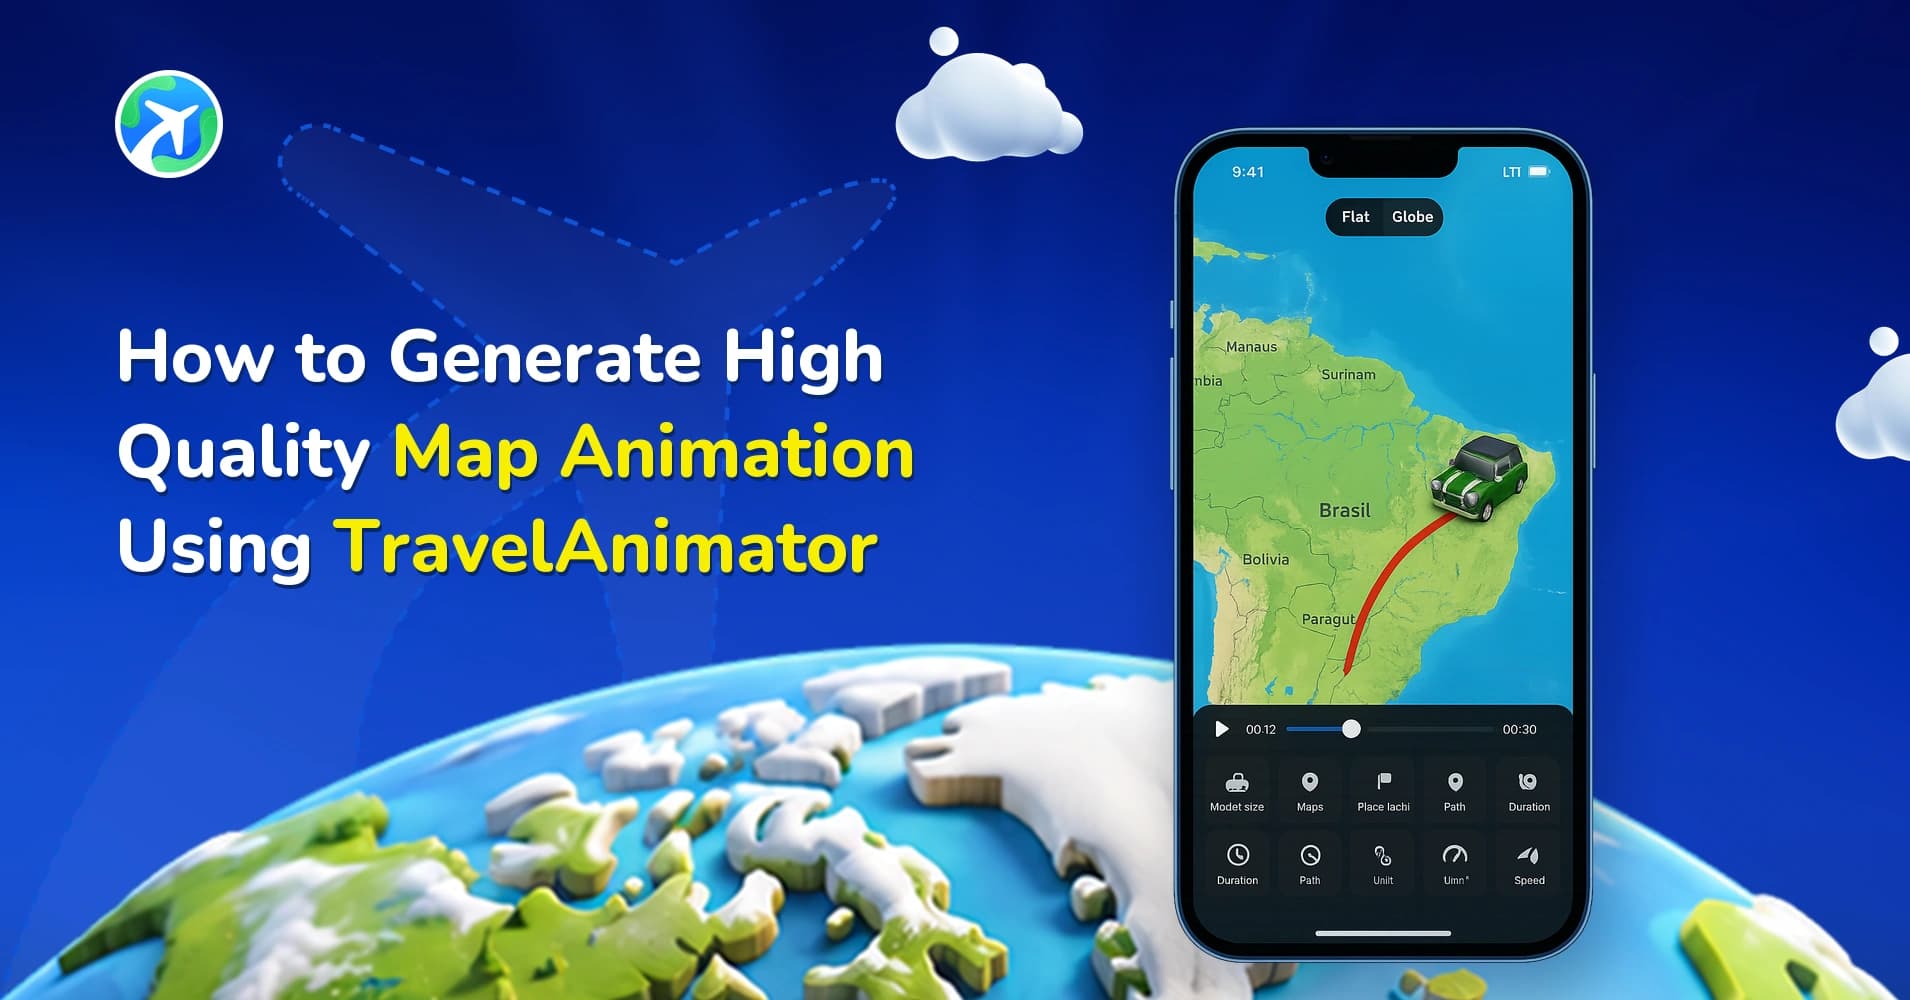
With TravelAnimator, the quality of your final video isn’t just about exporting in 4K — it’s about making sure the map itself looks sharp before you ever hit export. Two settings work together behind the scenes to control this: Duration and Zoom Level (inside Scene Style).
The way these two settings interact determines how the map tiles load and render in your animation. Get them right, and your video looks crisp and professional. Get them wrong, and even a 4K export can look blurry or pixelated.
This guide explains how to check and control map tile quality in TravelAnimator using Duration and Zoom, so you can consistently export high-quality animation videos.
What Affects Map Animation Quality in Travel Animator?
Map animation quality in TravelAnimator depends on how clearly the map tiles render during playback — not just the export resolution you choose at the end.
Two settings directly control this:
- Duration – Adjusting the duration of your animation changes how the map tiles are loaded and displayed in the preview. Longer or shorter durations can reveal different levels of tile clarity for the same route.
- Zoom Level (1x, 2x, 3x) – Found inside Scene Style, zoom level controls how close the camera sits to the map. Each zoom level pulls from a different level of map tile detail, so switching between 1x, 2x, and 3x can noticeably change how sharp or soft the map looks.
Because every route, region, and map style loads tiles differently, there isn’t one universal “best” setting. The right combination is something you find by previewing and adjusting manually for each video
Step-by-Step: How to Get a High Quality Map Animation
1. Plot Your Route
Open TravelAnimator and plot any route you prefer on the map.
2. Open the Preview
Once your route is set up, open the Preview screen and check whether the map tiles have fully loaded.
3. Adjust the Duration
Change the duration of your animation and watch the preview closely. This affects how the map tiles are displayed, so use it to check whether the tiles look sharp or low quality at different lengths.
4. Play with Scene Style Zoom (1x, 2x, 3x)
Open Scene Style and switch between the 1x, 2x, and 3x zoom options. Each level pulls in map tiles differently — use the preview to see which zoom level gives you the clearest, highest-quality map for your specific route.
5. Find the Right Combination
Keep adjusting Duration and Zoom together until the preview shows crisp, high-resolution map tiles with no blurring.
6. Export in 4K
Once you’re happy with how the map looks in preview, export your final video in 4K to lock in that quality.
Understanding Duration and Zoom Together
Duration and Zoom aren’t independent settings — they work together to decide which map tiles get pulled in and how they’re displayed.
- Changing Duration changes how the map tile is shown during animation, which can expose sharper or softer tile detail even at the same zoom.
- Changing Zoom Level changes how much the camera magnifies the map, which pulls from a different tile resolution each time.
At certain combinations of duration and zoom, the map tiles will render at their sharpest for that particular route. There’s no fixed formula for this — it comes down to manually toggling both settings and watching the preview until the map looks its best.
Get the Sharpest Map Animation Every Time
High-quality map animation in TravelAnimator comes down to a simple habit: don’t just export and hope for the best — preview first. By adjusting Duration and Scene Style Zoom together and watching how the map tiles respond, you can consistently find the sharpest possible look for your route before exporting in 4K.
Download the TravelAnimator app from the App Store or Play Store, plot your next route, and fine-tune Duration and Zoom until your map looks exactly the way it should.
Explore complete step by step guide on how to use Travel Animator App.
FAQs
Why does my TravelAnimator map look blurry even after exporting in 4K?
Export resolution alone doesn’t control sharpness. Map tile clarity is determined by your Duration and Zoom Level settings before export — if the tiles look soft in preview, they’ll stay soft in the final 4K video.
What Zoom Level gives the sharpest map tiles?
There’s no single best zoom level — 1x, 2x, and 3x each pull from a different tile resolution depending on your route and region. Preview all three and pick whichever renders clearest for your specific route.
Does changing the animation Duration really affect map quality?
Yes. Duration changes how the map tiles load and display during playback, which can reveal sharper or softer tile detail even at the same zoom level.
Should I check the preview before exporting?
Always. Exporting without previewing can lock in blurry or pixelated tiles. Adjust Duration and Scene Style Zoom together, confirm the preview looks crisp, then export in 4K.