How to Generate 3D Elevation in Hiking Map Animation
 Jaseel S4 min read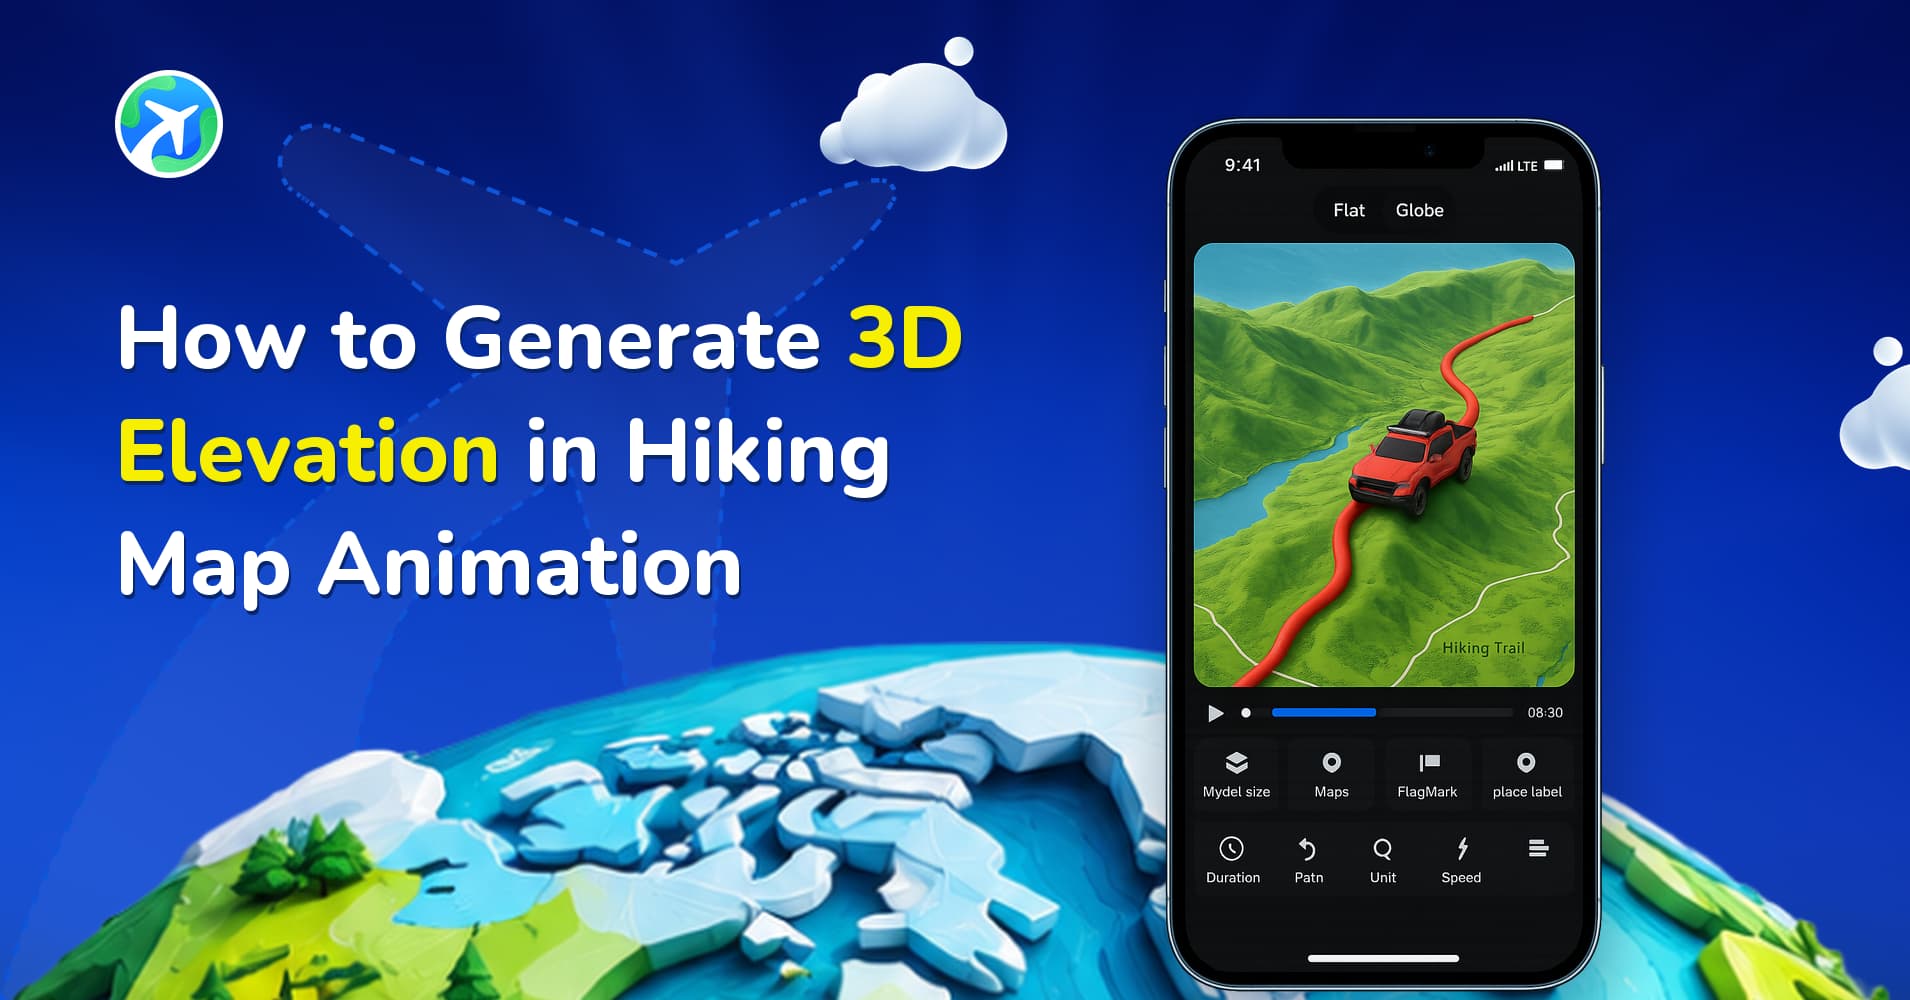
Flat maps work fine for city routes, but they don’t capture what a hike actually feels like — the climbs, the descents, the terrain underfoot. TravelAnimator solves this with 3D Elevation, a feature that adds real terrain depth to your animation so mountains, valleys, and trails look and feel three-dimensional.
This guide explains how to turn on 3D Elevation in TravelAnimator, which map style enables it, and which Scene Styles actually let you see it.
What is 3D Elevation in Travel Animator?
3D Elevation is a map rendering feature that displays real terrain height in your animation instead of a flat surface. Steep climbs rise, valleys dip, and the landscape follows the actual shape of the ground along your route.
3D Elevation is tied directly to the Satellite map style — selecting Satellite automatically turns elevation on for your animation. From there, you can still fully customize your video with vehicle models, place labels, and other elements as usual.
There’s one important detail to understand before you start: 3D Elevation is only visible in certain Scene Styles, because it depends on the camera angle used to view the route.
- Visible with: Default, Follow, and Lead — these Scene Styles use an angled camera view, so terrain height is clearly visible.
- Not visible with: Atlas, Sticker, and Sticker 2 — these Scene Styles look straight down at the map from above, so elevation isn’t visually noticeable even though the terrain data is still there.
Step-by-Step: How to Turn On 3D Elevation for Your Hiking Video
1. Create or Open Your Route
Open TravelAnimator and plot your hiking route, or open a saved one.
2. Select the Satellite Map Style
In the map style options, choose Satellite. This automatically enables 3D Elevation for your route.
3. Choose Your Model and Customize
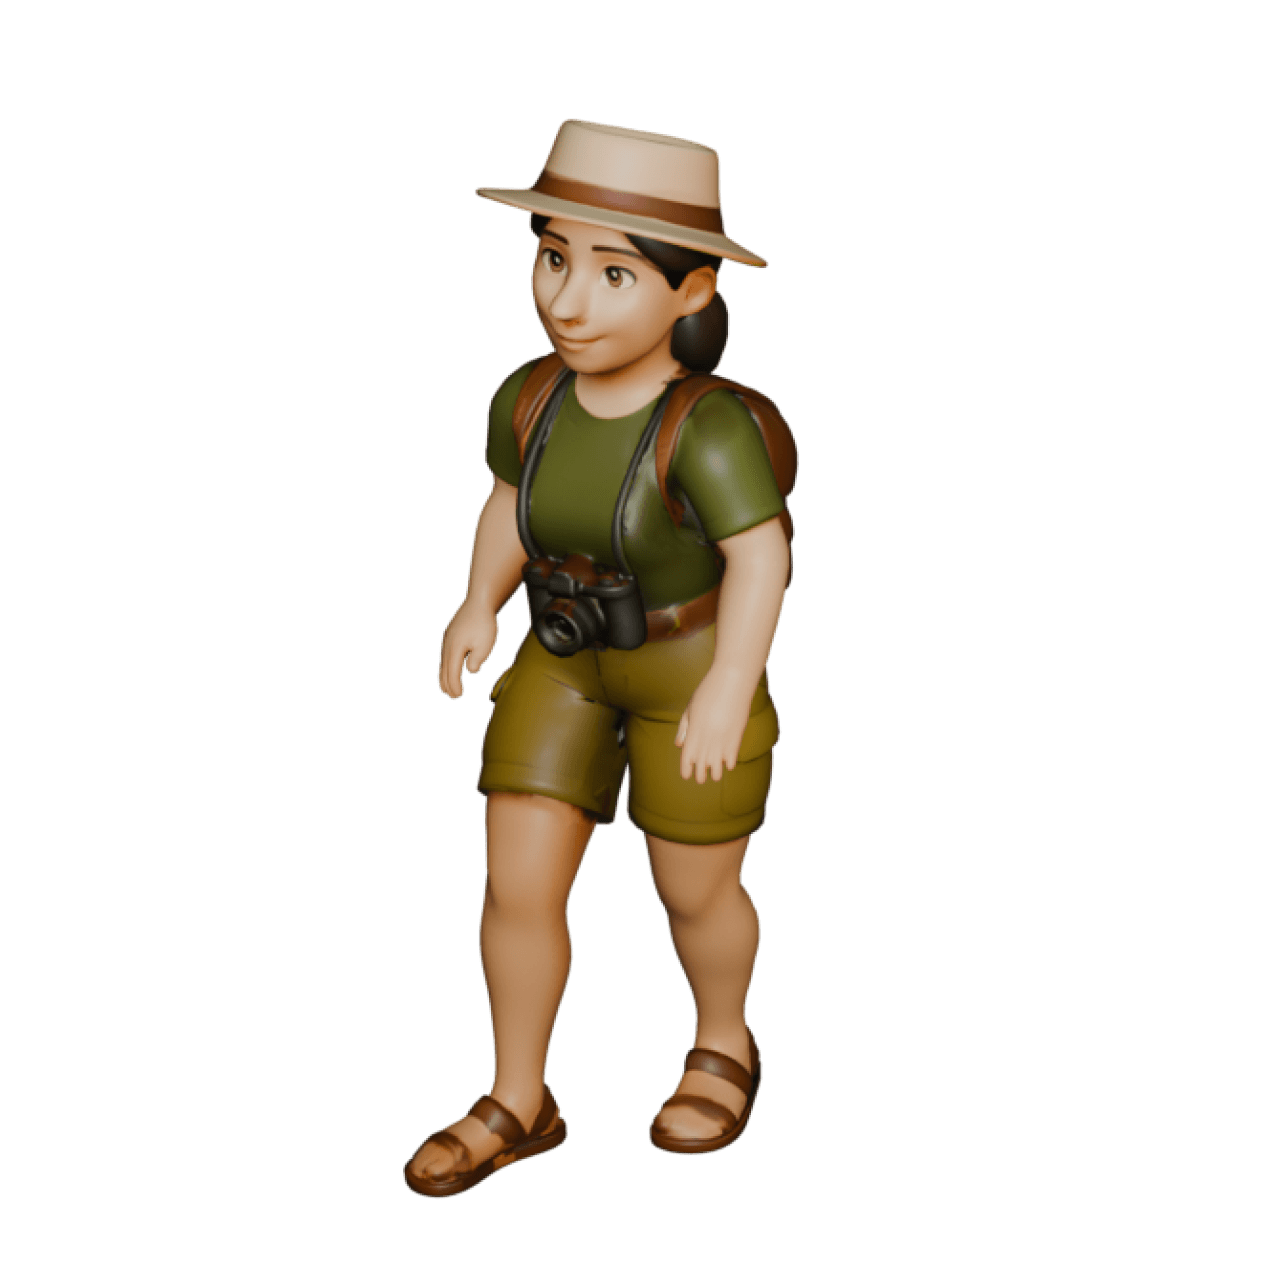
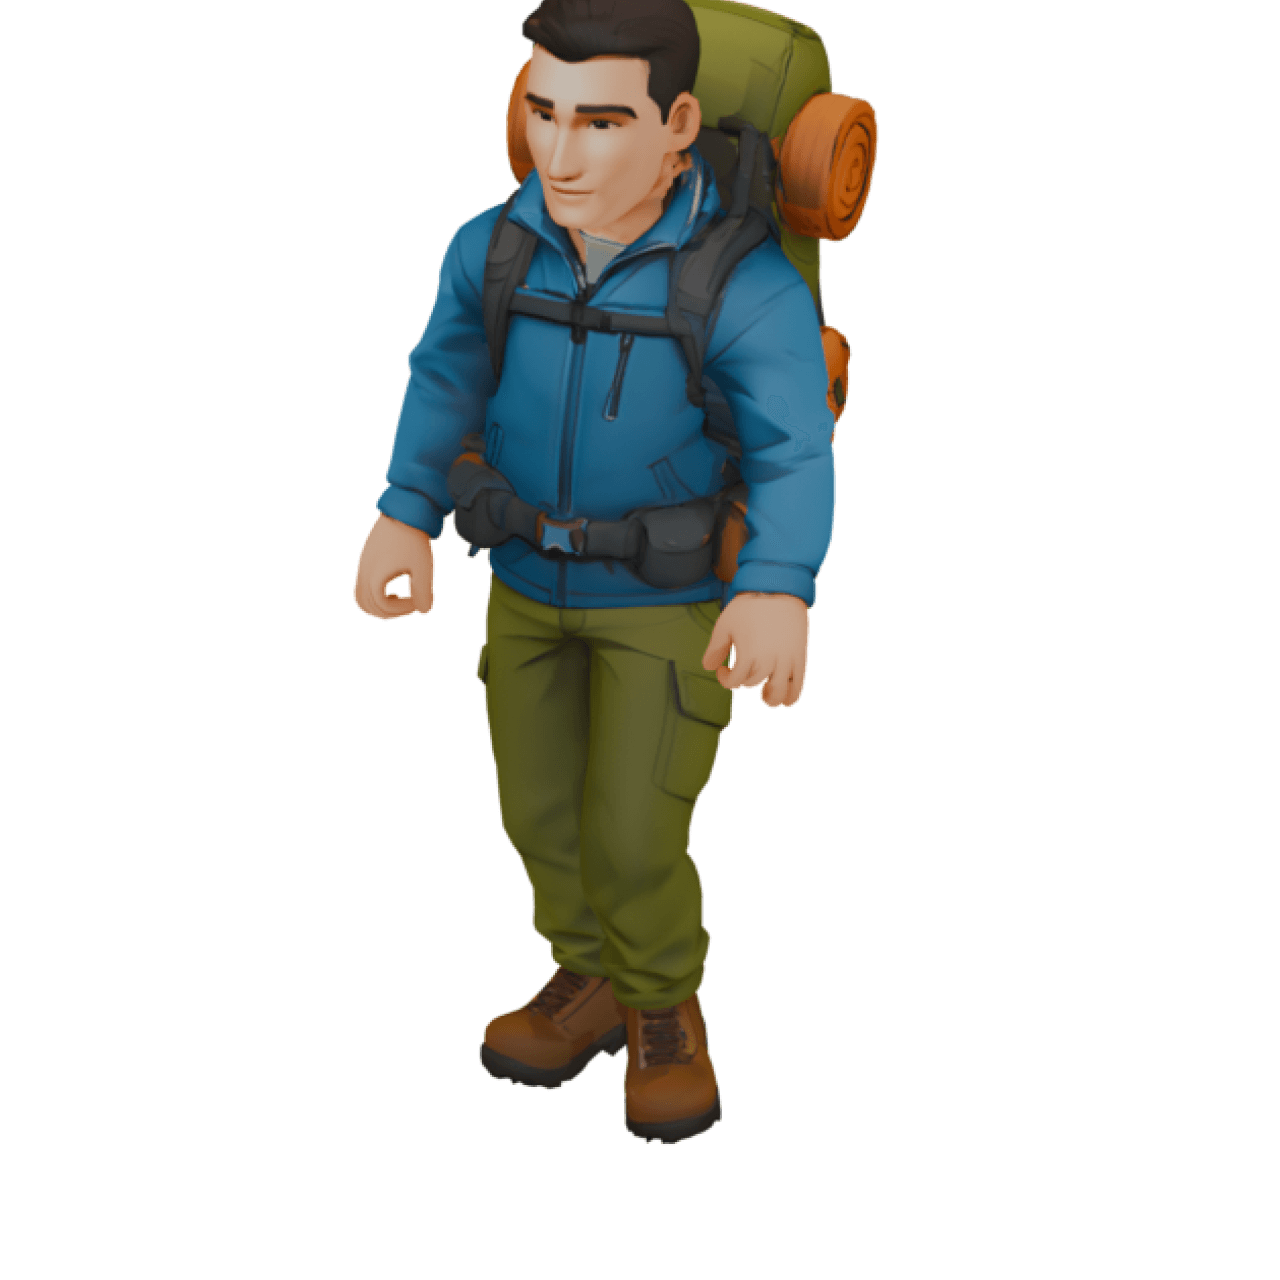
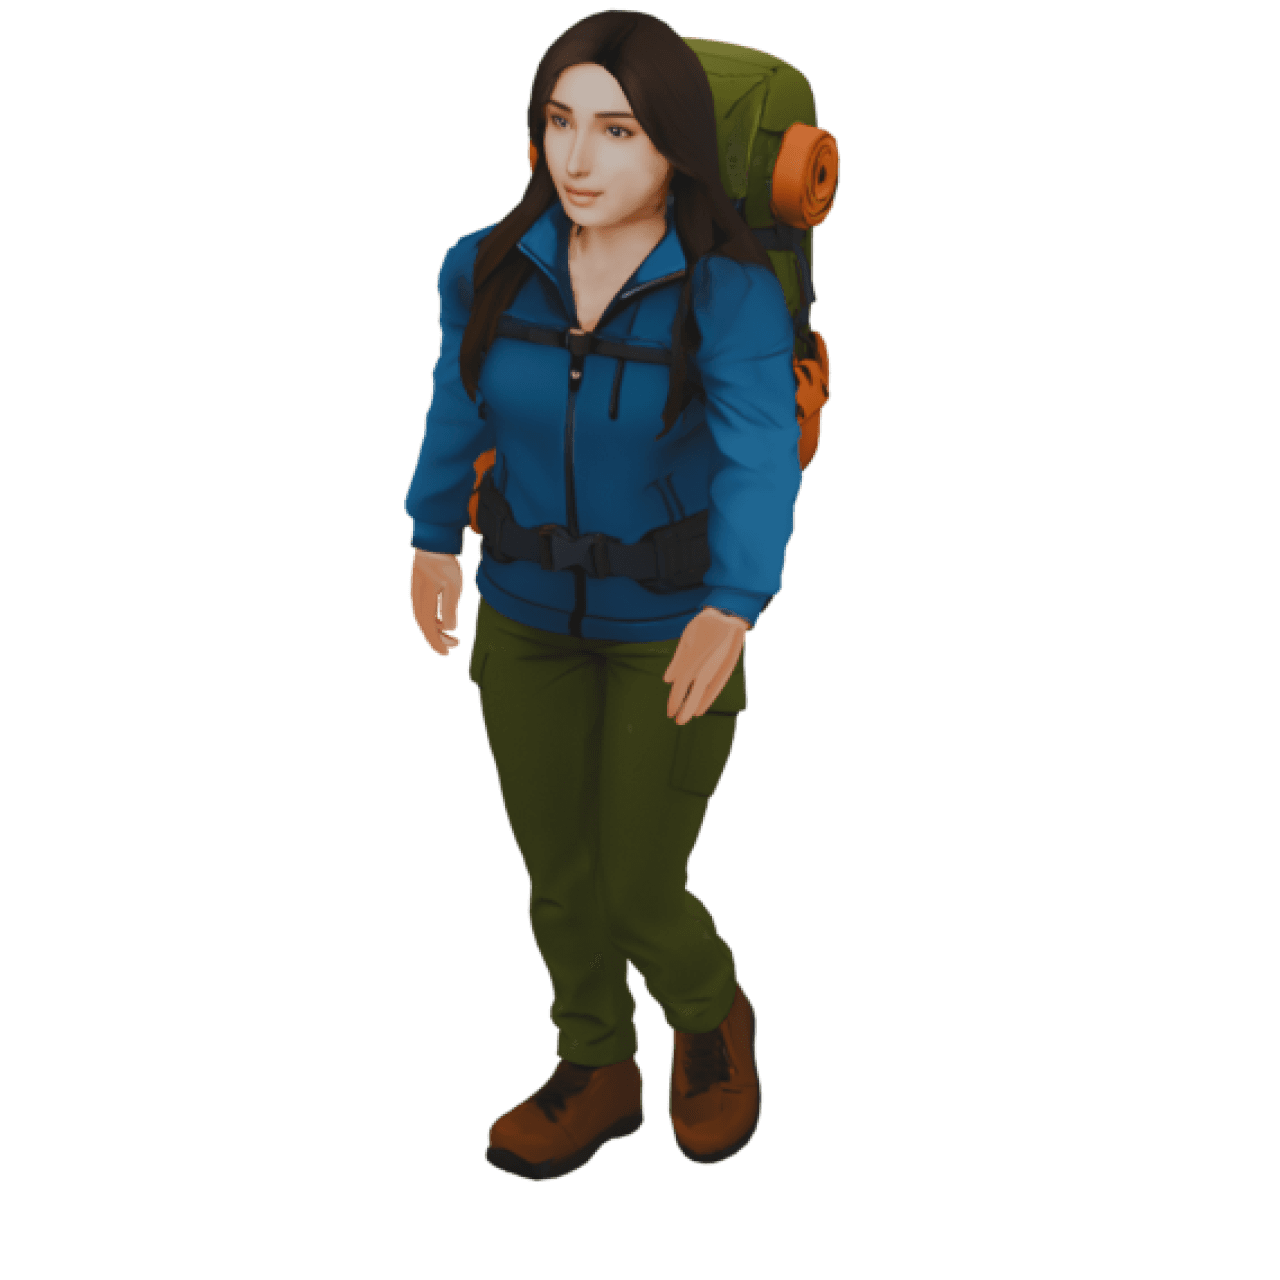
Pick a hiking model, add place labels, and apply any other customizations you’d like for the video.
4. Set Your Scene Style
Open Scene Style and choose Default, Follow, or Lead to make sure the elevation is actually visible from the camera angle. Avoid Atlas, Sticker, or Sticker 2 if you want the 3D terrain to show.
5. Preview the Difference
Play the animation and compare how the route looks with elevation on versus a flat map style. The climbs and descents of your hike will be immediately obvious.
6. Export Your Video
Once you’re happy with how the terrain looks in preview, export your final hiking animation.
Why Scene Style Matters for Elevation
It’s easy to turn on Satellite and assume elevation will show up automatically in every view — but the camera angle plays a big role in whether terrain depth is visible.
- Default, Follow, and Lead all use a side or behind-the-vehicle camera angle, which naturally shows the rise and fall of the terrain as your model moves along the route.
- Atlas, Sticker, and Sticker 2 view the map from directly above (90 degrees), which flattens the visual perspective — so even with elevation data active, the terrain won’t look three-dimensional on screen.
If your hiking video looks flat even after selecting Satellite, check your Scene Style first — it’s the most common reason elevation doesn’t appear as expected
Bring Your Hike's Terrain to Life
A hiking route isn’t just a line on a map — it’s climbs, descents, and rugged terrain that deserve to be seen. With 3D Elevation in TravelAnimator, your hiking animations can finally show the landscape the way it actually looked on the trail.
Download the TravelAnimator app from the App Store or Play Store, select Satellite map style, and turn your next hike into a video with real depth.
FAQs
3D Elevation is tied to the Satellite map style, so make sure that's selected first. If it's already on and you still don't see terrain depth, check your Scene Style — Atlas, Sticker, and Sticker 2 look straight down at the map, which flattens the visual even though elevation data is active.
The Satellite map style is what enables 3D Elevation. Selecting it automatically turns on real terrain height for your route, showing climbs, descents, and rugged landscape detail.
Default, Follow, and Lead all use an angled camera view, which clearly displays terrain height as your model moves along the route. These are the best choices for showing off 3D Elevation.
Elevation data is still active with Atlas, Sticker, and Sticker 2, but these Scene Styles view the map from directly above at 90 degrees, which flattens the perspective so the terrain won't look three-dimensional on screen