How to Upload and Use GPX Files in Travel Animator?
To import a GPX file into Travel Animator, save the .gpx file on your device, open the Route menu and choose Add GPX. Select the file, check the imported path, customize the animation and export your video.
 Jaseel S6 min read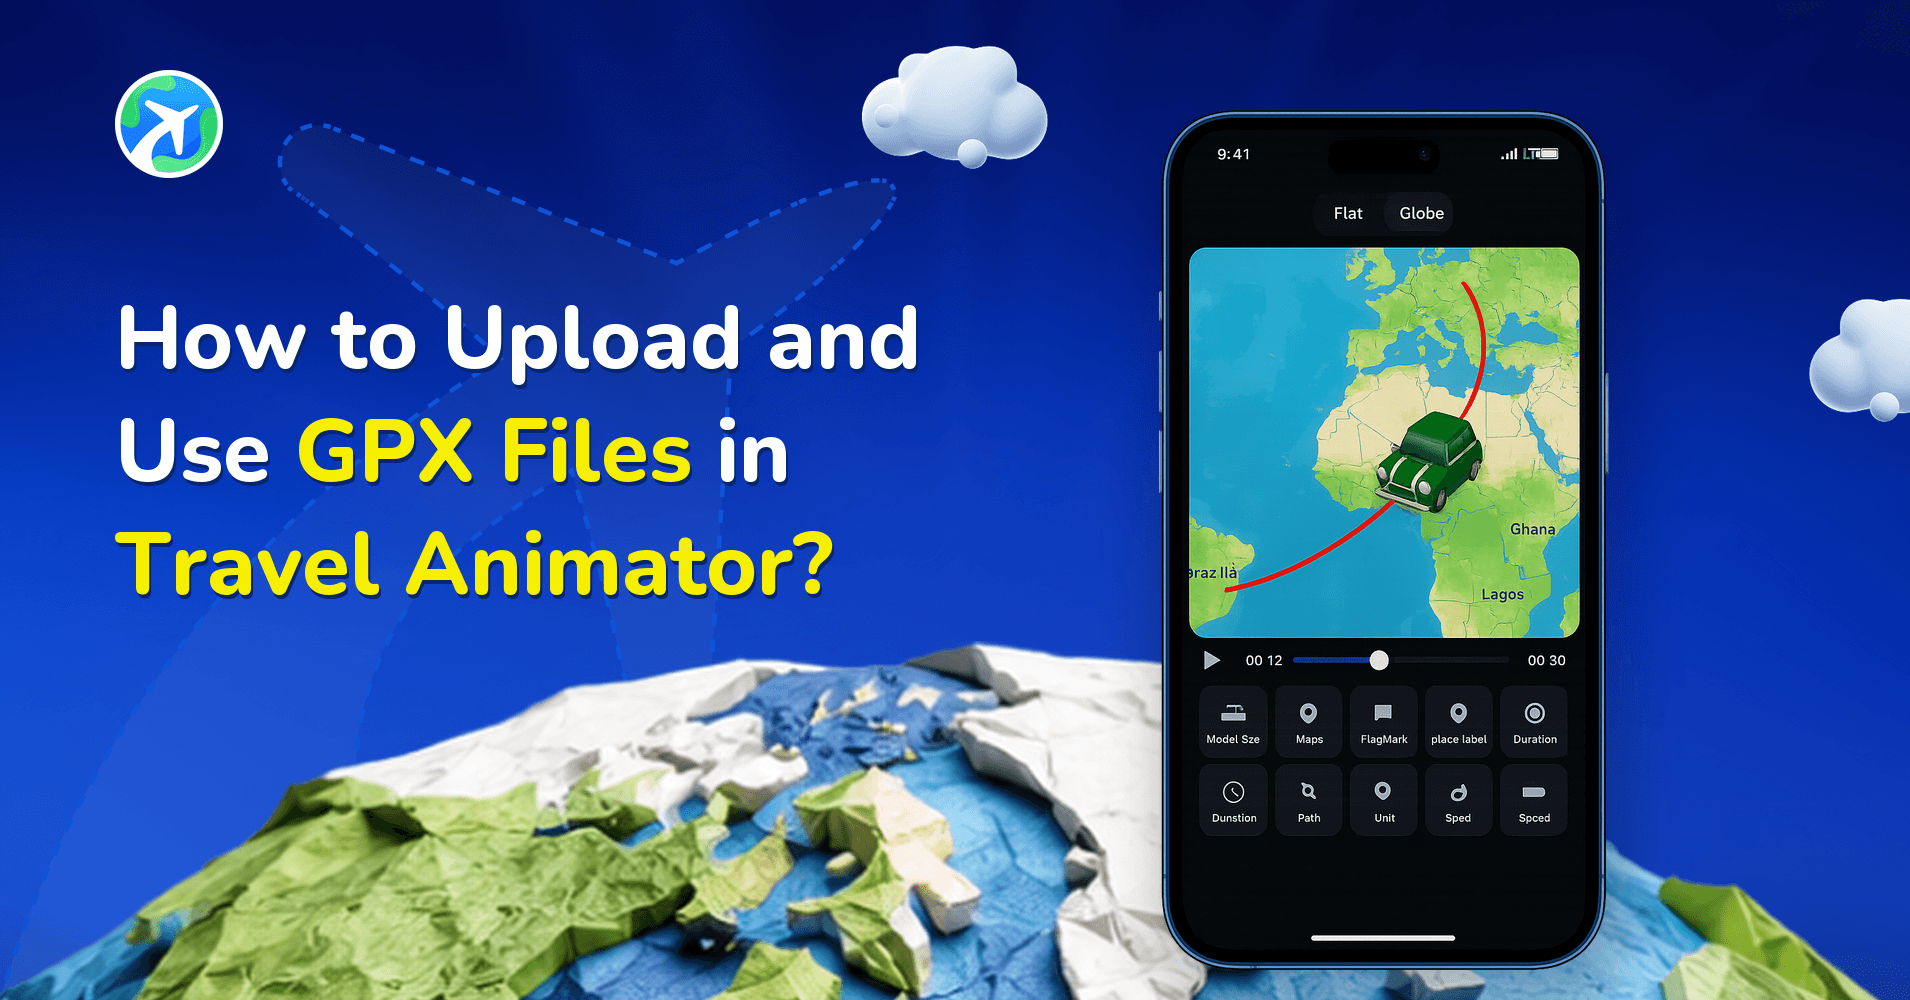
In this article 9 sections
Turn your adventures into stunning travel videos with the Travel Animator app, which allows GPX file uploads.
Imagine you are traveling from Los Angeles to San Francisco, and you are planning to create your travel videos. Instead of adding destinations with straight-line paths, you want to include all the curves and stops you experienced in your real journey. In this situation, you can upload a GPX file of your routes traveled for a real and detailed video.
This blog will guide you through uploading the GPX file in Travel Animator and explain the benefits of adding it.
If your route starts in another mapping or tracking tool, the guides to connecting your travel tools cover the wider workflow of bringing that journey into Travel Animator.
How to create your travel videos using GPX files on the Travel Animator?
- Open the Travel Animator app on your device.
- Tap on the “Route menu” on the top right side of the screen.
- Find the “Add GPX” button at the bottom of the settings option to add your route.
- You can see your uploaded route visible there.
- Then, you can add additional features like models, points, etc.
- Preview the video and adjust features like maps, ratio, quality, etc.
- Export the video to your device and share it with the public to showcase your exact travel journey.
How to get the GPX file of specific routes using Google Maps?
- Open Google Maps on a desktop.
- Mark your routes by adding destinations.
- Copy the link of your routes from Google Maps.
- Convert this link to GPX from any GPX converter and download the file to your device.
- Upload the downloaded file in Travel Animator to create your travel videos using your routes.
Benefits of adding GPX in Travel Animator

- GPX file records your exact path, including stops, turns and destinations.
- Your journey appears more realistic in the travel animation, resulting in high engagement and public interaction.
- Save time by uploading and animating videos instead of adding points and curves to your travel animation videos.
When the Imported Route Looks Wrong
A GPX import is only as tidy as the recording behind it. These are the problems we see most, and the quickest fix for each.
- The line zig-zags or looks shaky. GPS tracks can hold hundreds or thousands of points, including every wobble when you stopped for coffee. Turn on the Smoothen Route toggle after importing for a cleaner path. Leave it off if exact accuracy matters more than looks.
- The animation runs backwards. If the vehicle starts where your trip ended, use Invert Route from the route menu instead of recreating the GPX file.
- An old route is still on the map. Start from an empty map before tapping Add GPX, either by saving the current project and starting a New Route, or with Delete Route in the route settings.
- The journey feels far too long. A full-day drive squeezed into 20 seconds, or stretched to two minutes, rarely works. Adjust the video duration on the preview screen until the vehicle moves at a pace viewers can follow.
Tips for better travel route videos
- Add images and image text in each destination to showcase the flow of the journey.
- You can add a suitable map that helps with storytelling.
- Choose the right speed that matches your animation journey to include each destination.
- Keep it short and engaging when sharing your journey on social media.
Turning a Raw GPS Track Into a Story
A raw track shows where you went, but not why anyone should watch. Take a 12 km ridge hike: the GPX gives you a perfect line, and on its own that’s a dot crawling across a map. Here’s how to give it some shape.
- Zoom in to the maximum level on the route so the individual points appear.
- Long-press the points that matter: the trailhead, the summit, the lake where you had lunch.
- Tap Add Media and drop in a photo or a short line of text. Each one creates a natural pause, so viewers get a moment to look before the route moves on.
- Use Change Model if the trip changes transport. A bus to the trailhead and then walking reads much better than one vehicle for the whole day.
- Tap the + button to add extra destinations, such as the town you drove from before the recording started.
Keep media to the moments that tell the story. Five well-chosen stops beat twenty photos that bury the route. For more on this, see how to customize a GPX route.
Are you an iOS user?
The iOS version of the GPX file allows you to create travel videos using your exact route. This feature is now available for free.
Uploading a GPX file in Travel Animator is a good way to showcase their real route in the video. Whether you are a content creator, travel blogger, or business, this updated feature will help you meet your needs engagingly.
Check the file and imported route
A GPX file contains geographical route or track data. A screenshot of a map, a video export and a share link are different inputs. Save the actual .gpx file on your device before choosing Add GPX, then compare the imported path and direction with the journey you intended.
GPS recordings can contain gaps or unwanted points. Preview the route before decorating it and check the source file if the path looks wrong. Do not assume an animation corrects inaccurate source data.
Do I need to convert a Google Maps link to GPX?
No. If you already have a supported Google Maps link, use direct Google Maps link import instead. Use GPX when you already have a route or recorded track in that format.
Frequently Asked Questions
How to create your travel videos using GPX files on the Travel Animator?
Open the Travel Animator app on your device. Tap on the “Route menu” on the top right side of the screen. Find the “Add GPX” button at the bottom of the settings option to add your route. You can see your uploaded route visible there. Then, you can add additional features like models, points, etc. Preview the video and adjust features like maps, ratio, quality, etc. Export the video to your device and share it with the public to showcase your exact travel journey.
How to get the GPX file of specific routes using Google Maps?
Open Google Maps on a desktop. Mark your routes by adding destinations. Copy the link of your routes from Google Maps. Convert this link to GPX from any GPX converter and download the file to your device. Upload the downloaded file in Travel Animator to create your travel videos using your routes.
Do I need to convert a Google Maps link to GPX?
No. If you already have a supported Google Maps link, use direct Google Maps link import instead.
Why does my GPX route look jagged in Travel Animator?
GPS recordings capture every small movement, including drift while you were standing still, so the imported line can look zig-zagged. After importing the file with Add GPX, switch on the Smoothen Route toggle to get a cleaner, more cinematic path. If you need the route to stay exactly as recorded, for documentation or a technical presentation, leave smoothing off.
Can I change the vehicle partway along a GPX route?
Yes. Zoom in on the imported route until the points are visible, long-press the point where the transport changes and tap Change Model. Pick the new vehicle, such as a train after a drive, and repeat for any other changes. Preview the animation to check each switch happens in the right place.