How to Create a Flight Path Animation for Any Two Airports
 Jaseel S9 min read
You can turn any flight into a short map video by entering the two airport codes in Travel Animator and letting a plane fly the route between them. The result is a curved flight path that moves across a real map, from takeoff to landing.
Imagine you’ve just booked a flight from Delhi to Singapore for a friend’s wedding. Instead of posting a boarding-pass photo, you share a 12-second video of a plane leaving Delhi, sweeping across the Bay of Bengal and landing at Changi. Your followers see where you’re going and how far it is in a shot, and it takes only a few minutes to make.
This guide covers each of those steps, with a few airport-specific details that make the difference between a clean flight video and one that looks slightly off. It focuses on a single flight between two airports.
One thing to know upfront: the app draws a stylized path between the two points you choose. It does not replay the exact track your aircraft flew.
What You Need Before You Start
- The TravelAnimator app on iPhone or Android. Download it here.
- Both airport codes that are printed on your boarding pass or booking confirmation.
- A decision on where the video is going, whether it is on Instagram, a presentation or WhatsApp. This affects the aspect ratio and duration later on.
Step 1: Pick the Right Airports
Most flight animations that look wrong start with a pin in the wrong place. It pays to spend thirty seconds on this step.
Use the Three-Letter Airport Code – In the location search, type the airport’s IATA code instead of its full name: DXB, JFK, LHR, SIN. The app recognizes the code and shows the matching airport, so you don’t have to scroll through a list of similarly named places. Our guide on searching airports using IATA codes explains exactly how the search works.
If you search by city name instead, check where the pin lands. A city search can place the point in the city centre rather than at the airport, which shortens or bends the route in a way viewers may notice.
Check Cities With More Than One Airport – Many large cities have two or more airports. Your animation should use the one you actually flew from.
| City | Airports (IATA code) |
|---|---|
| London | Heathrow (LHR), Gatwick (LGW), Stansted (STN), Luton (LTN) |
| New York | JFK (JFK), Newark (EWR), LaGuardia (LGA) |
| Tokyo | Haneda (HND), Narita (NRT) |
| Dubai | Dubai International (DXB), Al Maktoum (DWC) |
| Paris | Charles de Gaulle (CDG), Orly (ORY) |
Typing the code rather than the city name avoids this problem entirely.
Small Airfield With No Code? – Some regional airstrips, private fields and seaplane bases don’t come up in search. In that case, place the point with its exact latitude and longitude. See how to search by coordinates.
Step 2: Build the Two-Airport Route
- Open a new project and tap Add Locations.
- Tap the Starting Point field and type the departure airport’s code. Tap the correct result.
- Tap the End Point field and type the arrival airport’s code. Tap the correct result.
- Zoom in on both pins and confirm each one sits on the airport.
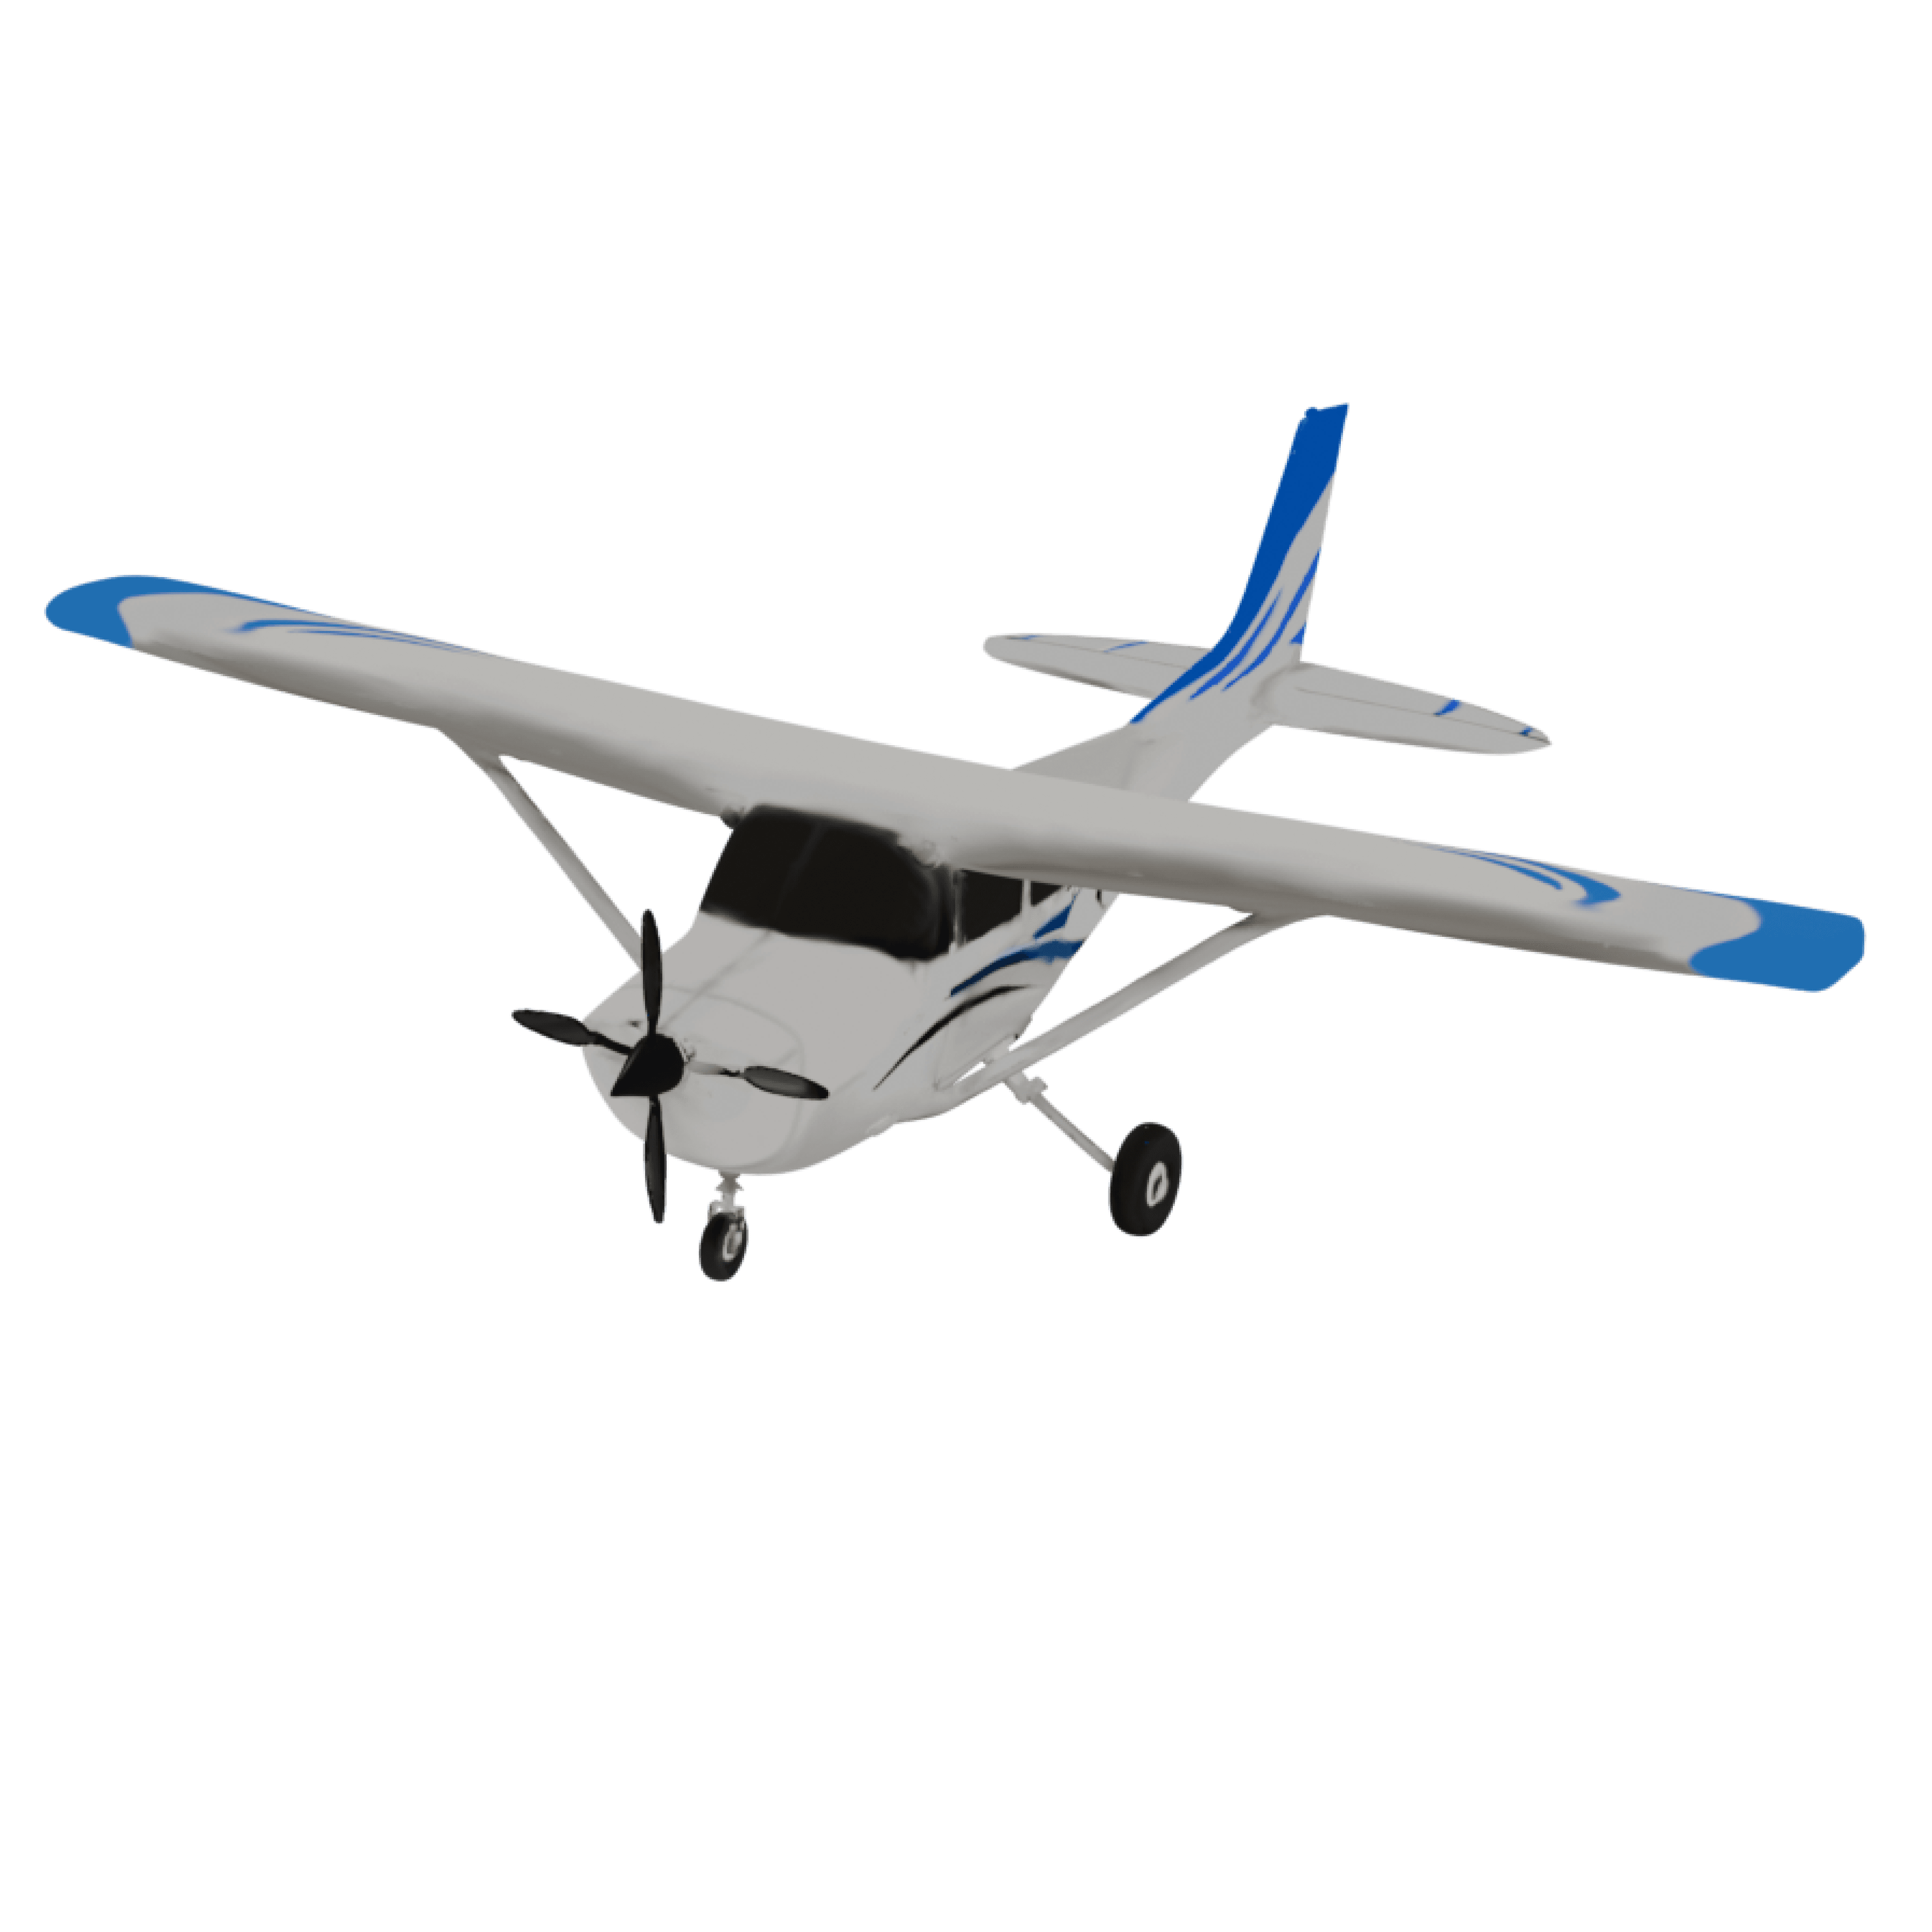
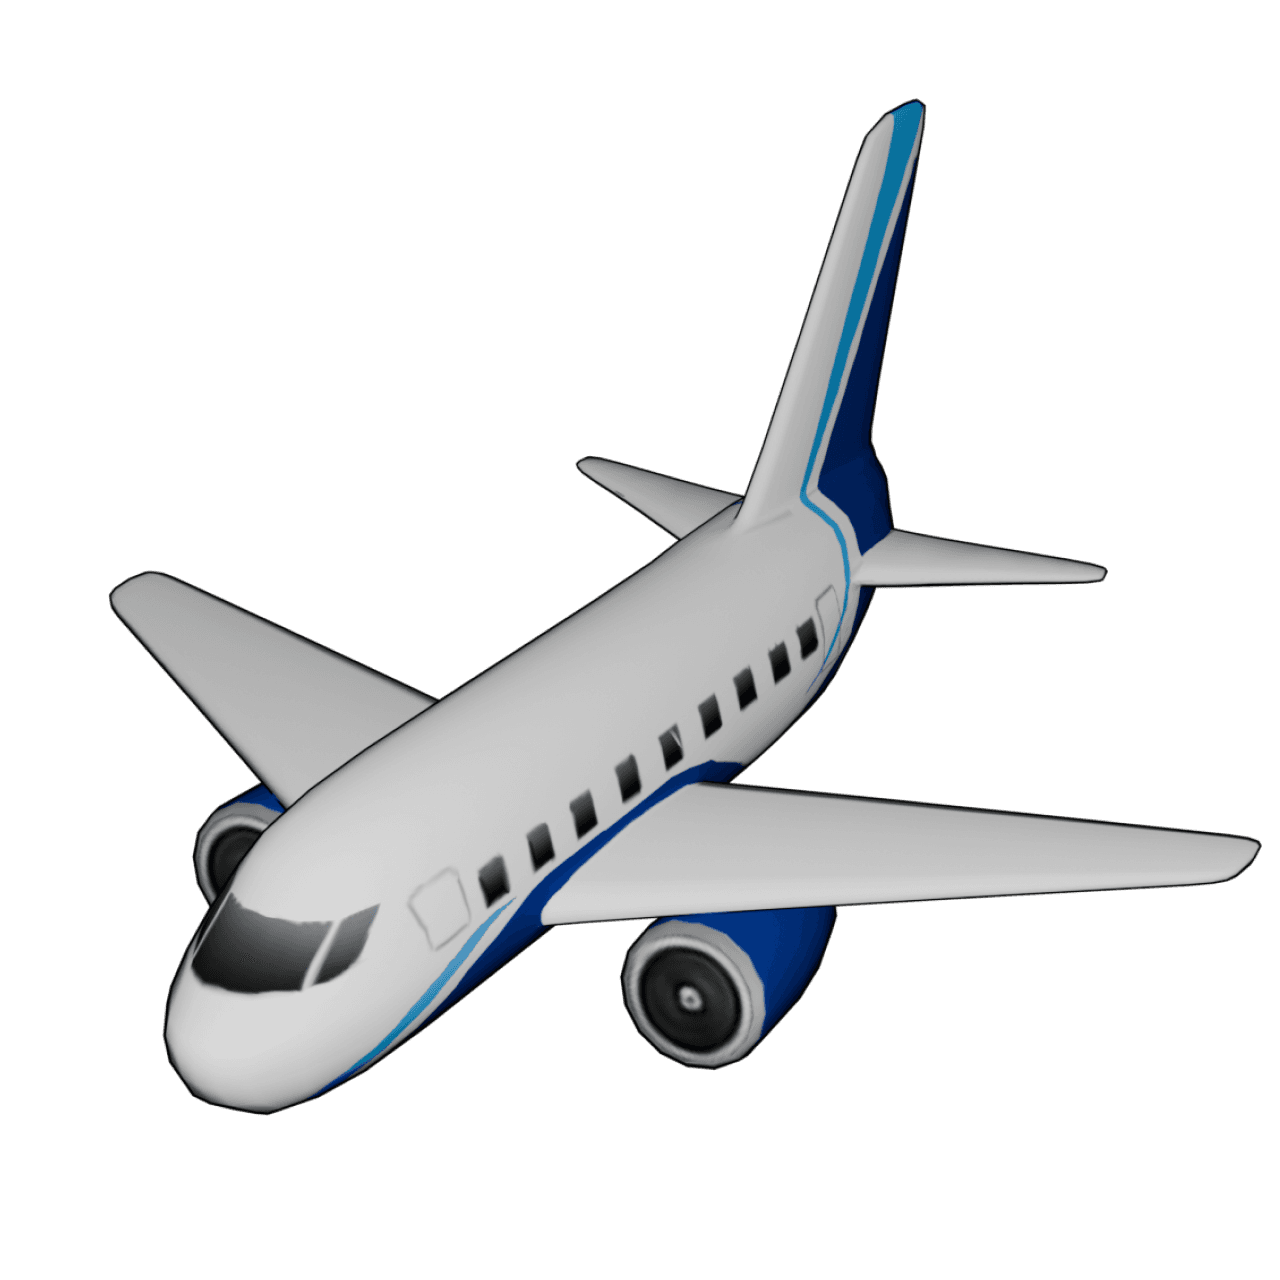
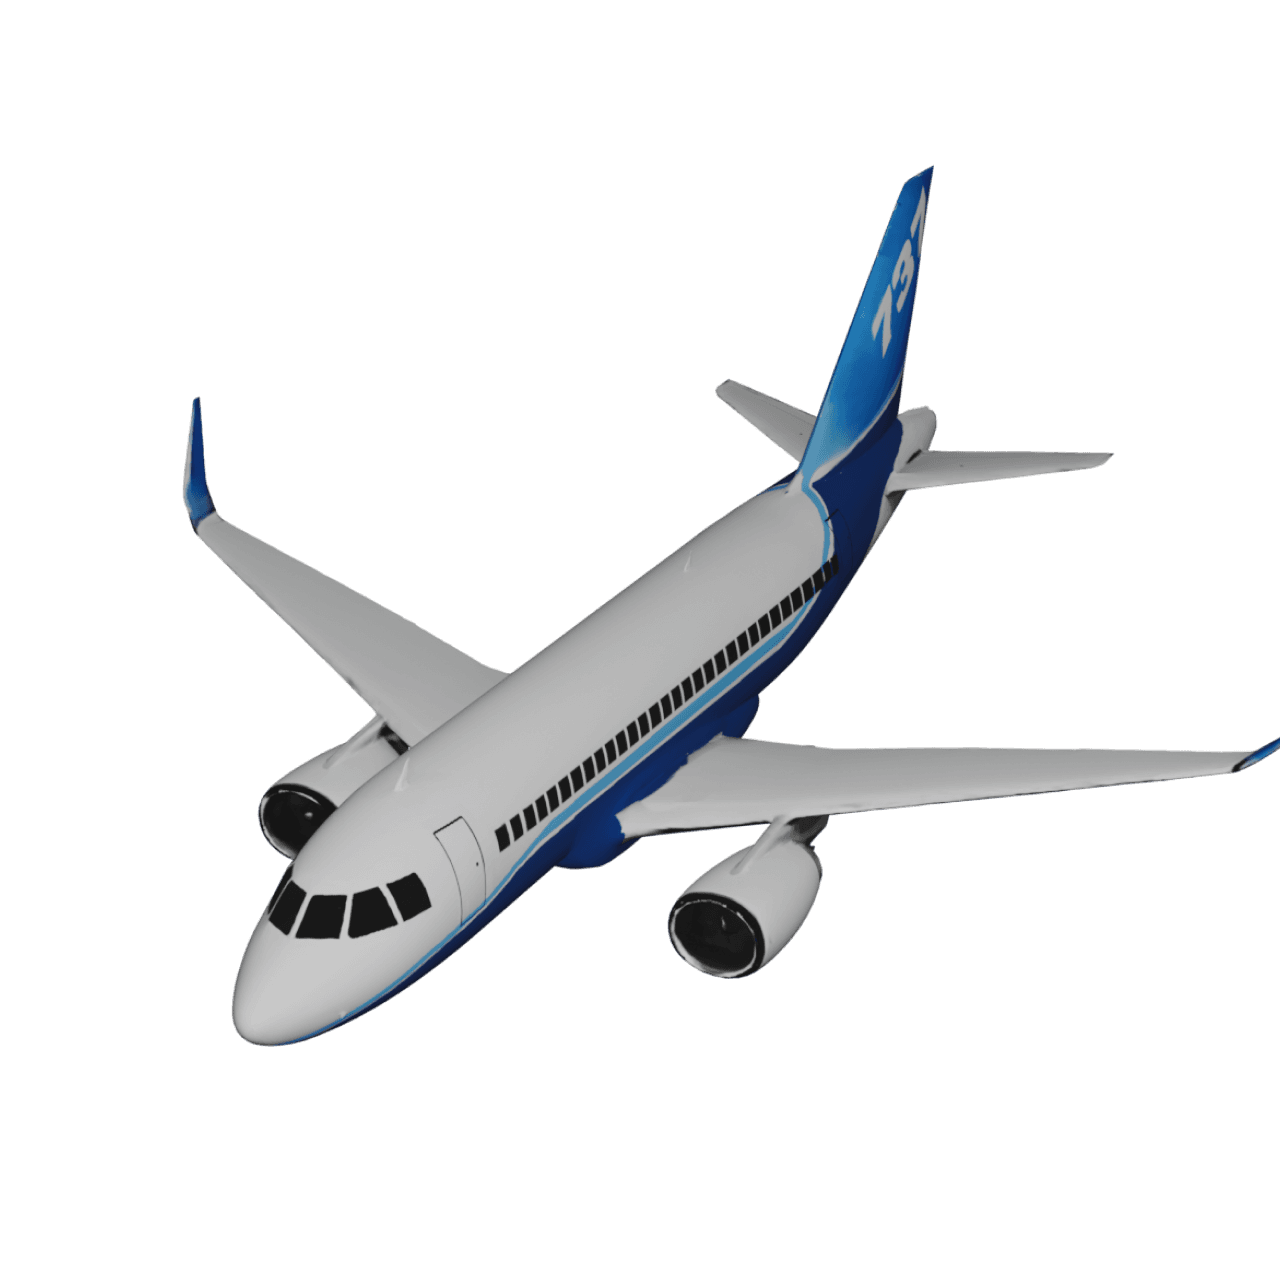
- Long-press the starting point and choose a model from the plane collection. A passenger jet suits most airline flights. A smaller propeller plane suits short regional hops.
- Tap Preview to watch the plane route before you style anything.
Step 3: Turn the Straight Line Into a Flight Arc
A straight line between two airports looks like a diagram. Real flights appear curved on most maps, so a gentle arc makes the animation feel like a flight.
- You can enable real routes by long-pressing the point if the arc is smooth.
- Or, tap the route line and drag it to add a curve point.
- Keep the arc wide and shallow. A sharp bend makes it look like the plane is taking a detour.
- For very long flights, one wide curve usually looks better than several small ones.
- Preview after each adjustment. An arc that looks subtle on the edit screen can look stronger once it plays.
To change the line’s colour, width or style, see how to customise the route line. For more techniques specific to routes that cross oceans and continents, read how to make long-distance routes look engaging.
Step 4: Match Your Settings to the Flight's Length
A 45-minute domestic hop and a 15-hour long-haul flight need different treatment. Use this table as a starting point, then adjust after previewing.
| Flight type | Example pair | Arc | Map view | Suggested duration | Model size |
|---|---|---|---|---|---|
| Short-haul (under 2 hrs) | COK → BLR | Slight | Flat map works well | 6–10 seconds | Standard |
| Medium-haul (2–6 hrs) | DEL → SIN | Moderate | Flat or globe | 10–15 seconds | Standard or slightly smaller |
| Long-haul (6+ hrs) | JFK → LHR | Wide | Globe | 12–20 seconds | Slightly smaller |
| Ultra-long-haul | SIN → JFK | Wide, single curve | Globe | 15–25 seconds | Smaller |
Why these choices matter:
- Globe view for long flights. It shows the curve of the Earth and makes a long distance feel long. Short hops can look zoomed-out and empty on a globe.
- Duration. If the video is too short, a long flight feels rushed. If it’s too long, the middle of an ocean crossing drags with nothing new on screen.
- Model size. A plane sized for a short hop can look toy-like when it crosses an entire ocean. Reducing the size slightly usually looks more realistic.
To control how the camera follows the plane and zooms during the flight, see how to customise your scene style.
Step 5: Add Airport Details Viewers Can Read
Rename the labels – “Singapore Changi Airport” is hard to read on a phone screen. “Singapore” or “SIN” is easier. Pick the city name for general audiences and the code for aviation-minded viewers. See how to edit location names and how to customize place labels.
Show the distance – In preview, tap the unit button to show the route distance in kilometres, and tap again to switch to miles. For a flight between two airports, the distance is often the most interesting number in the video.
Add country flags for international flights – Tap the Flag button on the preview screen to show the flags of the countries involved. Full steps are in how to show country flags.
Start with a cover – A cover image, such as a photo from the departure gate, gives the video a proper opening frame. You can choose a suitable cover template.
Step 6: Export in the Right Format
Choose the aspect ratio before exporting, based on where the video will be posted.
| Where it's going | Aspect ratio |
|---|---|
| Instagram Reels, Stories, TikTok, WhatsApp Status | 9:16 (vertical) |
| YouTube, presentations, laptop screens | 16:9 (landscape) |
For platform-specific tips, see how to create a travel animation for Instagram Stories and Reels.
Free vs Pro: The free plan exports in HD with a watermark. Pro removes the watermark, adds 4K export and unlocks the full library of 300+ models and 30+ map styles. Compare the plans in TravelAnimator Free vs Pro or see current pricing.
Worked Example: Delhi (DEL) to Singapore (SIN)
This is how the steps above come together for a real medium-distance route of about 4,150 km, with most of it over the Bay of Bengal.
- Airports: Type DEL as the start and SIN as the end. Both cities have one main international airport, so there’s no confusion.
- Vehicle: Choose a passenger jet.
- Arc: Drag the line into a moderate curve heading south-east, so it sweeps across the Bay of Bengal instead of cutting a straight diagonal.
- View: Try the globe view. For a flight this length it usually adds depth. Preview both views and keep whichever reads better.
- Duration: Around 12 seconds.
- Details: Rename the labels to “Delhi” and “Singapore”, switch on the distance in kilometres, and turn on the India and Singapore flags.
- Export: 9:16 for Instagram Stories, or 16:9 for a slideshow.
Watch the full preview once more before exporting. A curve that looked fine in the small preview can look exaggerated at full size.
Going Further: Return Flights, Connections and the Drive to the Airport
This guide covers a single flight. When your video needs more than that, these guides pick up where this one ends.
- Return flight: Build the outbound flight, then invert the route to create the return trip without re-entering the airports. To show the full trip out and back in one video, see how to create a round-trip travel map.
- Connecting flight: Add the connecting airport as its own stop, not just in a caption. Otherwise, the video shows a nonstop flight that never happened. See how to plan multi-stop routes.
- Pause at the airport: To give viewers a moment to read the airport label, add a reading pause.
- Drive to the airport: Add the drive from home or the hotel as a separate part with a car model, and enable Real Routes so the car follows real roads. Keep the flight part as a drawn arc, and switch models from car to plane at the airport.
Quick Checklist Before You Export
- Both pins sit on the correct airport, not the city centre or a second airport in the same city.
- The vehicle is a plane on the flight part.
- The line has a gentle arc, not a straight line or a sharp bend.
- Duration and model size suit the flight’s length.
- Labels are short enough to read on a phone.
- The aspect ratio matches where the video is going.
Frequently Asked Questions
Can I type an airport code instead of the full airport name?
Yes. Type the three-letter IATA code, such as LHR or DXB, in the location search, and the app shows the matching airport.
What if the city I flew from has more than one airport?
Search by the airport’s code rather than the city name. For example, use HND or NRT for Tokyo, depending on which airport you used.
Can I show the distance between the two airports?
Yes. In preview, tap the unit button to show the route distance in kilometres, and tap it again to switch to miles.
How long should a flight path animation be?
It depends on the flight. Short domestic hops work at 6–10 seconds, medium-haul flights at 10–15 seconds, and long-haul flights at 12–25 seconds.
Can I animate the return flight without rebuilding the route?
Yes. Use the Invert Route feature to reverse the direction of the flight you already built.
Can I make a flight path animation for free?
Yes. The free plan lets you build and export a full flight animation in HD with a watermark. Pro adds 4K export, removes the watermark and unlocks the full model and map-style library.
Turn Your Next Boarding Pass Into a Map Video
All you need are two airport codes. Download TravelAnimator from the App Store or Google Play, type in your departure and arrival airports, and your flight path animation will be ready to share in a few minutes.