Road Trip Map Generator: Animate Your Route in Minutes
 Jaseel S8 min read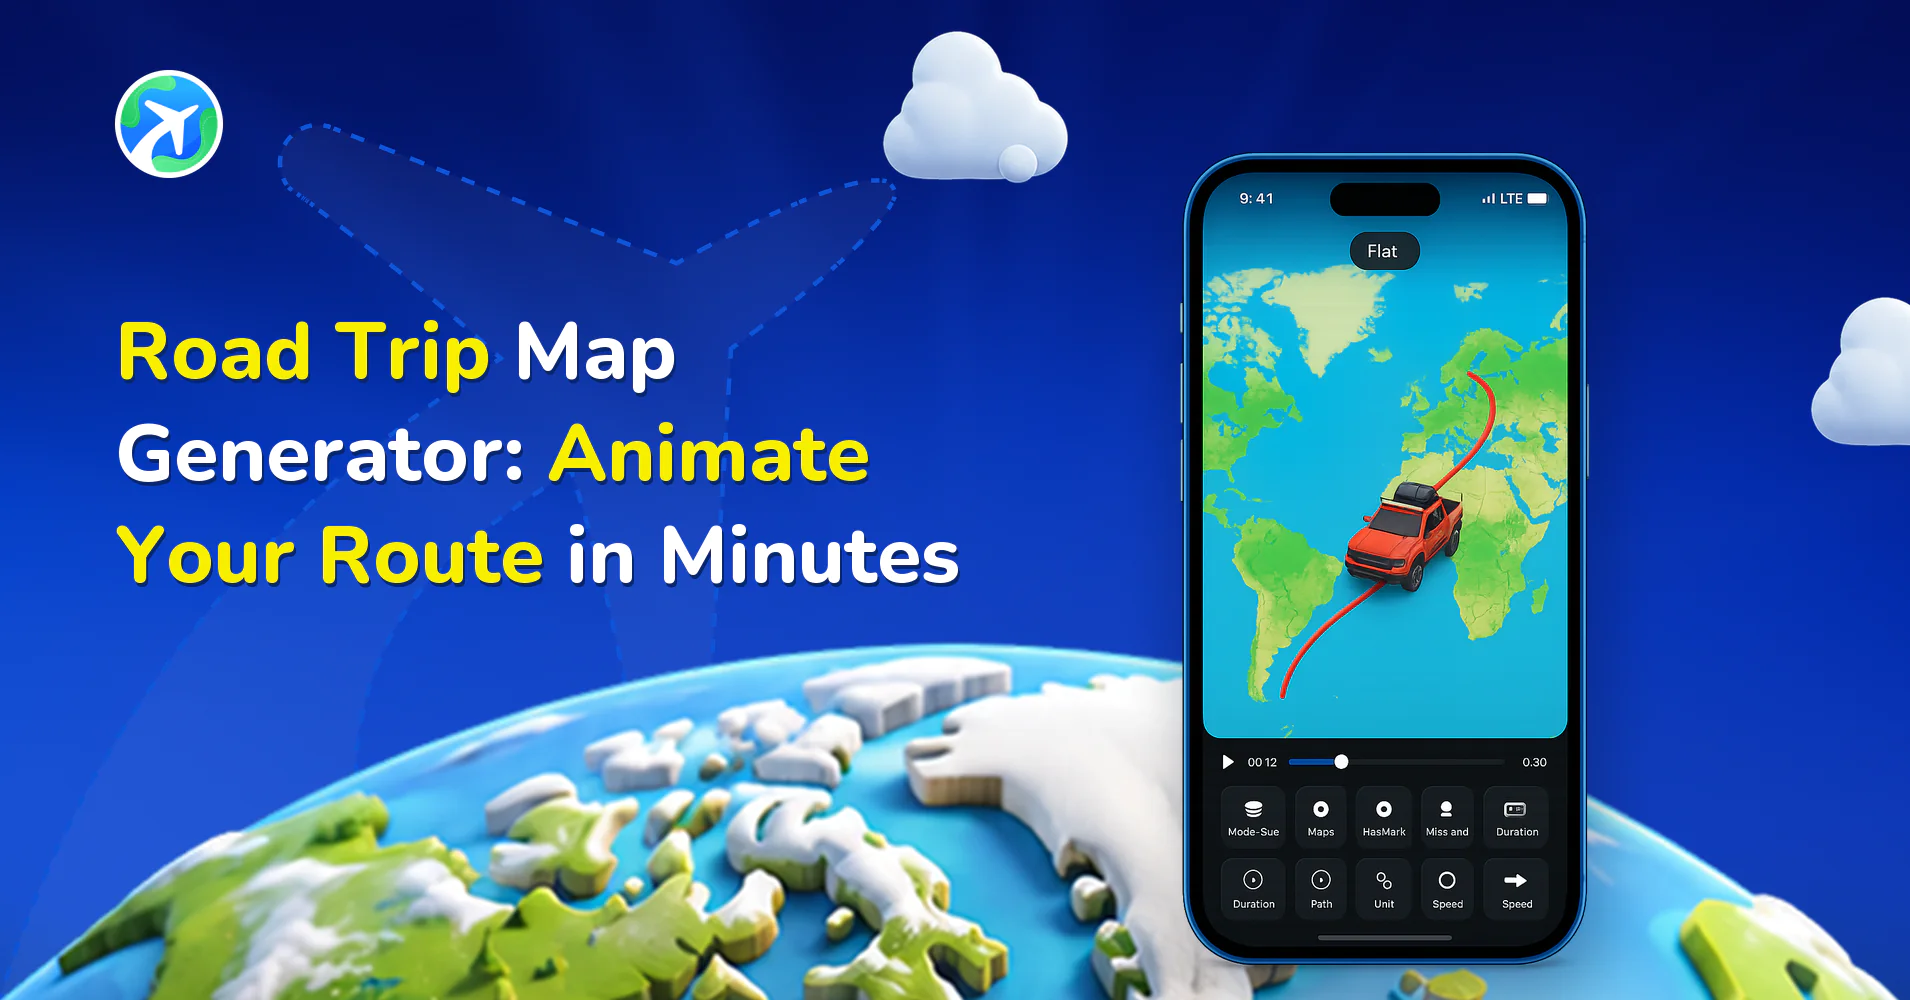
In this article 7 sections
You’ve got a week of driving ahead, six stops scribbled on the back of a receipt, and a quiet suspicion that a Google Maps screenshot won’t do the trip justice. Or you’re already home, staring at 900 photos that make no sense to anyone who wasn’t in the car.
Either way, a road trip map generator fixes it. You drop in your stops, the route draws itself across the map, and a little car (or van, or motorbike) drives it from start to finish. This guide shows you how to do that in Travel Animator, from the first pin to the exported video. You don’t need editing software or any design skills.
Quick answer: Open Travel Animator, add your start, stops and finish, switch on Real Route so the line follows actual roads, add photos and labels, choose a map style and aspect ratio, then preview and export. The free plan exports in HD with a watermark. Pro removes the watermark and adds 4K.
What a road trip map generator actually does
A route planner tells you how to get there. A road trip map generator tells the story of getting there. You feed it places, and it gives you back something people actually want to watch: an animated line, a moving vehicle, photos popping up at the right stops, and a video file you can post anywhere.
Travel Animator is a mobile app for iPhone, iPad and Android, so the whole thing happens on your phone. That’s handy for building the video on the road, in a rest stop parking lot, while someone else drives. If you’re still deciding where to go, the Journey AI Route Assistant can help you sketch the trip first.
Before you start: three things to gather
Five minutes of prep saves you from rebuilding the route later.
- Your stops, in order. Five to eight reads well on screen. Twenty starts to feel like a bus timetable. Save the minor gas stations for the caption.
- A handful of photos. One per big stop is plenty. They’re what turn a moving line into a trip.
- Where it’s going. Instagram Reels, YouTube and a slide deck all want different shapes, and that choice comes up near the end. Decide now and you won’t re-export.
Already built the route somewhere else? You can skip the manual entry. Travel Animator can import a route from Google Maps, or read a GPX file from your GPS or fitness app, which is perfect for a drive you’ve already finished.
How to make a road trip map, step by step
1. Install the app and open a new route
Download Travel Animator from the App Store or Google Play. Signing in with Google is optional, but it’s worth doing if you want to save routes or upgrade later.
2. Add your start, stops and finish
Tap Add Locations and search for your starting point. You can type a city or place name, enter latitude and longitude, or use an airport code like DXB. Then add your destination. For a road trip you’ll want more than two points, so tap the + icon to add each extra stop and drag them into the right order. There’s a full walkthrough on adding multiple destinations.
Starting from where you’re standing? Here’s how to start a route from your current location.
3. Make the line follow real roads
By default the path between stops is a simple line. For a road trip you want it hugging the highway. Long-press a point and enable Real Route. It applies from that stop to the next one, so turn it on at each stop where you want road-following. Need a bend or a detour? Tap the line between two stops to add a curve, and double-tap any point to delete it. Made a mistake? There’s undo and redo.
4. Choose your vehicle
Long-press a point and pick Change model. The free plan includes a set of basic models, including cars and motorcycles. Pro opens up a library of 300+, so your campervan can actually look like a campervan. Browse the full model library first if you like, and if the vehicle looks oversized next to a short route, you can swap models or scale it down.
5. Add photos, text and landmarks
Long-press a stop and open Add Media to drop in a photo, a video clip or a short text note. Use them together when a stop deserves it, like a canyon photo with “Day 3: finally off the interstate”. You can also place 3D landmarks on the map, from a library of 80+ recognizable places.
6. Style the map and camera
This is the fun part, and also where it’s easy to overdo it. The settings worth knowing:
- Map style: satellite, classic, blueprint, seasonal looks and more. Browse them on the maps page. The free plan uses the default style.
- 2D or 3D: flat for a clean look, tilted 3D for something more cinematic.
- Scene style: how the camera moves and zooms as the route plays.
- Path line, place labels, country flags and distance unit (miles or kilometers).
- Cover image and video duration.
7. Preview, export and share
Tap Preview Video and watch the whole thing play. If something’s off, go back and fix it before you export. When it looks right, choose your resolution and aspect ratio, export, and share it straight to your social apps. Use Save Route from the Routes menu so you can come back to it later, and see how to open saved routes on another device.
Real route or straight line? How to choose
Use a real route when the roads are part of the trip: coastal highways, mountain passes, a famous stretch like Route 66. Viewers see the path bend the way the road bends. Use a straight line when you’ve covered huge distances and the exact road doesn’t matter, like a flight between cities or a quick hop across a country. Plenty of trips mix both, and since the setting lives on each stop, you can.
Pick the right video shape
A map that looks great on a laptop can turn into an unreadable strip on a phone. Match the shape to the place you’ll post.
| Where you’ll post | Aspect ratio | Notes |
|---|---|---|
| Instagram Reels & Stories, TikTok, YouTube Shorts | 9:16 | Keep key labels away from the edges, where app buttons sit |
| Feed posts | 1:1 | Safe middle ground |
| YouTube, presentations, websites | 16:9 | Best for longer, detailed routes |
Posting to Instagram? There’s a dedicated guide on travel animations for Stories and Reels, and a deeper look at choosing the right aspect ratio.
How to make it worth watching
A road trip map video is easy to make and surprisingly easy to make badly. A few habits make the difference.
- Cut stops, not detail. If two stops are twenty minutes apart, merge them.
- Save photos for the highlights. A photo at every stop slows the video to a crawl. Pick the three or four that matter.
- Keep labels short. “Moab” beats “Moab, Utah, United States of America”.
- Match the length to the trip. As a rule of thumb, 10 to 20 seconds works for a weekend, 30 to 60 for a multi-day epic.
- Make frame one count. A good cover image is the thumbnail and the first impression.
- Add music after. Export the map video, then layer a track in Instagram, CapCut or whatever you already use.
- Add yourself. You can use your own avatar so you ride the route instead of a generic icon.
Free vs Pro: what you actually need
You can build and export a complete road trip animation on the free plan. Pro is about polish. Prices and limits change, so check the plans page for the latest. At the time of writing, Pro starts at $5.99 a month or $24.99 a year.
Free plan
- Vehicle models: basic models, including cars and motorcycles
- Map styles: default style only
- Export: HD with a watermark
- Saved routes: 1
Pro plan
- Vehicle models: 300+ models, including real-world vehicles
- Map styles: 30+ styles, including 2D, 3D and seasonal looks
- Export: HD and 4K, no watermark
- Saved routes: unlimited
For a one-off trip you’ll share with friends, free is usually enough. If you’re posting regularly or want a clean 4K export, Pro earns its keep. The full breakdown is in the Free vs Pro comparison.
Conclusion
Your next road trip deserves better than a screenshot
Add your stops, switch on Real Route, and have a shareable animated map before the next fuel stop. Get Travel Animator on the App Store or Google Play.
Keep exploring: more tutorials · flight path animation · 3D elevation for hiking maps · all guides
FAQs
Is there a free road trip map generator?
Yes. Travel Animator’s free plan lets you build a full animated route with basic vehicle models, one saved route, and HD export with a watermark. Pro removes the watermark and adds 4K export, more models and unlimited saved routes.
Can I make a road trip map from a Google Maps route?
Yes. Paste your Google Maps link into the Route menu and the app detects the route and plots it for you.
Can I animate a road trip I've already driven?
Yes. If you recorded the drive with a GPS or fitness app, upload the GPX file and Travel Animator recreates the exact path. See the GPX routes page for more.
Does it work on Android?
Yes. It’s available for iPhone, iPad and Android.