How to Add Multiple Destinations in TravelAnimator
 Jaseel S7 min read
In this article 9 sections
Travel Animator allows you to add multiple destinations to your video to share your travel experience. It helps you showcase your entire travel journey in a single engaging video, from start to finish, whether it’s a road trip, flight, or any other.
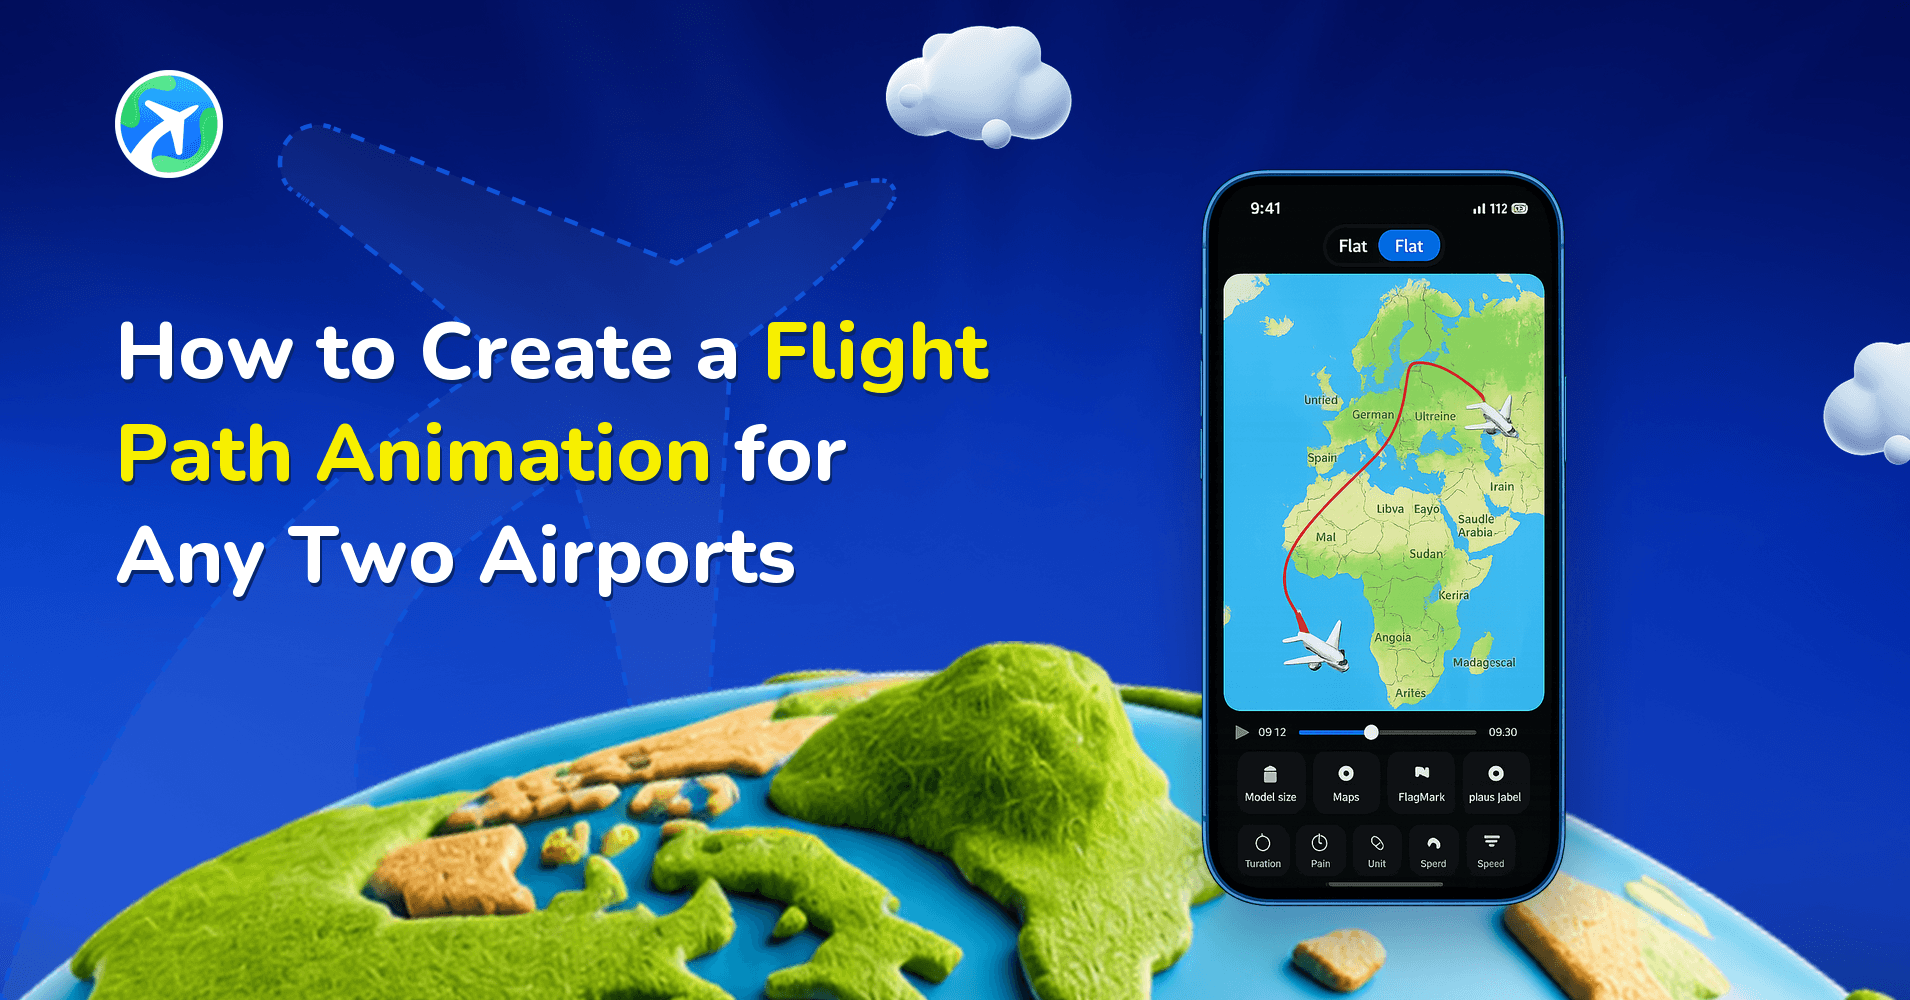
Imagine you are traveling from India to Russia on a connecting flight via Saudi Arabia. You want to share this travel route on social media effortlessly. With Travel Animator’s multiple destination feature, you can create and share your travel animation video within minutes.
In this guide, you’ll learn how to add multiple destinations in TravelAnimator, along with tips to make your travel animation more engaging and visually clear.
What Is TravelAnimator?
TravelAnimator is a user-friendly app for creating animated travel maps. It allows you to visualize routes, add multiple stops, customize animations, and export videos for sharing on social media.
The app includes both free and Pro features, giving users flexibility to create simple travel animations or more advanced, highly customized videos.
Why is Adding Multiple Destinations Important
- Adding multiple destinations helps you present a complete travel story rather than just a single route.
- It allows you to show your journey step by step, including all stops, layovers, and checkpoints along the way.
- It makes your travel animation more informative, especially when explaining complex routes like connecting flights or long road trips.
- It is useful for content creators, travel agencies, and educators who want to present detailed itineraries clearly.
- It also helps you organize and visualize your trips, whether past journeys or future plans.
Step-by-Step: How to Add Multiple Destinations in TravelAnimator
- Open the TravelAnimator app and start creating your travel video.
- Tap Add Location, then search for your starting and end locations. You can enter a place name, coordinates, or IATA code if needed.
- To add more destinations in between, tap the + (Add Stop) button. This allows you to insert additional locations into your route.
- Each new stop will appear in the route list. You can drag and reorder the stops to match the correct sequence of your journey.
- You can enable the real routes to get the exact routes that you added. Also, upload a GPX file or a Google Maps link to get real routes.
- After adding all destinations, you can customize your route by selecting travel models (car, plane, train, etc.), adjusting route lines, and adding curves in manually added routes.
- You can also enhance each destination by long-pressing a stop and using the Add Image option to include photos or captions.
- Once your route is ready, tap Preview to see how your multi-destination journey looks as an animation.
- In the preview screen, adjust settings such as map style (2D or 3D), video duration, model size, aspect ratio, and route appearance.
- Finally, export your video in HD or 4K quality and share it directly on social media or save it to your device.
Tips for a Better Multi-Destination Travel Animation Video
- Choose a map style that matches your journey. For example, use satellite or 3D maps for long-distance or scenic routes to make the animation more immersive.
- Add images at key stops to create a stronger storytelling experience. This also helps create natural pauses in your animation.
- Use different travel models when your journey includes multiple modes of transport, such as flights, trains, or road travel.
- Enable Real Routes for more realistic path visualization, especially when accuracy is important.
- Keep your route clean by avoiding unnecessary stops that may make the animation look cluttered.
- Preview your animation before exporting to ensure all destinations appear in the correct order and at the correct timing.
When Should You Use Multiple Destinations?
- Adding multiple destinations is useful when your journey includes more than one stop, such as connecting flights, road trips with multiple cities, or train routes with several stations.
- It is also helpful when creating travel content, explaining itineraries, or building professional presentations for travel planning.
- Even for personal use, adding multiple stops allows you to relive your journey in a more structured and meaningful way.
Mixing Transport Modes on One Route
Real trips rarely use one vehicle. Lisbon to Porto by train, a flight to Paris, then a hire car to the Loire Valley means three different models on one route.
- Add every stop in travel order first.
- Long-press the stop where each leg begins and use Change Model to pick the vehicle for that leg: a train at Lisbon, a plane at Porto, a car at Paris.
- Turn on Real Routes for the road and rail legs so they follow actual roads and tracks. Leave the flight as a drawn arc.
- Preview and watch each handover. If a model switch feels abrupt, add a photo at the changeover stop so viewers get a moment before the next leg starts.
Fixing Common Multi-Stop Problems
- The route zig-zags back and forth. A stop is out of order. Drag it into place in the route list and preview again.
- A leg starts in the wrong spot. Searching a city name can place the point in the city centre. For flights, search the airport’s IATA code. For a hotel or trailhead, use coordinates, or zoom in and drag the point.
- Labels pile up on nearby stops. Two stops a few kilometres apart, like Kochi and Fort Kochi, can overlap. Shorten one of the names or ask whether both stops really need a label.
- There’s a point you didn’t mean to add. Double-tap it to delete it.
- The video feels rushed. With ten or more stops, the default timing can feel quick. Increase the video duration on the preview screen, or cut stops that don’t add to the story.
- You want the same trip in reverse. Rather than rebuilding it, use Invert Route from the Route Menu.
For planning a trip before you travel, rather than recapping one, our guide to planning multi-stop routes covers distance units and stop order in more depth.
Create Complete Travel Stories with Multiple Destinations
Adding multiple destinations in TravelAnimator transforms a simple route into a complete travel story. Instead of showing just a starting and ending point, you can present every part of your journey in a clear and engaging way. With features like route customization, images, map styles, and real route support, TravelAnimator gives you everything you need to create detailed and visually appealing travel animations.
Start adding multiple destinations to your next travel animation and turn your journeys into stories that are easy to understand and exciting to share.
Frequently Asked Questions
What Is TravelAnimator?
TravelAnimator is a user-friendly app for creating animated travel maps. It allows you to visualize routes, add multiple stops, customize animations, and export videos for sharing on social media.
Why is Adding Multiple Destinations Important?
Adding multiple destinations helps you present a complete travel story rather than just a single route. It allows you to show your journey step by step, including all stops, layovers, and checkpoints along the way.
How do I add Multiple Destinations in TravelAnimator?
Tap Add Location and enter the starting and ending destinations. Use the plus control to add more stops, arrange them in travel order and preview the complete route.
Can I use a different vehicle for each stop in TravelAnimator?
Yes. Long-press the stop where a leg begins and choose Change Model to pick the vehicle for that part of the trip, such as a train, plane or car. Repeat for each stop where the transport changes. Enable Real Routes on road or rail legs so they follow real paths, then preview to check every handover looks right.
How do I change the order of stops in TravelAnimator?
Drag the stop to its correct position in the route list, and the route line redraws in the new order. If you want to flip the entire trip so it runs from the last stop back to the first, use Invert Route from the Route Menu instead. Either way, preview afterwards to confirm the animation follows your real itinerary.