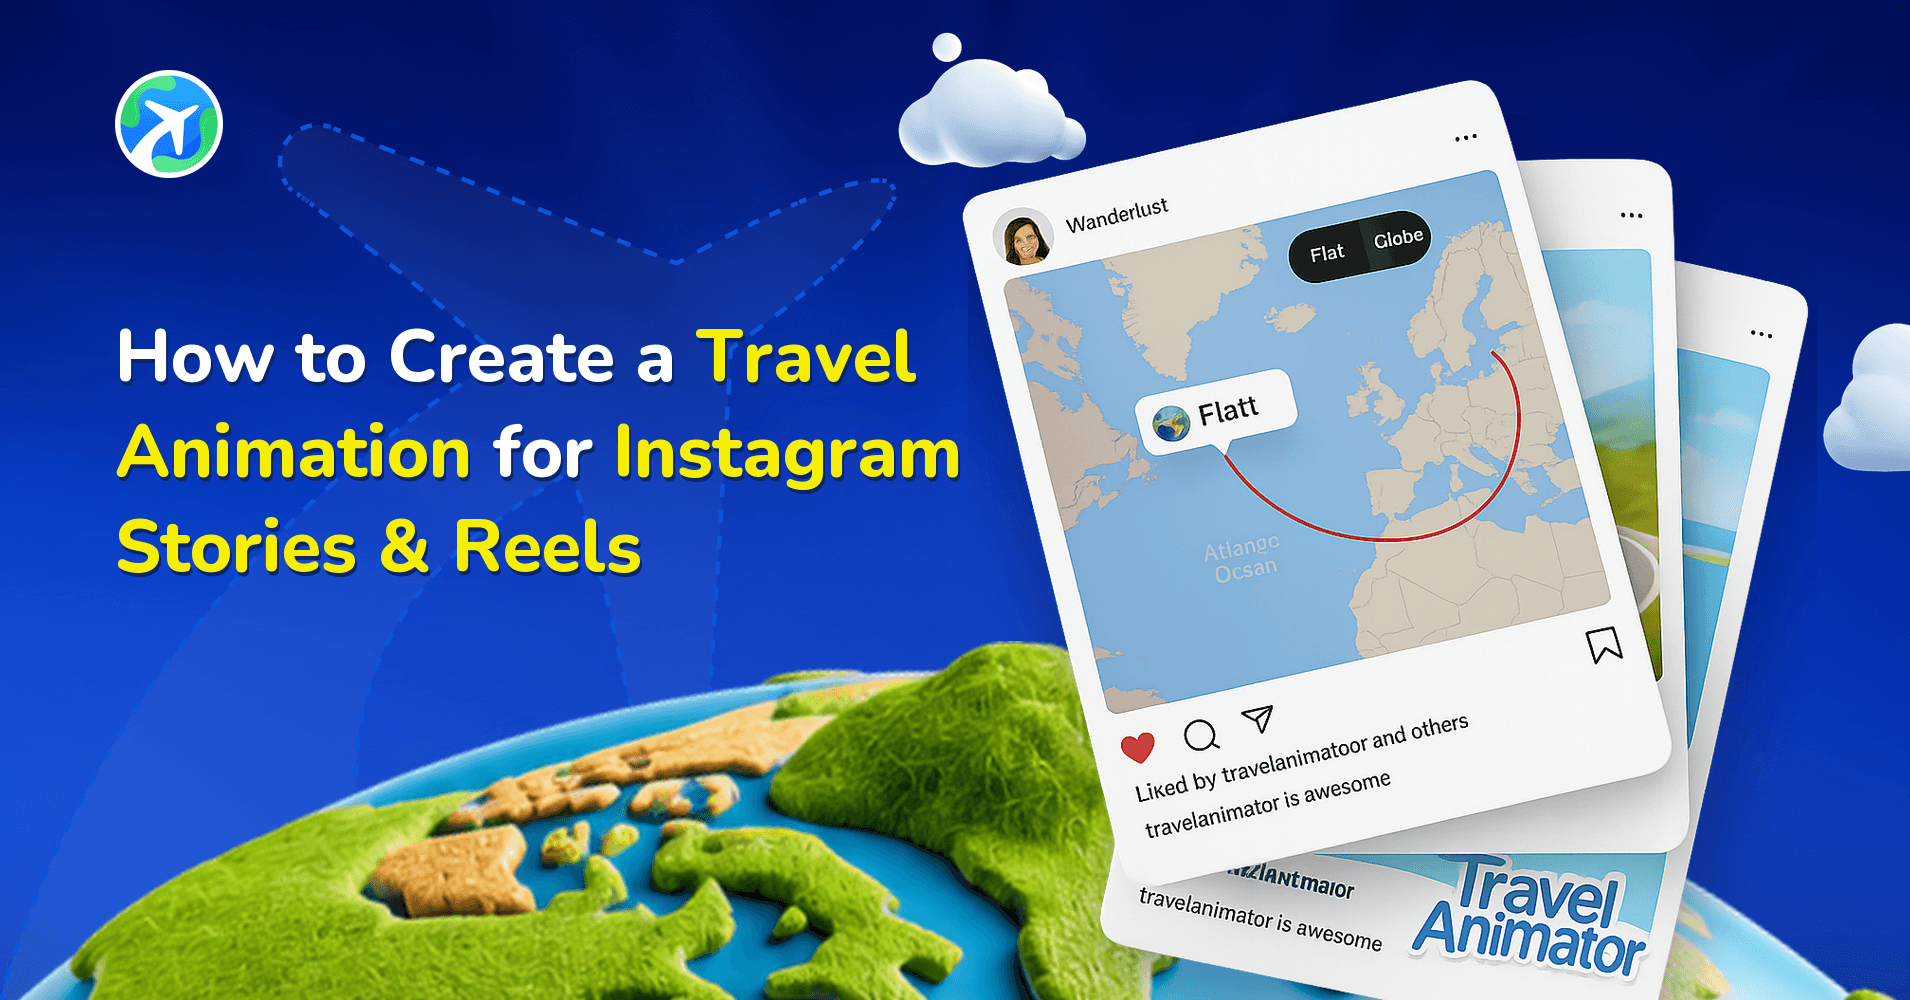
How to Change the Map Style in the Travel Animator App?
 Jaseel S6 min read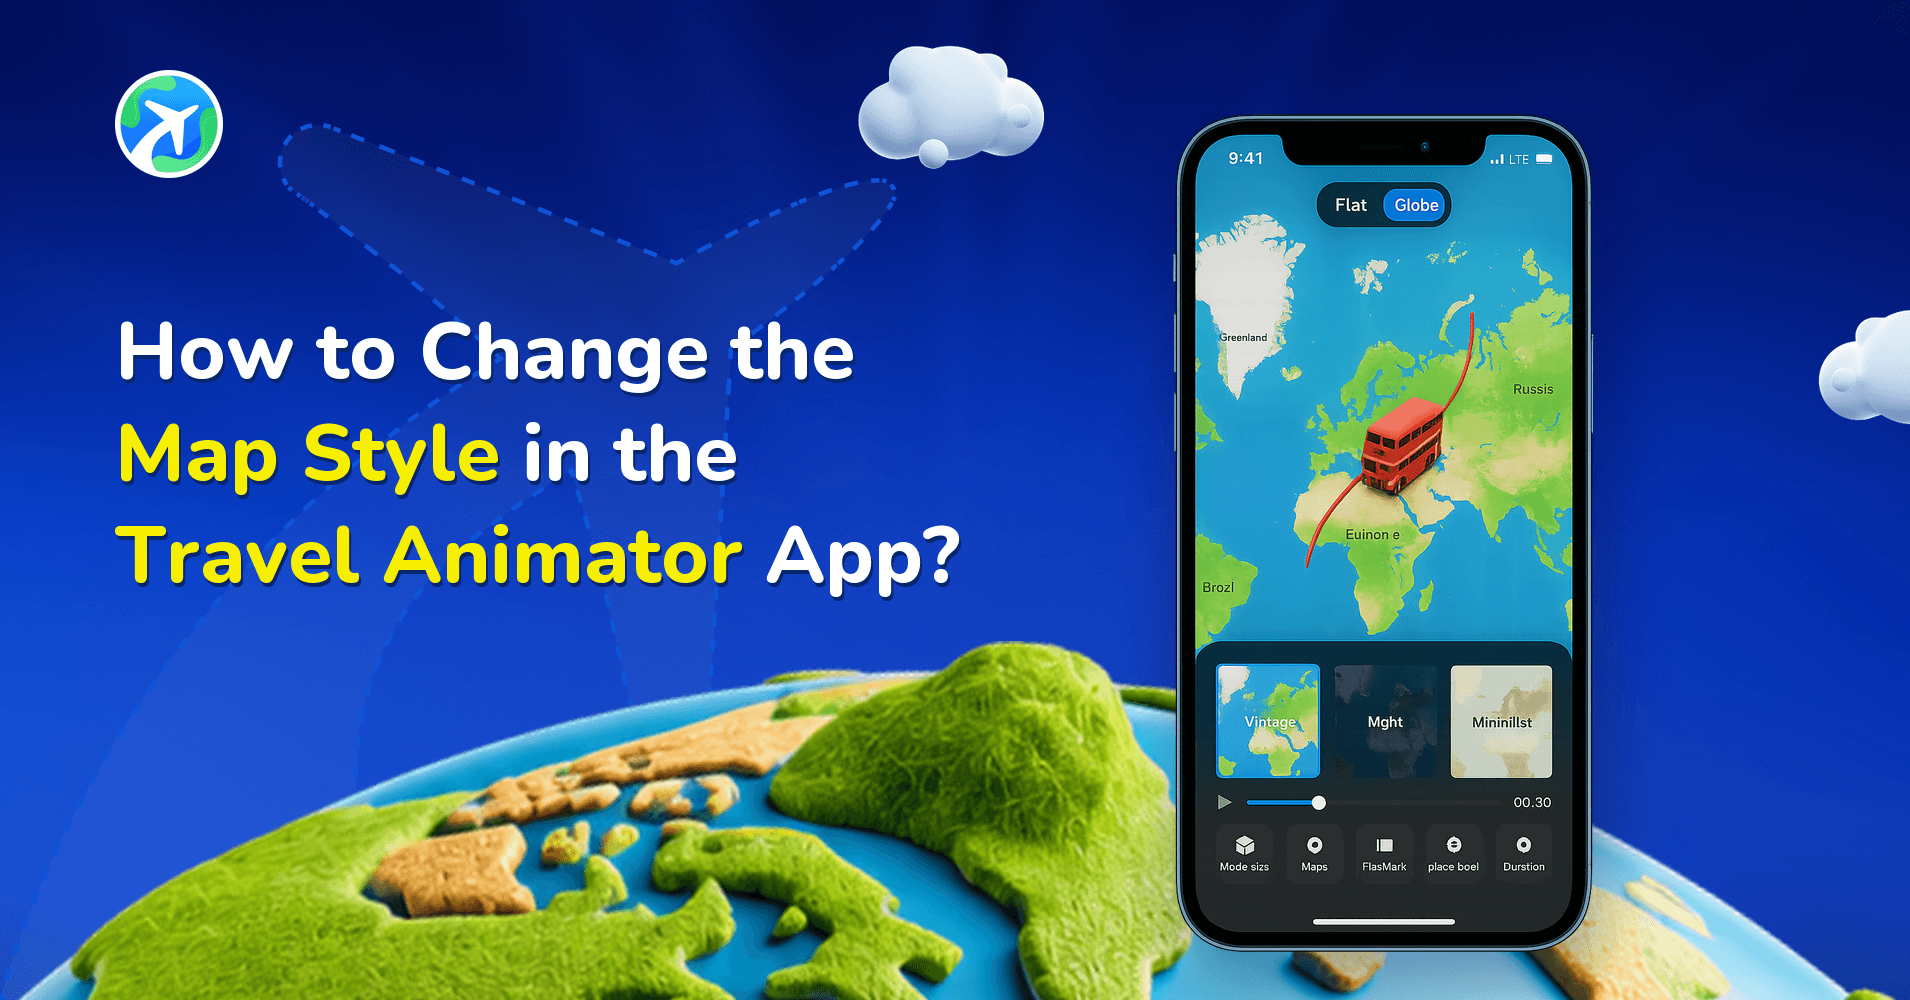
In this article 8 sections
Travel Animator App offers various 2D and 3D map styles that can be used to create different travel animation videos.
Imagine you want to create an itinerary video in a dark theme to showcase your night journey. But the default map exists in the video, and you want to change the map style to the Dark map.
How to change the map style from default to a dark theme in Travel Animator?
This article will guide you through how to change the map style in Travel Animator for different use cases.
What Is a Map Style in Travel Animator?
A map style in the Travel Animator app refers to the background map or visual design shown in your travel animation video. It shows what the maps look like, such as the colour, use cases, and overall theme.
Travel Animator offers a variety of 2D and 3D maps for different use cases. This helps you to tell a story in a way that is both visually engaging and suitable for the theme.
Why Is Choosing the Right Map Style Important?
Choosing the correct map in Travel Animator is essential for your video. It directly influences how viewers perceive your journey.
A suitable map style helps to tell your story clearly and emotionally.
- The right map style improves the viewer’s clarity.
- Your audience can easily follow without distractions.
- A well-chosen map increases focus, engagement, and storytelling flow.
- Content creators and brands can boost professionalism through consistent map styling.
Changing Map Style in The Travel Animator App – Step-by-Step Procedure
- Open the Travel Animator app and upgrade to Travel Animator Pro. You need to upgrade to use this feature.
- Go with your existing project or start a new project and add destinations, vehicle models, images, labels, etc.
- Preview the video and tap on the “Map style” to open the map menu.
- Choose the correct map that aligns with your travel video.
- Switch to 2D or 3D on the top right side of the screen.
- Adjust other elements like ratio, model size, video duration, etc.
- Export the travel animation in HD or 4K quality.
- Share the video directly on different platforms.
Tips for Choosing the Right Map Style in Travel Animator
- Switch to 3D maps to get a global view for your animation video.
- Change the line color that is against the map color.
- If you need a general travel video, road tour, or family trip, it’s better to choose the Classic or Standard map.
- Minimo is great for a minimal and modern look. This will make your video stand out aesthetically.
- A satellite map is best for showcasing videos of travel documentation and geographical explorations.
- Choose Blueprint maps for a technical and schematic look. And it is suitable for construction tours and creative storytelling.
- Navigation maps make the routes clear and are great for travel tutorials or guided tour animations.
- Create a night-themed journey using the Dark theme map with contrast.
Matching the Map to the Trip
The styles above cover most everyday videos. Beyond them, Travel Animator has a growing list of themed maps, and picking one is easier if you start from the trip rather than the look.
- Treks and mountain routes: the Terrain map shows hills, valleys and rivers, so a 12 km ridge hike actually looks like a climb.
- Cruises, ferries and island hopping: Marine keeps coastlines and waterways readable with a light, ocean-inspired palette.
- Long-haul flights and night journeys: Luminar’s glowing outlines on a deep blue background suit routes that cross oceans.
- Minimal reels and documentaries: Black & White strips the colour back so your models, labels and route line do the talking.
- History or storytelling projects: Vintage or Pirates give the route an old paper-map feel.
New styles arrive regularly, and recent releases have been free for the first 30 days after launch before moving to Pro. That window is a good time to test one on a real project.
What to Re-Check After You Switch Styles
Changing the map changes the background, not your stops or path. Everything you placed on top of it, though, was chosen against the old background, so give the preview one careful pass before exporting.
- Route line colour. A blue line that popped on Classic can disappear on Marine. Adjust the path colour or thickness if it blends in.
- Place labels. Busy, detailed maps can make labels harder to read. Toggle them off if the map already names the places you care about.
- Highlights. If you highlighted countries or states, make sure the fill colour still contrasts with the new map.
- 2D or 3D. A style can feel very different on the flat map and on the globe. Check both before deciding, especially for routes that cross continents.
- Camera. On a busy map, a closer Scene Style zoom (2x or 3x) keeps attention on the vehicle. A simple, clean style can usually handle the wider 1x view.
For a full list of styles with both views, see our guide to 2D and 3D maps in Travel Animator.
Want to Explore More Maps?
Both 2D maps and 3D maps have different use cases in Travel Animator. 3D maps give a global view of the overall video, and they make the video more engaging and interactive.
Upgrade to Travel Animator Pro to explore these different map styles. Along with this, the Pro version provides advanced features, including various models. Choosing different models for different destinations makes the whole video more engaging and shareable.
Frequently Asked Questions
What Is a Map Style in Travel Animator?
A map style in the Travel Animator app refers to the background map or visual design shown in your travel animation video. It shows what the maps look like, such as the colour, use cases, and overall theme.
Why Is Choosing the Right Map Style Important?
Choosing the correct map in Travel Animator is essential for your video. It directly influences how viewers perceive your journey.
Where do I select a different map style?
Open Preview, choose the map-style control and select a style from the collection available to your account. Preview the route and labels on the new background before exporting.
Does changing the map style change my route in Travel Animator?
No. The map style only changes the background your animation plays over. Your destinations, curves, models, photos and labels stay where you placed them. What can change is how readable they are, so after switching styles, preview the whole route and adjust the path colour, place labels or highlights if anything blends into the new map.
Which map style is best for a hiking video?
Terrain is a strong choice for hikes and treks because it shows hills, valleys, rivers and forests, giving viewers a sense of the landscape you crossed. Pair it with a dotted or thin route line in a colour that contrasts with green and brown tones, and check the route in 3D, where elevation is easier to read.