How Can I Add Multiple Models in Travel Animator?
 Jaseel S6 min read
In this article 9 sections
Travel Animator allows you to add multiple models to a single video, showcasing your entire journey more dynamically and engagingly.
Imagine you travelled to multiple destinations in a single itinerary. You want to create a travel animation highlighting your destinations and the different modes of transport you used.
Let’s explore how you can add multiple models to your travel video using the Travel Animator app, along with tips to improve storytelling and video quality.
What are Multiple Models in Travel Animator?
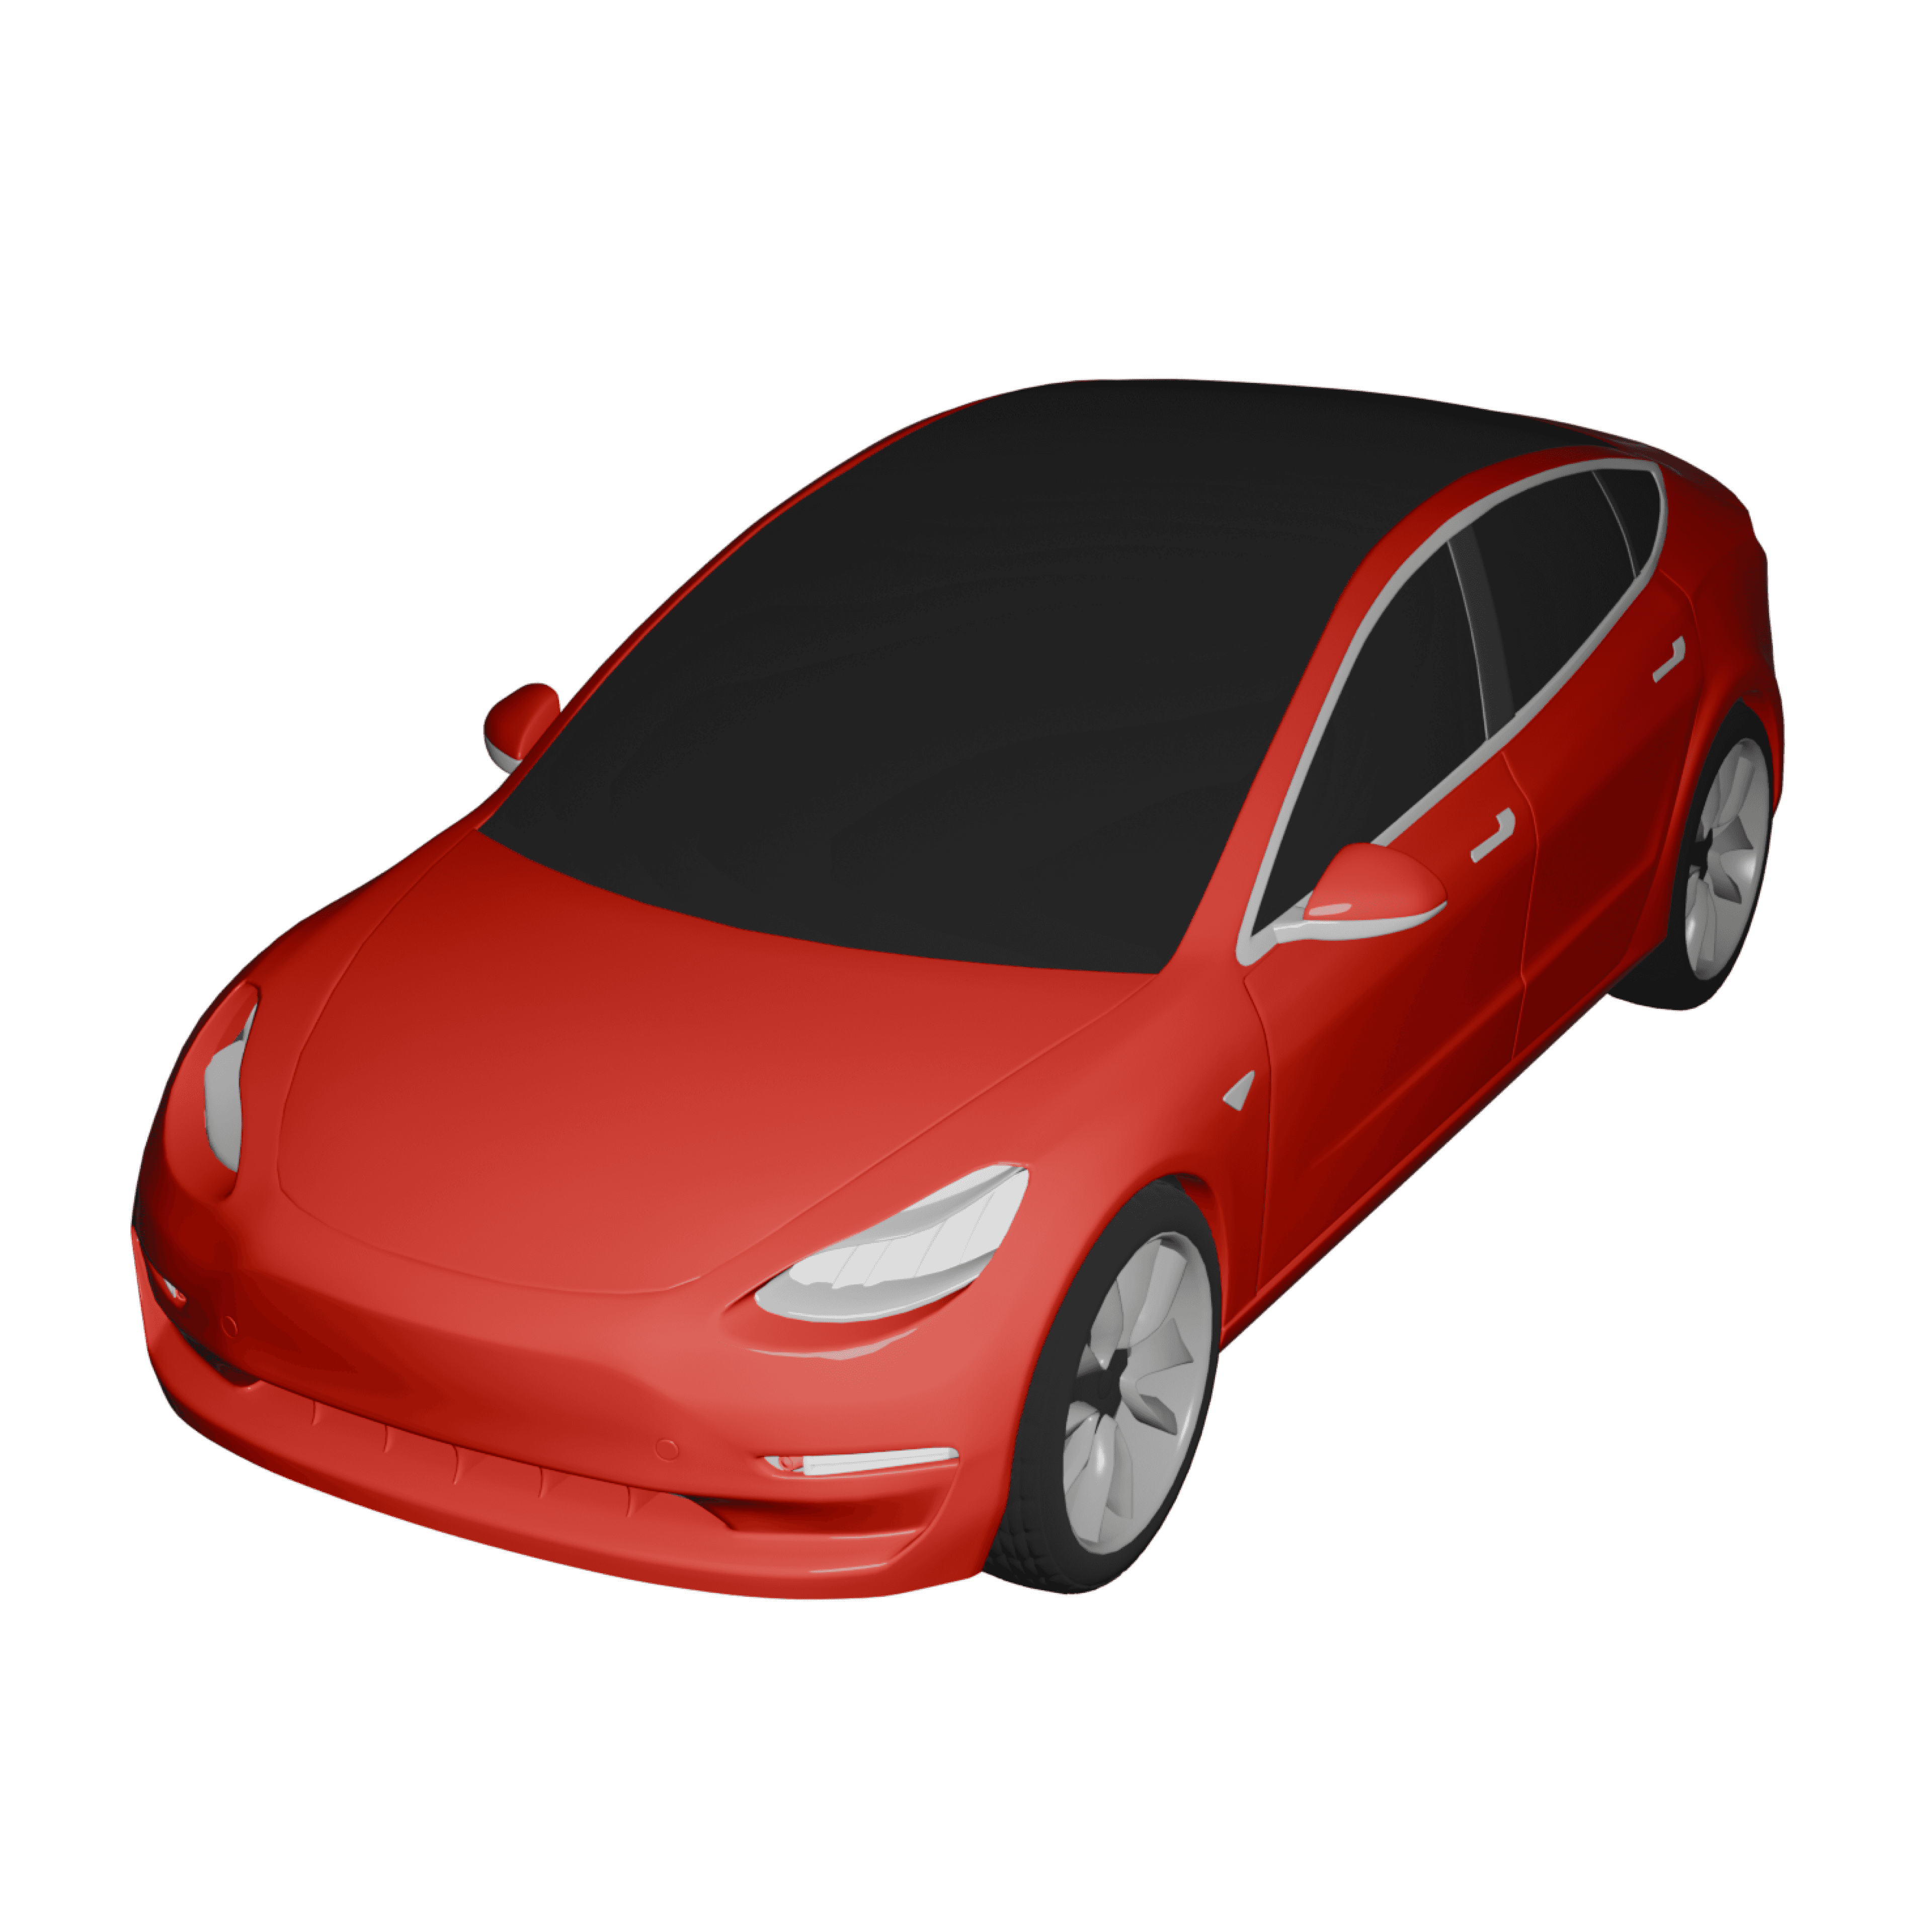
Multiple models refer to using different transport types, such as cars, planes, boats, or buses, within a single animation.
Instead of using a single model for the entire route, you can assign different models to different destinations, reflect real travel transitions (road → air → water), and create a more dynamic, accurate journey. This helps your audience understand not just where you travelled and how you travelled.
Why is Using Multiple Models Important?
Using multiple models improves both clarity and storytelling.
- It allows you to realistically represent your journey by matching each segment to the appropriate mode of transport.
- It helps viewers understand transitions between destinations more clearly.
- It makes your animation more engaging by adding variation and movement.
- It gives your video a professional and polished look, especially for social media or client presentations.
Step-by-Step: How to Add Multiple Models in Travel Animator
- Open the Travel Animator app and create a new project or open an existing route.
- Add all your destinations manually or import them using a map link or GPX file.
- Once your route is ready, tap or long-press on the first destination point.
- Open the editing panel and go to the Change Model option. If you’re unsure, you can learn how to change models in detail.
- Choose the model that matches that part of your journey (e.g., car for road travel).
- Move to the next destination point and repeat the process.
- Assign a different model (e.g., plane for long-distance/flight travel).
- Continue this process for all destination points where your travel mode changes.
- Preview your animation to ensure smooth transitions between models.
- Adjust route paths, duration, maps, model size, etc., if needed.
- Once everything is complete, export your video in HD or 4K.
Popular Models Available in Travel Animator
Travel Animator offers 300+ wide variety of models to match different travel scenarios. Here are some of the main vehicle model types. Many models are available in the free version, while premium models offer more variety and real models.
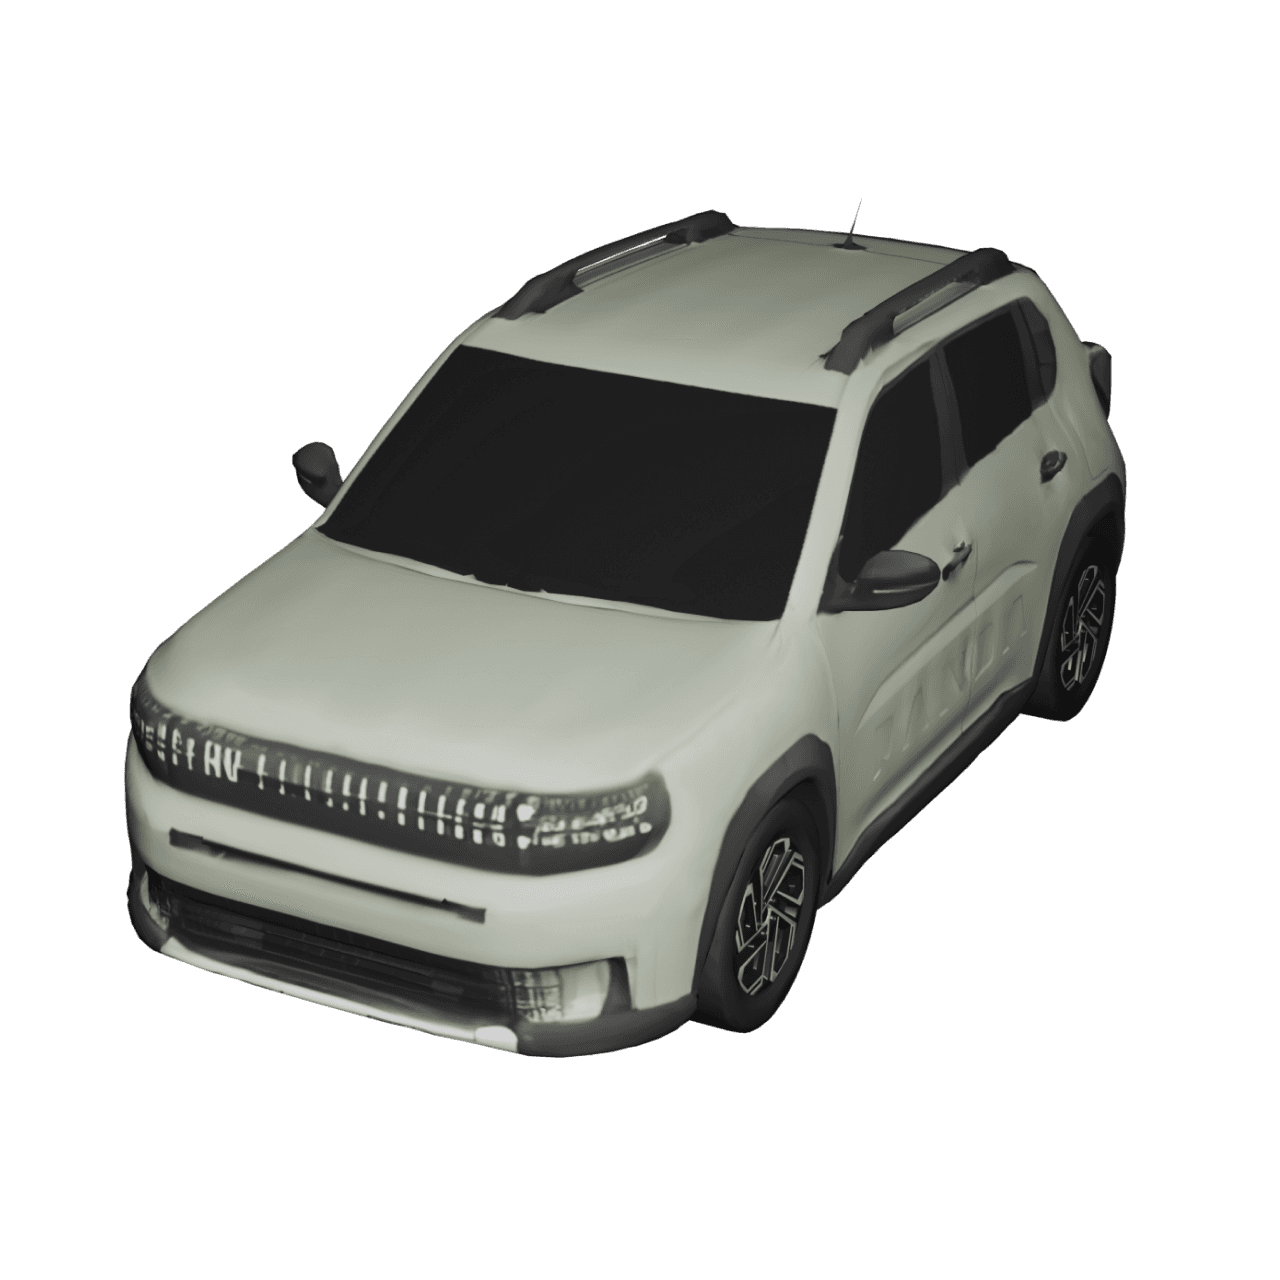
- Car – Best for road trips, city travel, and short-distance journeys.
- Bike – Perfect for adventure trips and scenic routes.
- Airplane – Best for long-distance or international travel.
- Boat/Ship – Suitable for water routes, cruises, or island hopping.
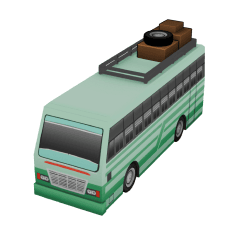
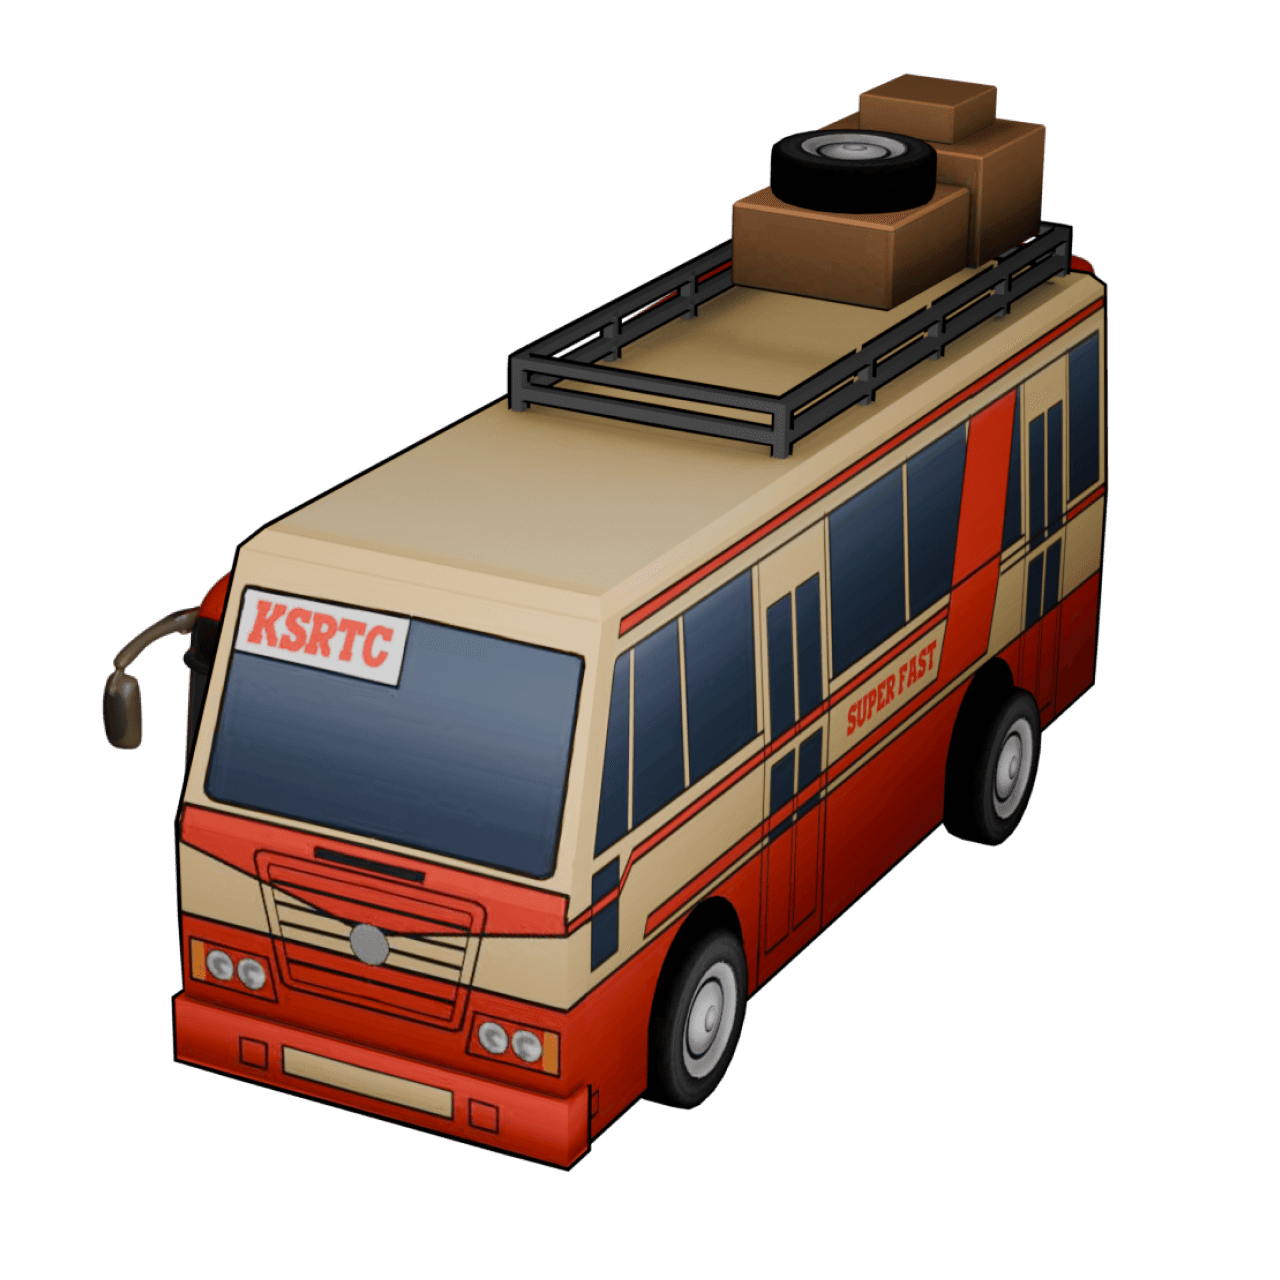
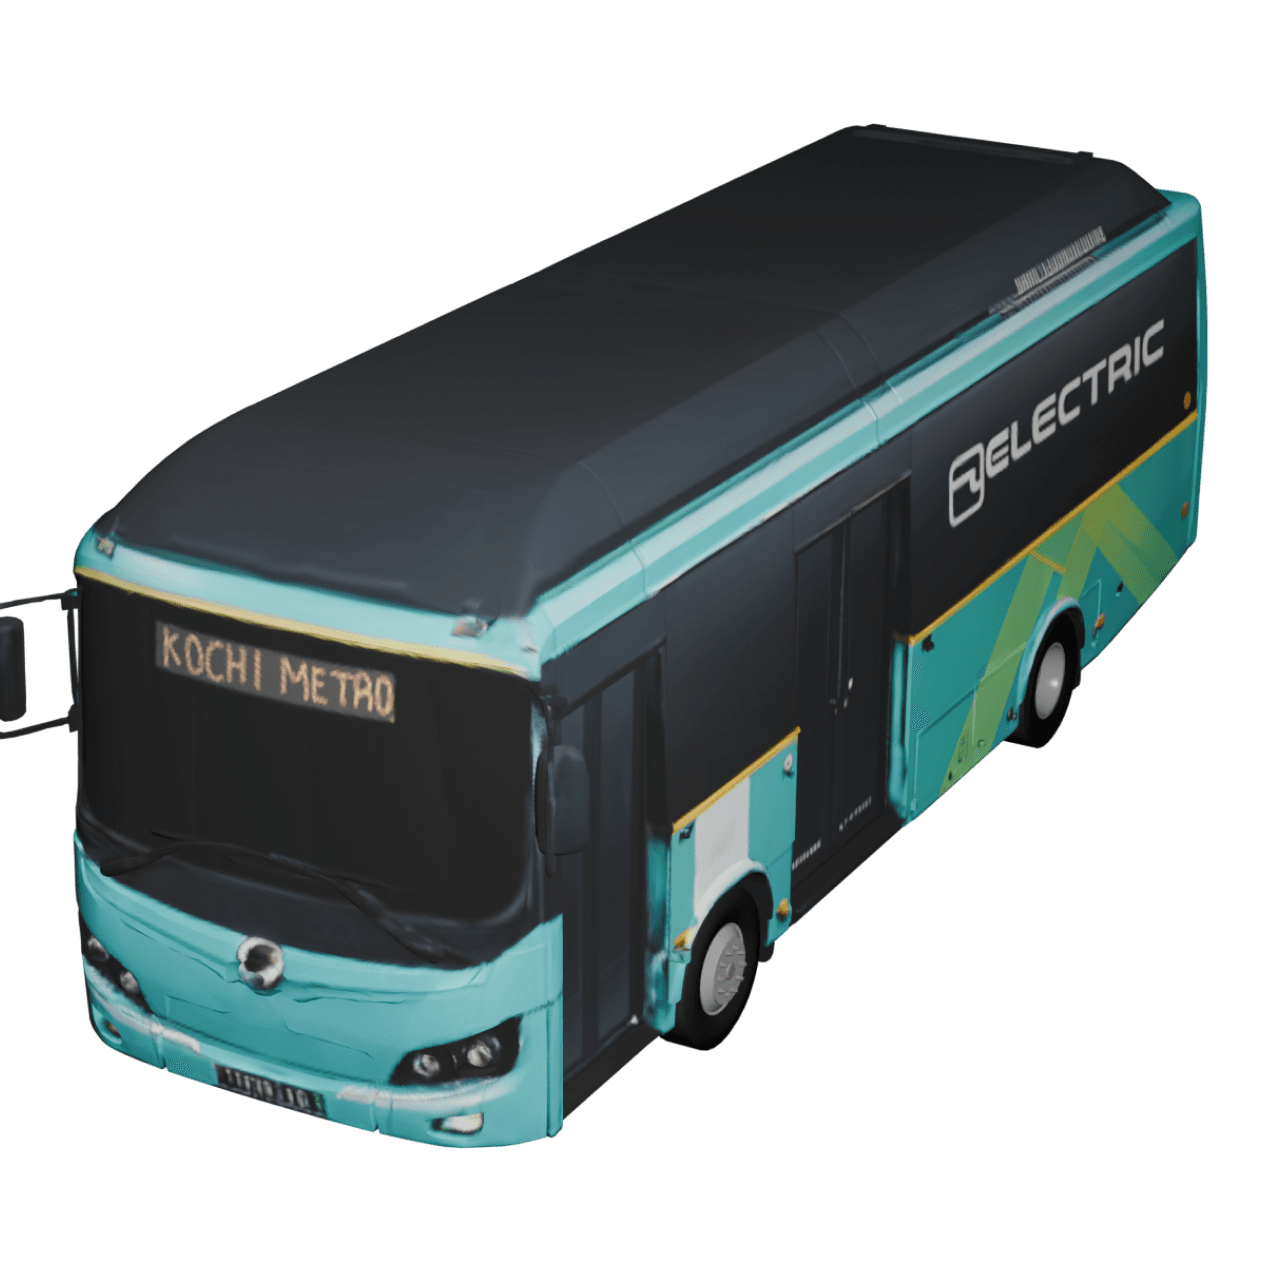
- Bus – Useful for public transport journeys and group travel.
- Walking/Hiking – Great for local exploration and trekking routes.
Tips for Creating Better Videos with Multiple Models
- Choose models that match your actual travel mode to keep the animation realistic.
- Use multiple models only when necessary and avoid overcomplicating the route.
- Keep transitions smooth by properly aligning routes between points.
- Combine models with labels, highlights, and elements for better storytelling.
- Preview your animation before exporting to ensure everything looks natural.
How to Access Premium Models
Travel Animator offers both free and premium models. Follow these steps to unlock advanced models.
- Open the Travel Animator app and tap on the Get Pro option or visit the Upgrade to Pro page to unlock premium models.
- Explore the available subscription plans.
- Choose a plan that suits your needs and complete the payment.
- Once upgraded, you’ll gain access to a wider range of models and advanced features.
- Premium models help you create more realistic and professional animations.
Worked Example: Kochi to Dubai With Three Models
Picture a trip that starts at home in Kochi, drives to the airport, flies to Dubai, and ends with a ride on the Dubai Metro. Before you open the model menu, write the trip as a list of legs and note where the transport changes:
- Home → Kochi airport: a car. Long-press your starting point and pick one from the Indian or Free models.
- Kochi airport → Dubai: a plane. Long-press the airport point, since that’s where the flight begins.
- Dubai airport → Downtown: a train. Long-press the Dubai airport point and search the model menu for a metro train.
Three models, three changes, and each one lands where the trip really switched. Don’t add a model change at every stop along the drive. If a leg doesn’t need a vehicle at all, the Blank model plays that stretch as the route line alone.
When a Model Doesn't Change Where You Expected
- The new model appears one leg too late. You probably set it on the arrival city instead of the point where that leg starts. Move it to the departure point.
- You can’t find points on an imported route. GPX and Google Maps routes hide them until you zoom in to the maximum level. Then long-press as usual.
- The plane looks huge next to the car. Before you export, play the whole video and check that the model size looks right for every vehicle you’ve used.
Tell a Complete Travel Story with Multiple Models
Adding multiple models in the Travel Animator app allows you to represent your journey more accurately and creatively. It transforms a simple route into a complete travel story that shows both movement and experience.With the latest updates and improved UI, creating dynamic travel videos is now faster and more intuitive than ever. Whether you’re a content creator, traveler, or agency, this feature gives you the flexibility to showcase your journey exactly the way it happened.Ready to create your own travel animation? Download Travel Animator from the App Store or the Play Store and start building your story.
Frequently Asked Questions
What are Multiple Models in Travel Animator?
Multiple models refer to using different transport types, such as cars, planes, boats, or buses, within a single animation. Instead of using a single model for the entire route, you can assign different models to different destinations, reflect real travel transitions (road → air → water), and create a more dynamic, accurate journey.
Why is Using Multiple Models Important?
Using multiple models improves both clarity and storytelling. It allows you to realistically represent your journey by matching each segment to the appropriate mode of transport.
How do I add Multiple Models in Travel Animator?
Open the Travel Animator app and create a new project or open an existing route. Add all your destinations manually or import them using a map link or GPX file. Once your route is ready, tap or long-press on the first destination point. Open the editing panel and go to the Change Model option. If you’re unsure, you can learn how to change models in detail. Choose the model that matches that part of your journey (e.g., car for road travel). Move to the next destination point and repeat the process. Assign a different model (e.g., plane for long-distance/flight travel). Continue this process for all destination points where your travel mode changes. Preview your animation to ensure smooth transitions between models. Adjust route paths, duration, maps, model size, etc., if needed. Once everything is complete, export your video in HD or 4K.