How to Adjust the Model Size in Travel Animator?
 Jaseel S6 min read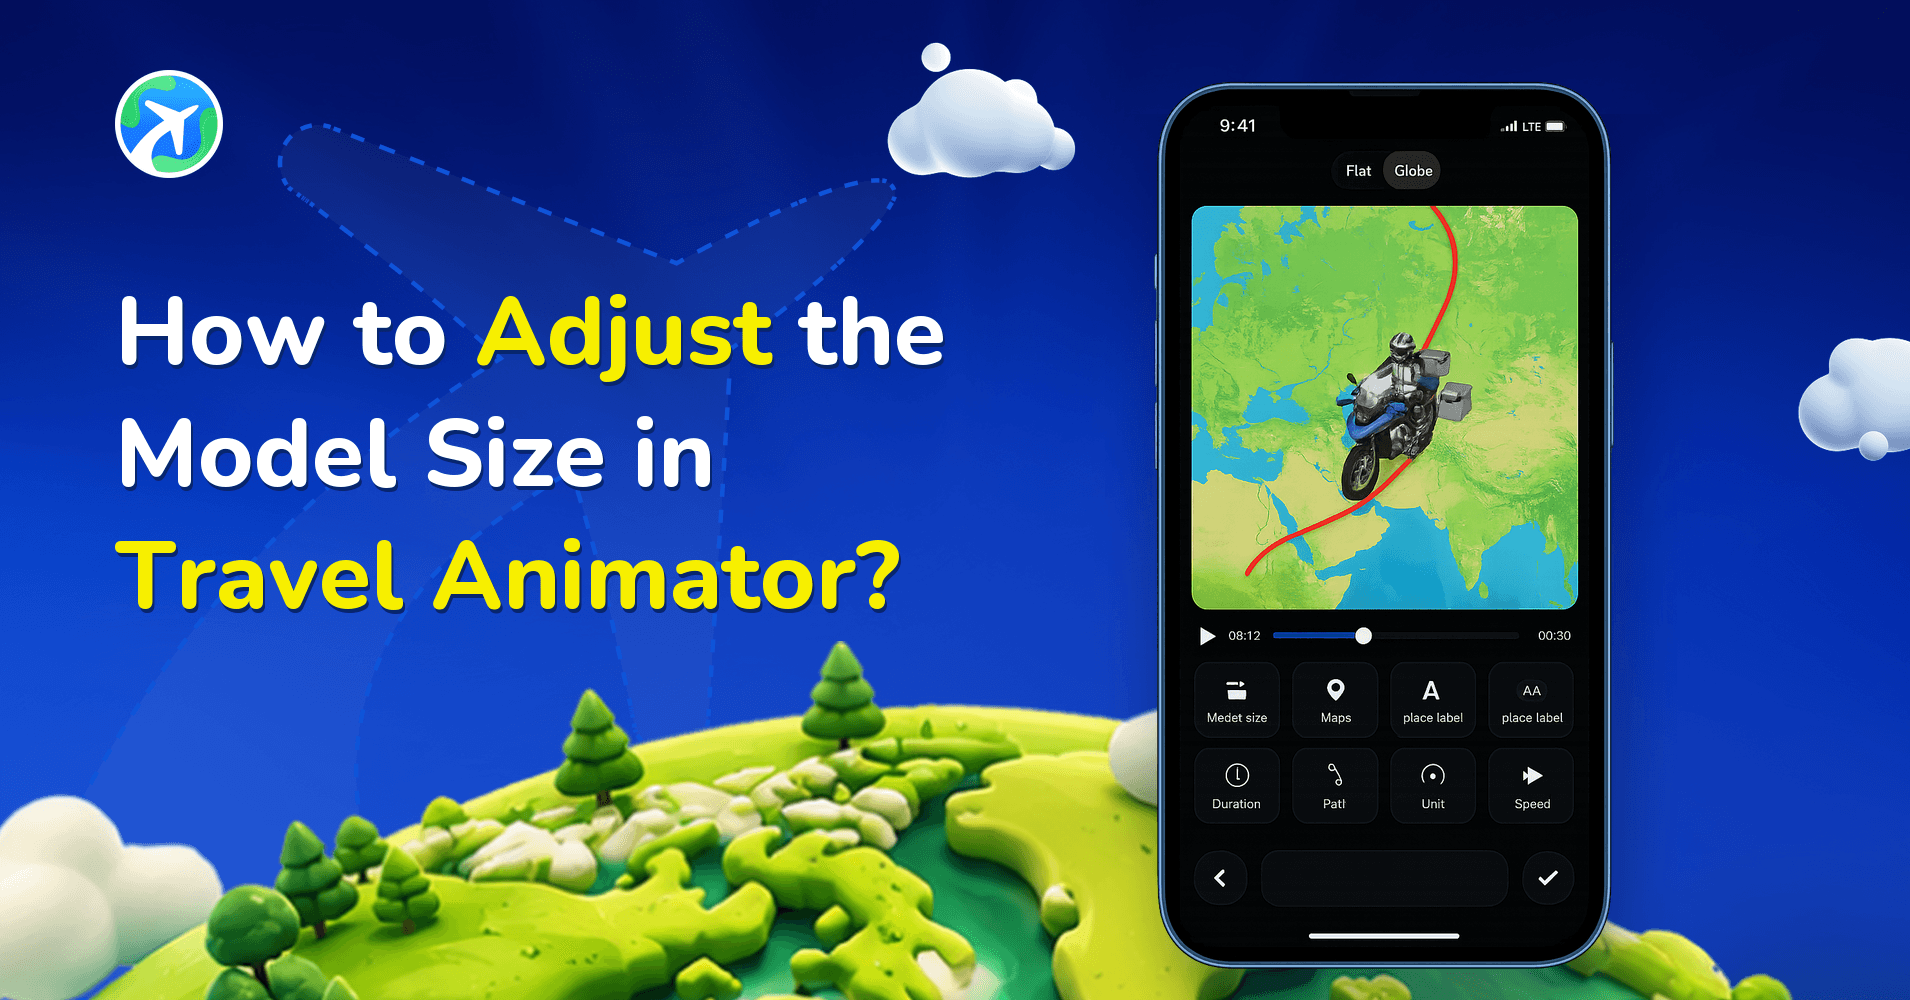
In this article 8 sections
Travel Animator offers an option to adjust the model size, so you can make the animation clean and professional.
You are creating your travel video using Travel Animator. You travel in a different vehicle at each destination, so you want to highlight the travel models in the video. After previewing your video, the transporting model looks too small, and you want to increase its size a little bit. But you don’t know how to improve the model size.
This will guide you through adjusting the model size and creating a proper size for your travel animation videos.
What is a Model and its Size in Travel Animator
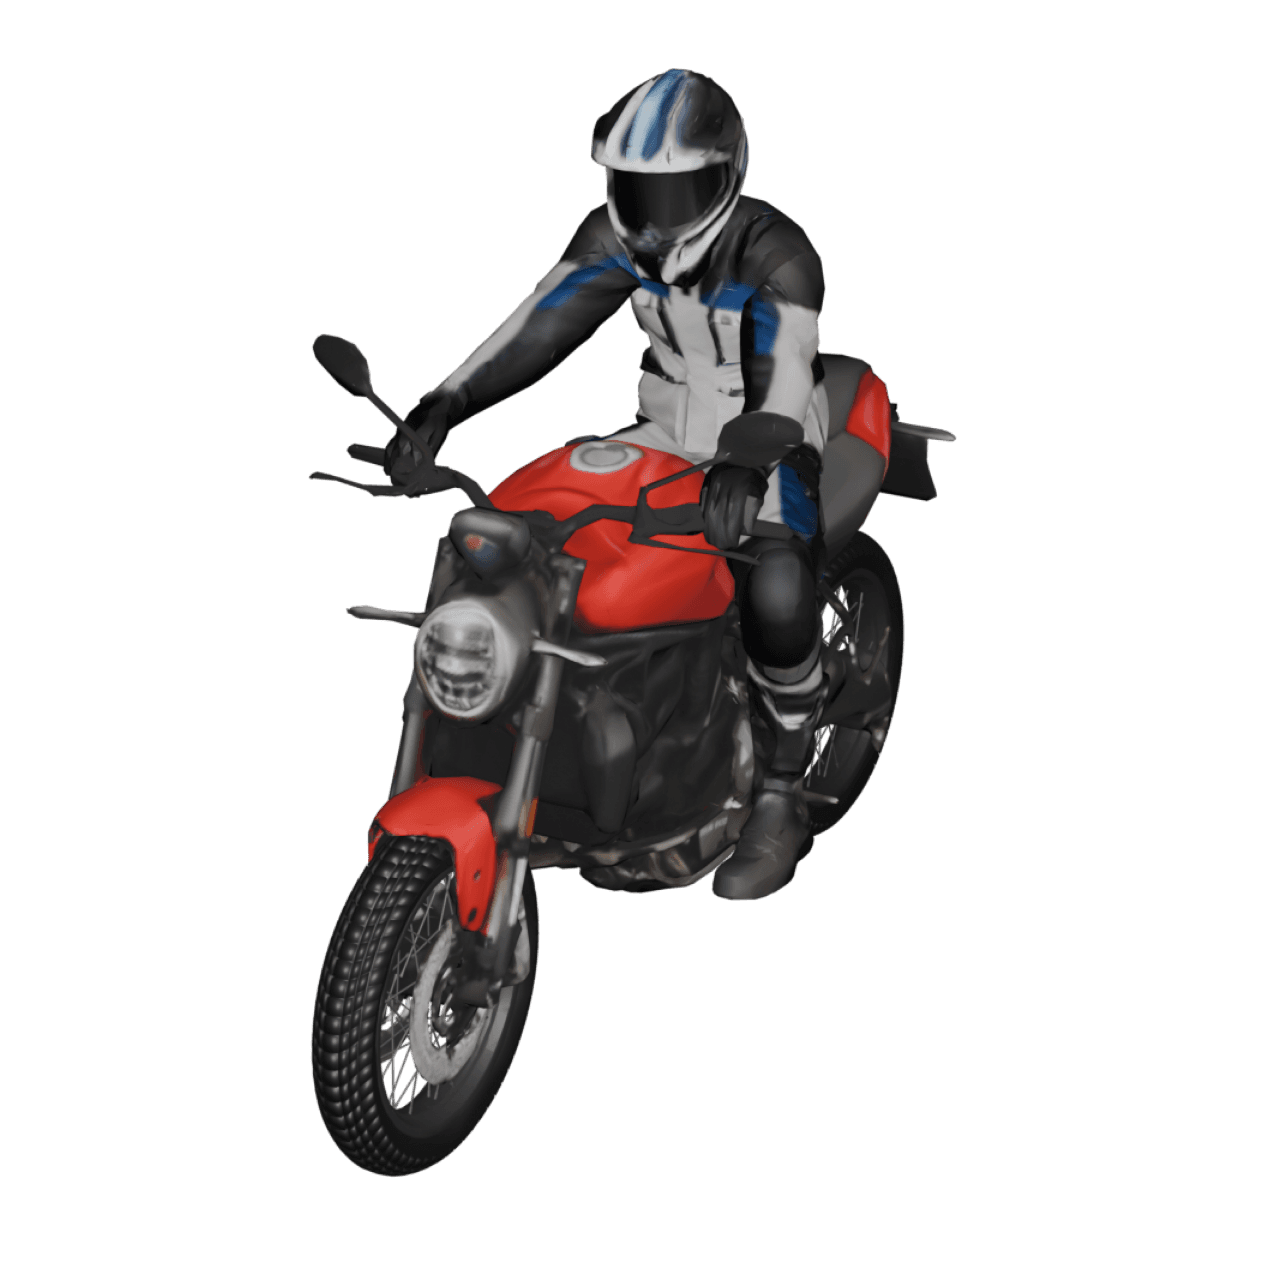
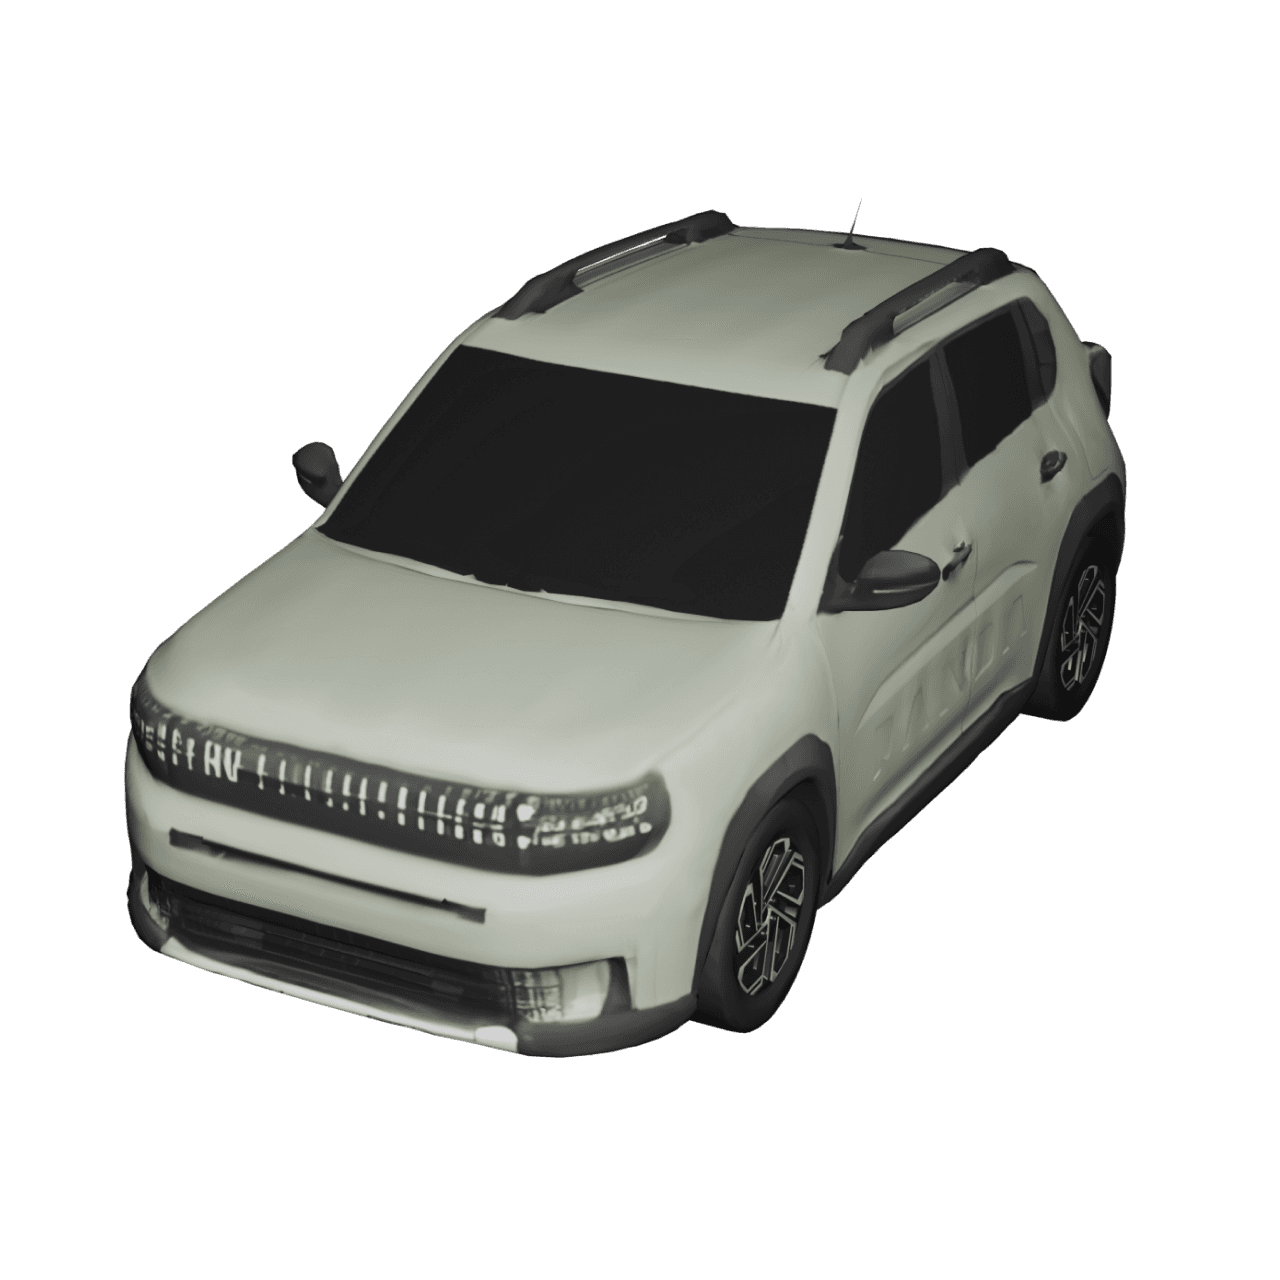
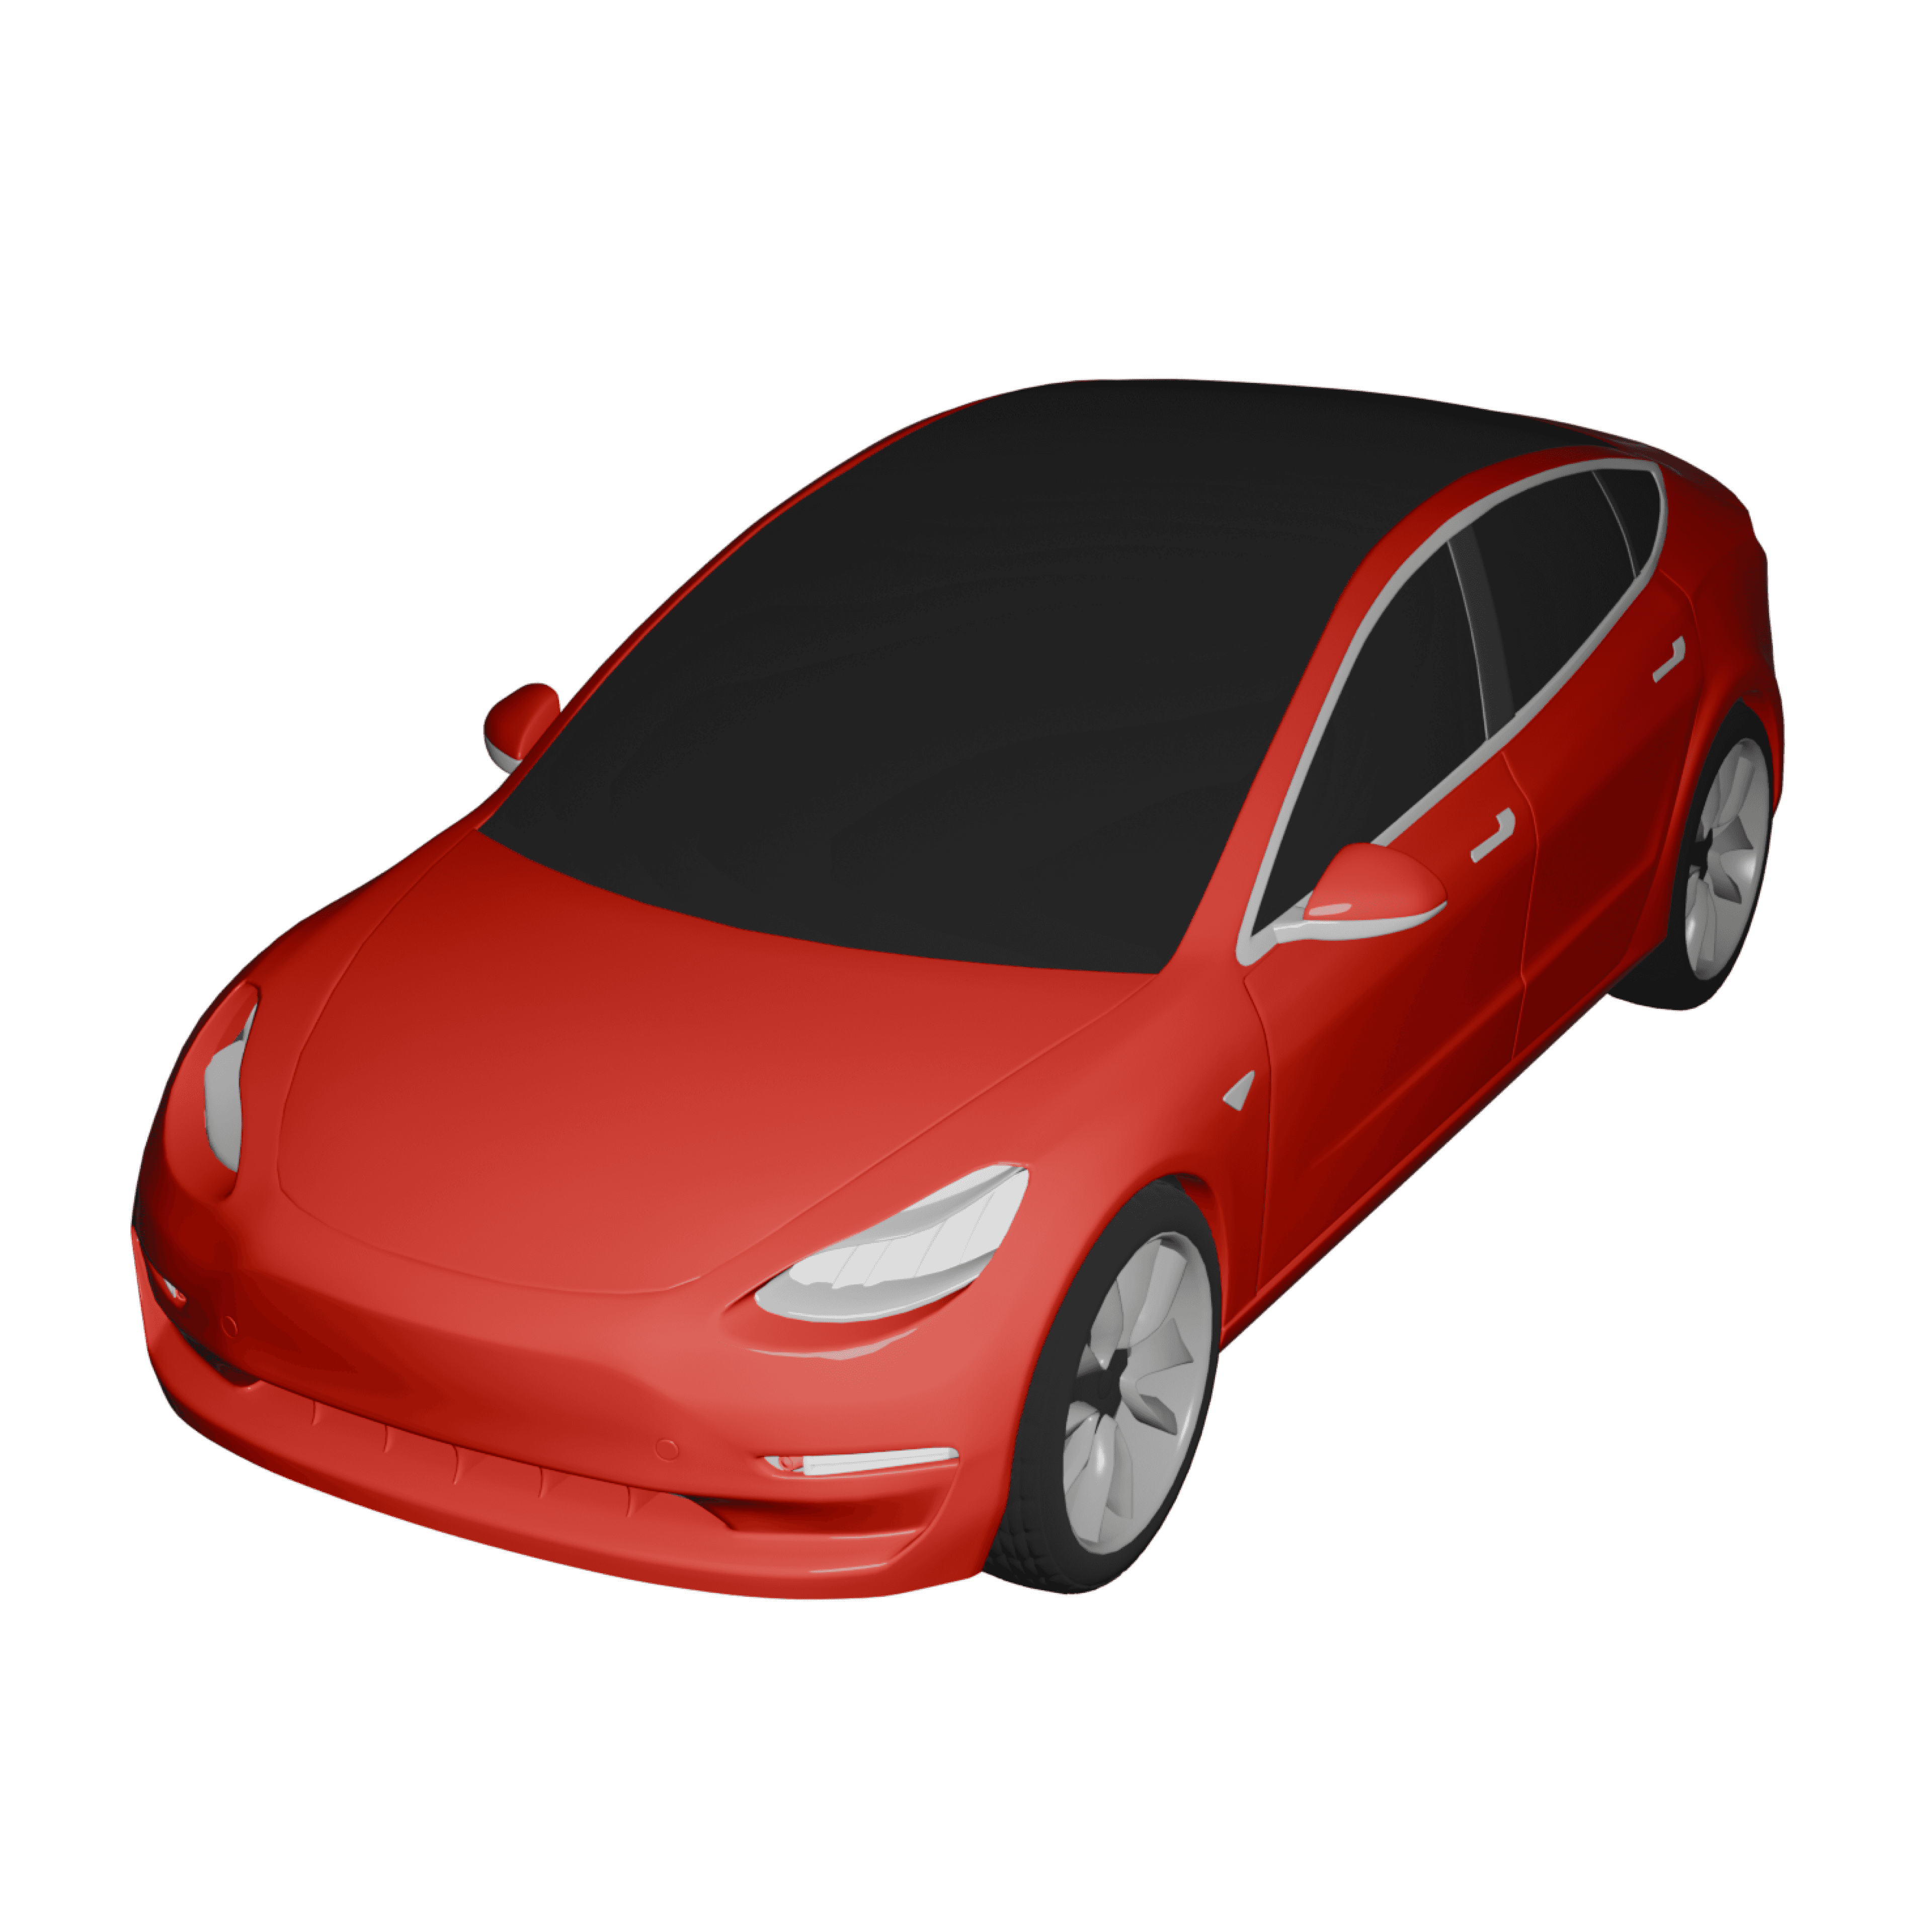
Model size is the size of the moving transporting element in Travel Animator. It controls how big or small a model looks in the animation. A model that’s too large can cover routes and other visuals, while a small one is not visually clear. So Travel Animator lets you adjust the model size that is perfect for your animation video.
Steps to Adjust the Model Size in Travel Animator
- Open the Travel Animator and complete your project by adding destinations, models, images, and labels.
- Preview your video and adjust the model size using the “Model size” option located at the bottom of the video preview.
- After adjusting the model size, set up other features like ratio, video duration, map style, flag, etc.
- Once the animation is finished, export the video in HD or 4K quality. Upgrade to Travel Animator Pro for 4K quality export.
- Share your animation video directly to different platforms.
Tips to Make the Animation Clean and Professional
- Use different models for different routes. Use a person icon if it is a walking trip. Use a plane if it is a flight trip. This makes the story clean and visually relevant.
- Always preview the video and resize the model so it doesn’t cover the route or be visually unclear.
- Choose the model that stands out against the background map style. It will affect the visibility if the map and model colors are similar.
- Changing the model too frequently makes the video congested and distracting. It’s better to stick with one model type for each destination within a single route.
Mistakes to Avoid While Adjusting the Size
- Oversizing the model can block essential parts of the map, making it complicated.
- Undersizing the model size might not be visible at all, especially on a mobile screen.
- Not checking your preview video can result in bad sizing and positioning.
- Different video ratios need different model sizes, so using the same size for different platforms causes the model to look too small or too big.
Sizing for the Kind of Trip
The right model size depends on how much map is on screen and what the vehicle is doing.
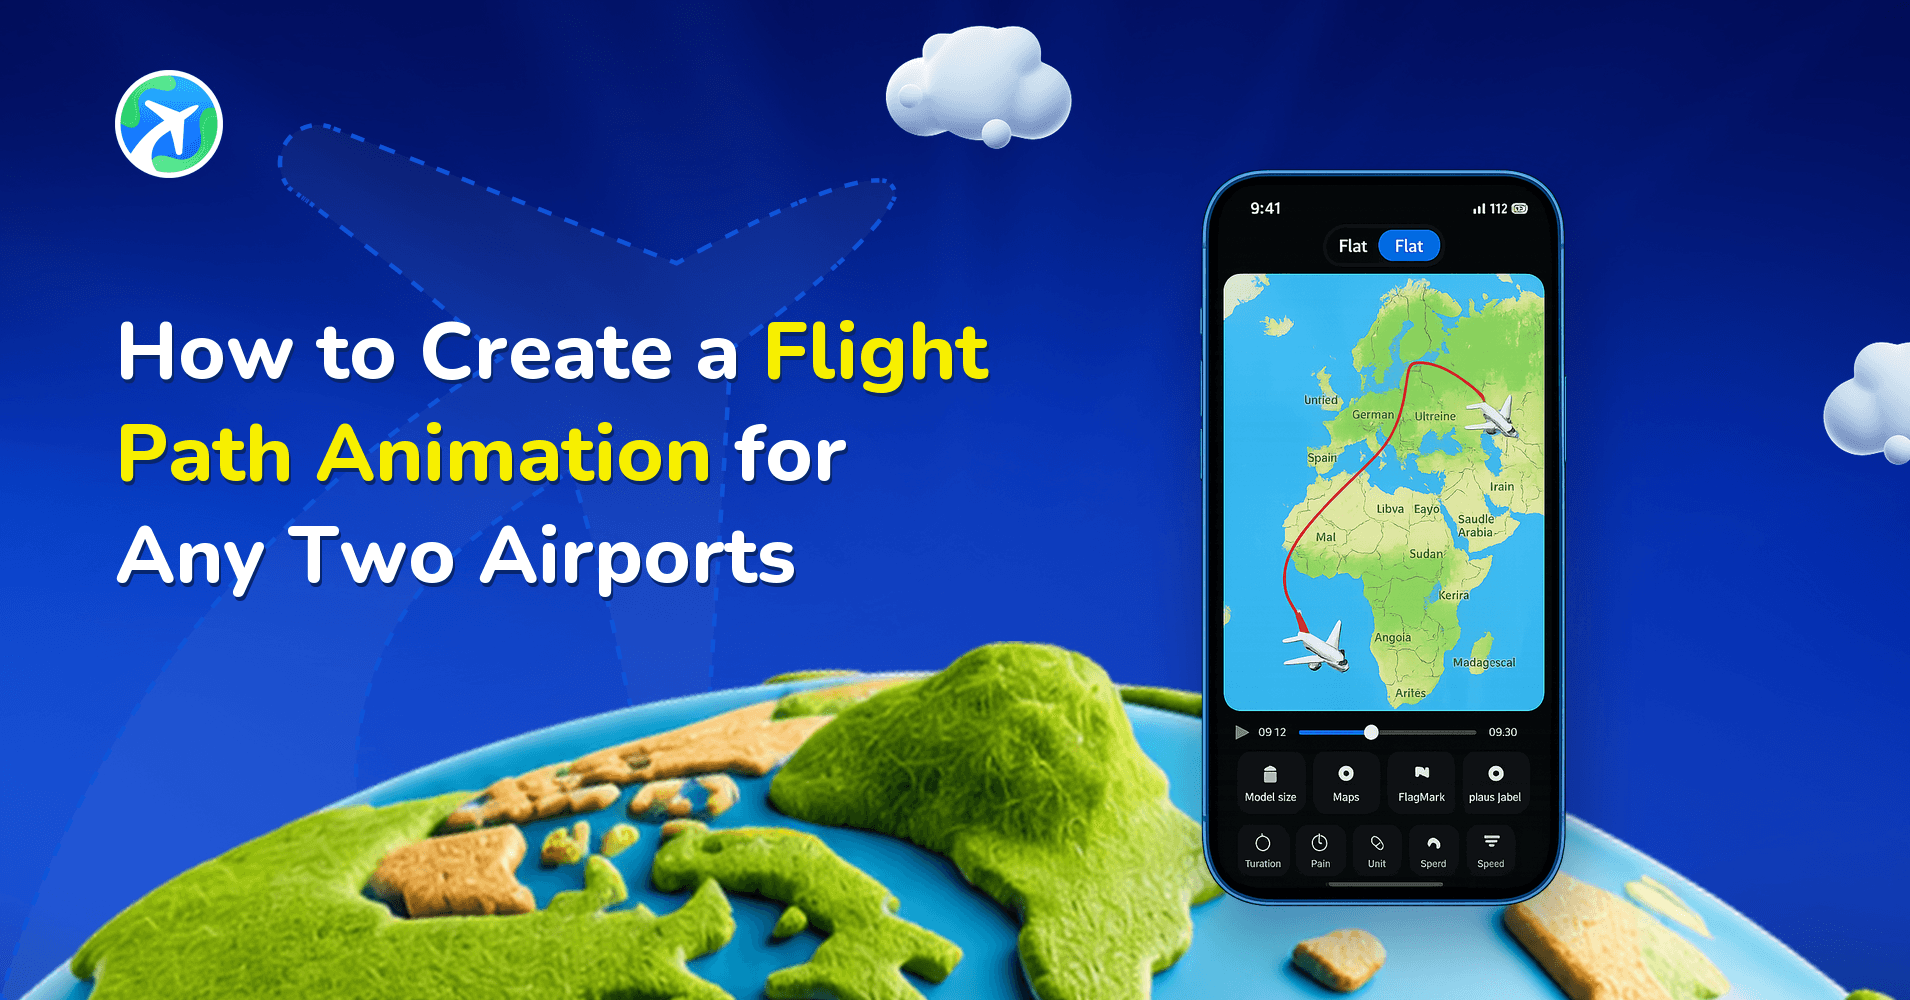
- Long flights. When a plane crosses an ocean or a continent, a model sized for a short hop can look toy-like. Bring the size down a little and let the route line carry the distance. Our flight path animation guide has a worked example.
- Walks and hikes. On a short route like a 12 km ridge hike, the walking model only needs to be big enough to spot. Push it up if it gets lost against busy satellite imagery.
- Mixed-vehicle routes. A cruise ship and a scooter are very different shapes. After resizing, watch every leg in preview rather than just the first one.
- No vehicle at all. If the model keeps covering labels at any size, the Blank model hides it and leaves only the animated route.
Recheck Size After These Changes
Model size doesn’t live on its own. Play the preview again whenever you change one of these.
- Scene Style and zoom. Follow, Lead, Atlas and the sticker styles frame the vehicle differently, and the 1x, 2x and 3x zoom changes how close the camera sits. See customizing scene style.
- Ratio. Going from 16:9 to 9:16 narrows the frame, so the same model takes up more of the width.
- Map style. A small model is easier to spot on a plain 2D map than on a detailed 3D or satellite style.
- Labels and photos. A bigger model can sit on top of a place label at a stop. Shorten the label or nudge the size down.
Ready to Make Your Travel Video Professional?
Adjusting the model size is a small step, but it has a significant role in making your travel video clean and professional. By following the right tips and utilizing each feature, you can create a travel animation that not only engages with the audience but also tells your travel story effectively. Explore Travel Animator Pro for advanced features.
Frequently Asked Questions
What is a Model and its Size in Travel Animator?
In Travel Animator, the model represents the visual representation of the travel element, such as cars, bikes, planes, humans, ships, etc. This moving model makes the animation engaging and visually appealing.
How do I adjust the Model Size in Travel Animator?
Open the Travel Animator and complete your project by adding destinations, models, images, and labels. Preview your video and adjust the model size using the “Model size” option located at the bottom of the video preview. After adjusting the model size, set up other features like ratio, video duration, map style, flag, etc. Once the animation is finished, export the video in HD or 4K quality. Upgrade to Travel Animator Pro for 4K quality export. Share your animation video directly to different platforms. Read our comprehensive guide for a complete walkthrough on creating a travel video with all the features in Travel Animator.
How large should a model appear on the map?
Use a size that makes the vehicle recognizable without covering the route, photos or labels. Preview the whole journey because a size that works at one zoom level may hide details at another.
Why does my plane look too big on a long flight route?
A model size that works for a short trip can look oversized and toy-like when the map zooms out to show a whole ocean or continent. Open the preview, reduce the model size slightly and play the full route again. A smaller plane with a clear route line usually makes a long flight feel more realistic.
Can I hide the travel model completely in TravelAnimator?
Yes. Long-press the point where the route starts and choose Blank from the free models in the model menu. Only the route line animates, with no vehicle on the map. It’s useful for presentations, minimal designs or any video where the model keeps covering labels and photos, whatever size you set.