How to Change the Route Line Color in Travel Animator?
 Jaseel S6 min read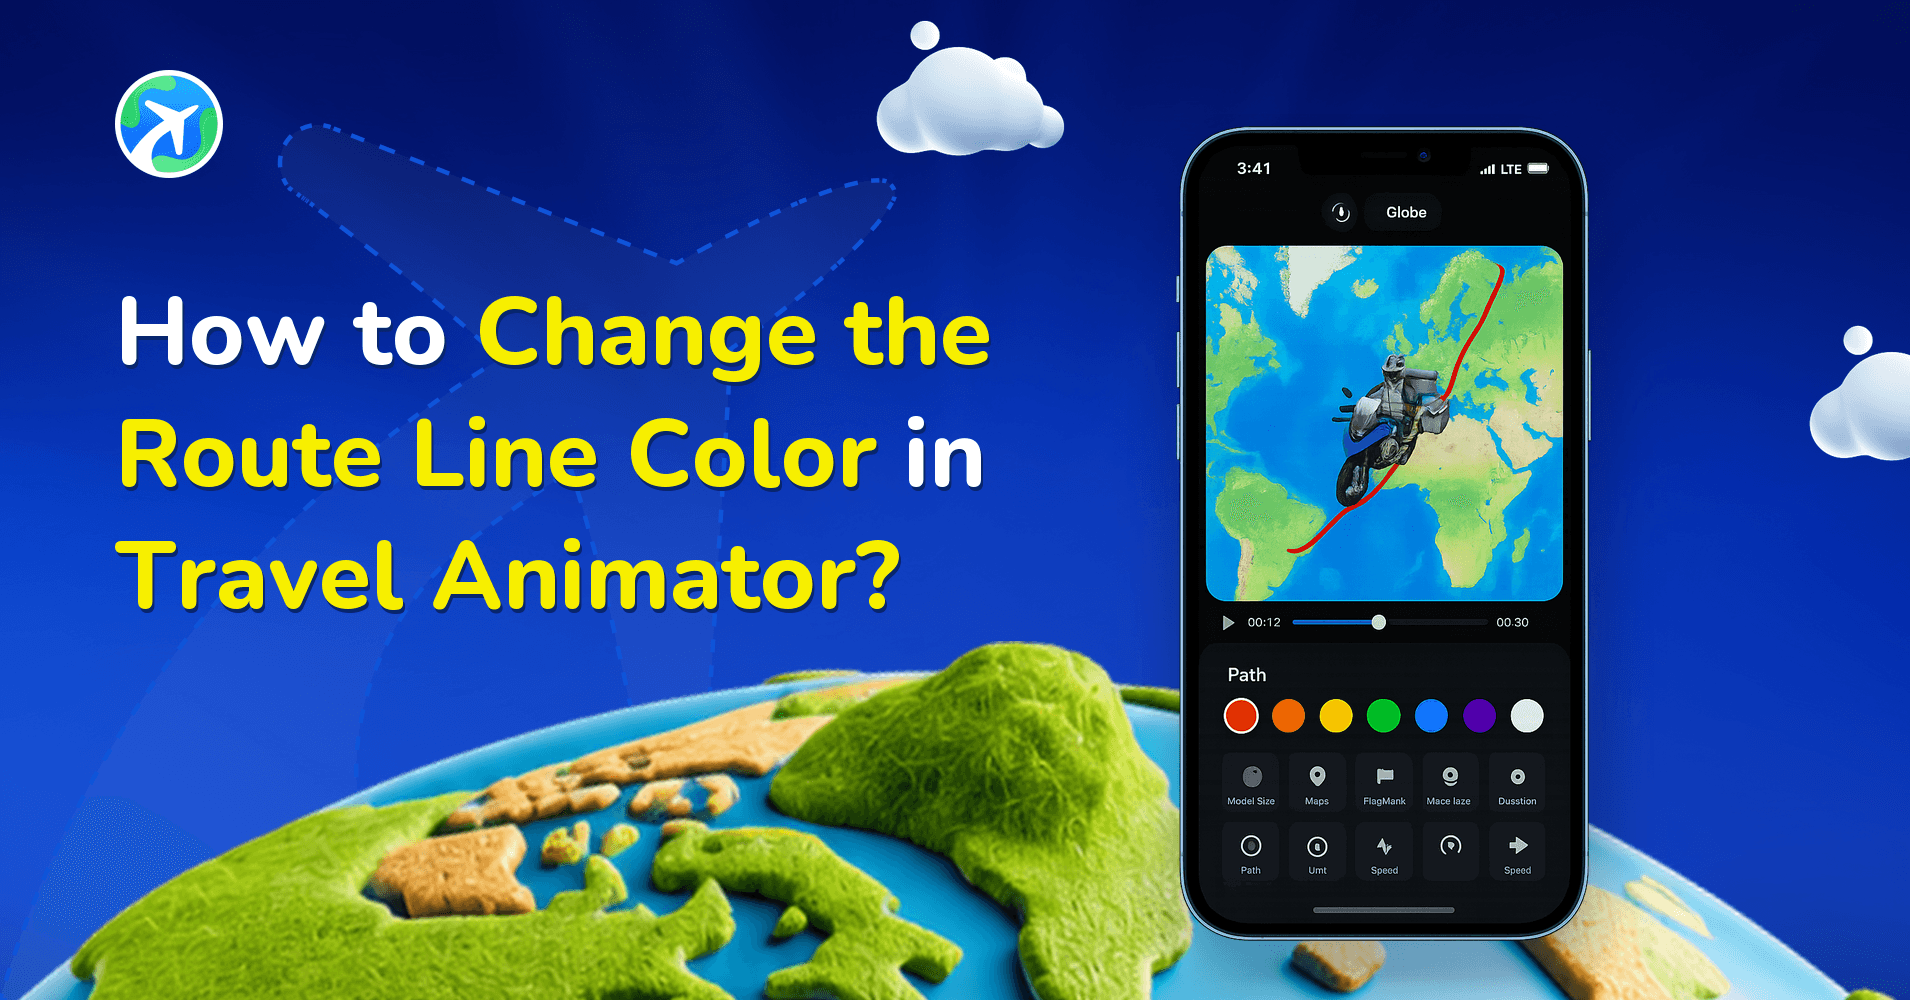
In this article 9 sections
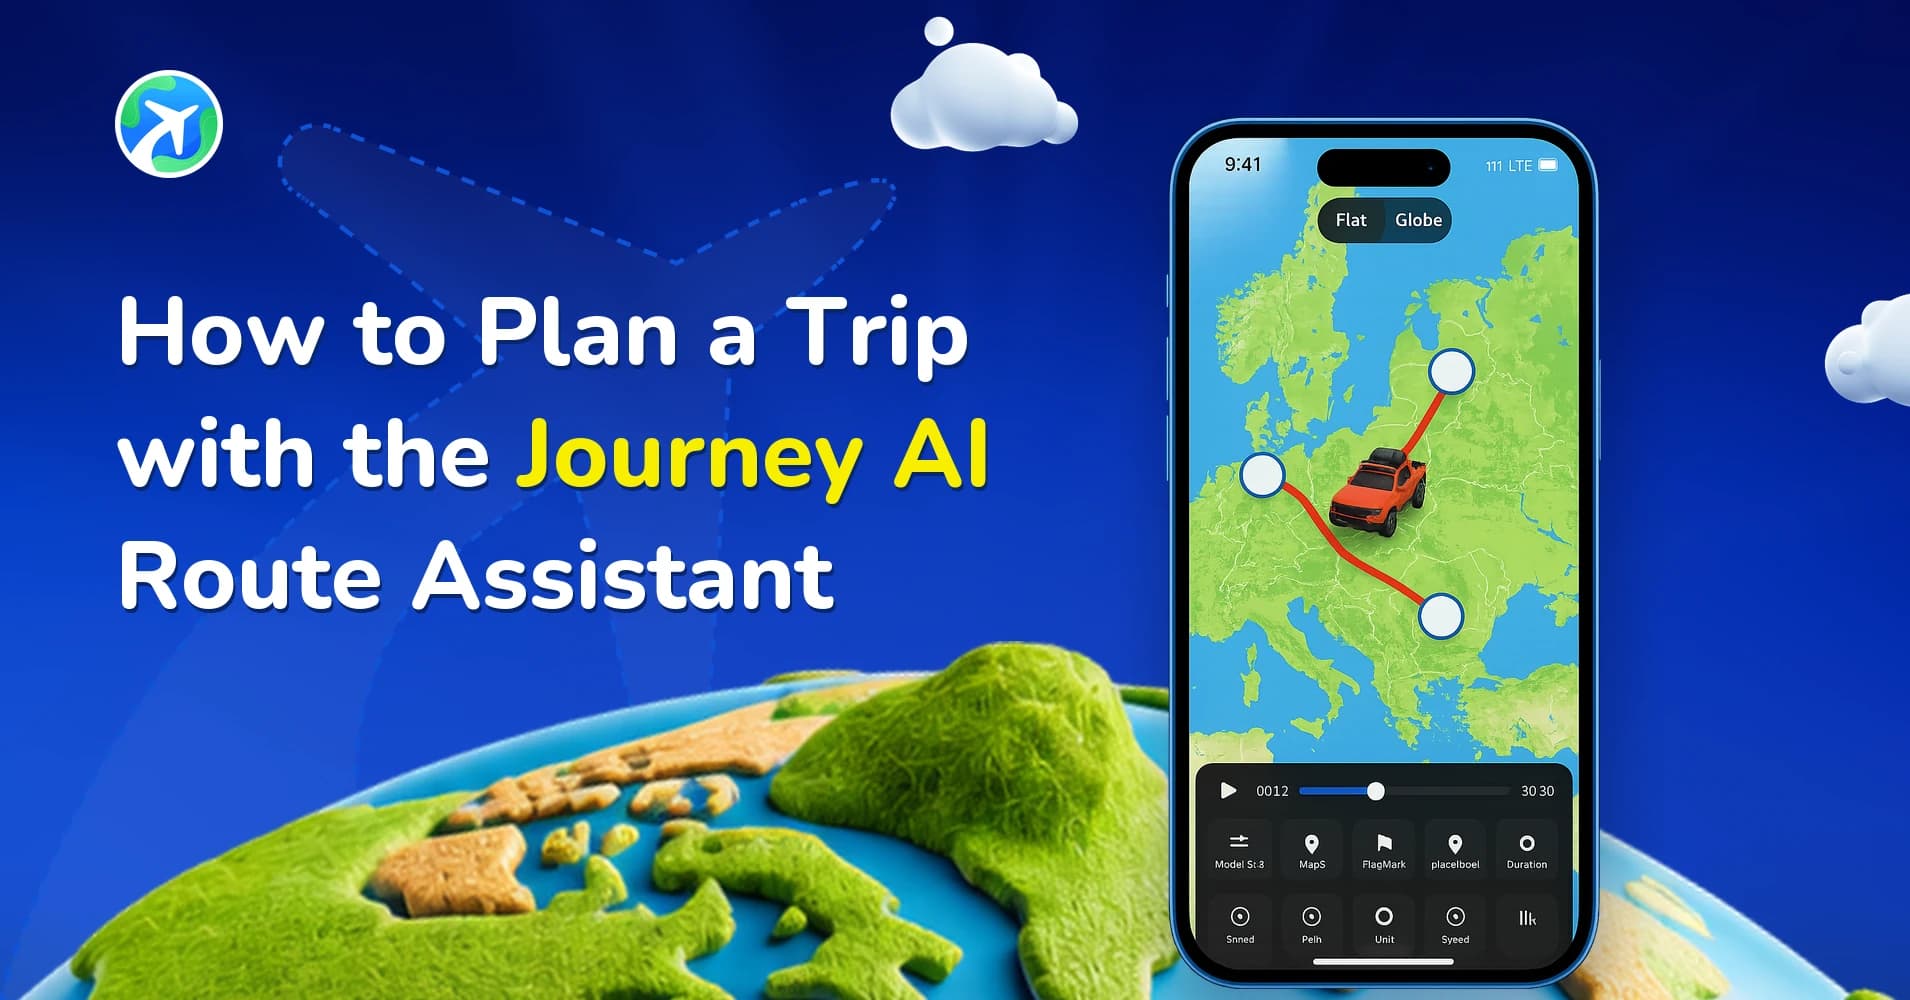
Travel Animator lets you change the route line colour to align with your travel video theme.
You are creating your travel animation video and suddenly want to change the color of the route line to match your chosen map style. But you don’t know how to do this. Here is the best solution for you.
This article explains how to change the route line color in Travel Animator to make it more suitable.
What is Route Line Color in Travel Animator
Route Line Color represents the color of the path or route shown in the animation. Travel Animator offers a variety of colours to help you choose the one that best matches your travel animation.
When do we need to create a Route Line Color in Travel Animator?
Travel Animator offers different map styles and travel models to help you create your journeys. Each background color on the map matches a different color. You need to change the line color of the route when the color of the map and line are similar, which causes visibility issues.
Why is Changing the Route Line Color Important?
- Choosing the right line color helps the route stand out clearly against the map.
- Viewers may not notice if the line blends with the map. So, color schemes should be chosen against the different background maps.
- If you create a travel video for a brand or travel agency, matching the route line color to the brand colors or video theme makes the final output more professional.
Change the Route Line Color - Step-by-Step Procedure
- Open the Travel Animator project to which you have already added the routes.
- Preview the video, then tap Path Colour from the options.
- You can choose from the available colours.
- Now, you can see the route line colour has changed.
- Adjust other features and preview the video to check if the animation is good or needs improvement.
- Export the video to your device or share it directly on social media.
Colour Is Only Half of It: Line Style and Thickness
When you tap Path Colour, you’re not limited to picking a shade. The same panel lets you choose the type of line and its thickness, and those two settings often matter more than the colour itself.
Thickness comes in Thin, Medium and Thick. On a phone screen a thin line can almost vanish, especially in a vertical Reel where the map is busy. If your route is getting lost, try Medium before you try a new colour.
The line types each suit a different kind of trip:
- Solid for road trips and anything that should look clean and direct.
- Dashed for flights and cruise paths, where people already expect a broken line.
- Dotted for hikes and backpacking, where you want something lighter.
- Glowing for night-themed maps and high-energy edits.
- Striped and Hybrid when you want the path itself to be a design element.
A white dashed line over a dark map for a red-eye flight, or a medium orange solid line for a coastal drive: pairings like these usually look right first time. Our full guide on customizing the route line goes through each style in more detail.
Tips for Choosing the Right Color for Common Use Cases
- Choose a color that stands out against your map background. Don’t use green line color on green terrain map. Try another color like white, orange, or blue.
- Make sure your chosen colors are visible on the screen.
- Cool tones like blue, green, and purple are perfect for nature, seas, or relaxing journeys in winter.
- Warm tones like red, orange, and yellow are more suitable for summer road trips, evoke excitement or heat, and are ideal for desserts and adventures.
When the Route Still Doesn't Stand Out
Sometimes you change the colour and the line still feels weak. Before you cycle through every option, check these:
- Watch the whole route, not just the start. A long journey can cross pale desert, dark ocean and green farmland. Pick the colour that survives the hardest part of the map.
- Look at your highlight colour. If you’ve used highlighted countries or states, a route in the same colour will sink into the filled area. Make the two clearly different.
- Check what’s covering it. Large photos, labels or an oversized vehicle model can hide the line at key moments. Shrinking the model often helps.
- Try the camera. In Scene Style, a 1x zoom shows more of the map around the route, while 3x stays close to the vehicle. If viewers need to see where the line goes, a wider view helps.
- Change the map instead. If you need a specific brand colour, it can be easier to switch the map style than to fight it.
Want to Explore More Features?
Using the right line color for the route also significantly makes the travel animation video more attractive and engaging. The Travel Animator App provides essential features to make your travel memories into an introductory animation video. Travel Animator Pro offers advanced features, including different map styles and transport models to make it more engaging and attractive. Explore this blog to learn how to use the Travel Animator.
Frequently Asked Questions
When do we need to create a Route Line Color in Travel Animator?
Travel Animator offers different map styles and travel models to help you create your journeys. Each background color on the map matches a different color.
Why is Changing the Route Line Color Important?
Choosing the right line color helps the route stand out clearly against the map. Viewers may not notice if the line blends with the map.
How do I choose a readable route-line color?
Choose a color that contrasts with the map background. Preview the entire journey, including lighter and darker map areas, to check that the path stays visible.
Can I make the route line thicker in Travel Animator?
Yes. Open the preview, tap Path Colour and choose the line type, then pick a thickness: Thin, Medium or Thick. Thicker lines are easier to follow on phone screens and in vertical videos, so Medium or Thick is a good starting point for Reels and Shorts. Preview the full route afterwards to make sure the line doesn’t cover labels.
Why is my route line hard to see in my exported video?
Usually the colour is too close to the map background in part of the route, or the line is set to Thin. Go back to Path Colour, try a contrasting colour and a thicker line, and check that highlights, photos or a large model aren’t covering the path. Then preview the entire animation before exporting again.