How to Start a Route From Your Location in TravelAnimator
 Jaseel S8 min read
In this article 11 sections
Picture yourself at a trailhead with a flask in one hand and your phone in the other. You open the app to record the walk ahead, and the first thing it asks is where you are. You type the name of the place you’re standing in, scroll past three similar results and tap the wrong one. It’s a small thing, but it takes the fun out of starting.
TravelAnimator now has a fix for that. You can start a route from your current location, with one tap, and the app places the first point exactly where you are.
This post walks through what changed, where to find it and how to use it. It also covers the two quick import cards that bring a GPX file or a Google Maps route in without any menu hunting.
Why the first point matters more than you'd think
Every travel map animation is built from its starting point. Get that first pin right and the rest of the route falls into place without much effort. Get it wrong and you’re dragging pins around before you’ve even chosen a vehicle.
Typing a place name works well when you’re planning from a sofa. It works less well when you’re already on the move. Place names repeat across the world, so a “Central Station” or a “Beach Road” can send you somewhere you didn’t mean. Smaller spots like a campsite gate, a viewpoint or a roadside stop often have no clean search result at all. And typing on a phone in bright sun, with one hand, is its own kind of effort.
Your phone already knows where you are. The app just needed to listen.
What's new: Use Current Location
Open the location sheet, which is the panel where you add and manage the points on your route, and you’ll find a new option called Use Current Location. Tap it and TravelAnimator drops a point at your real, live position. There is no search box and no list of results to choose from.


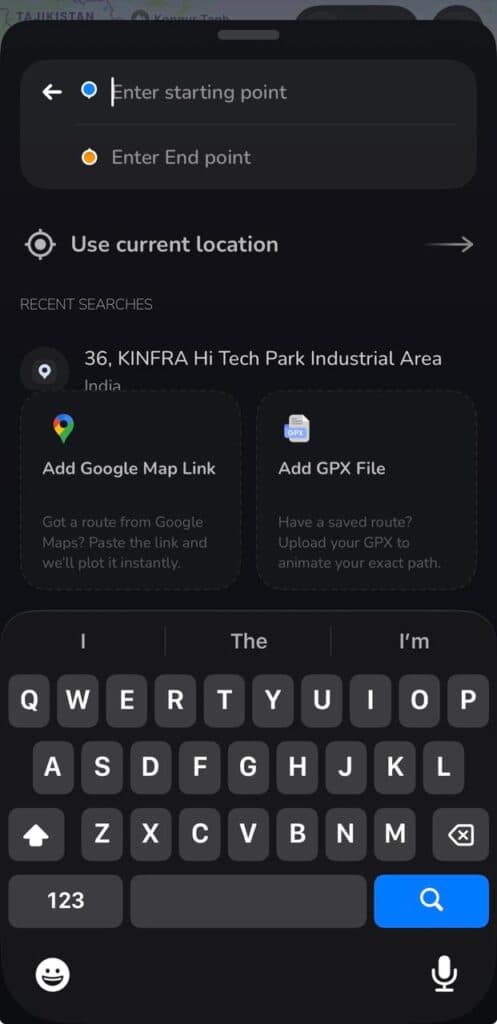
The most natural use is as the first point of a route. If you’re recording a trip as it happens, that’s the point where the story begins. You can also add it partway through when you want a stop that is exactly where you’re standing now, such as a café you’ve just walked into or a viewpoint you’ve just reached.
How to start a route from your location, step by step
STEP-1
Open TravelAnimator and start a new route.
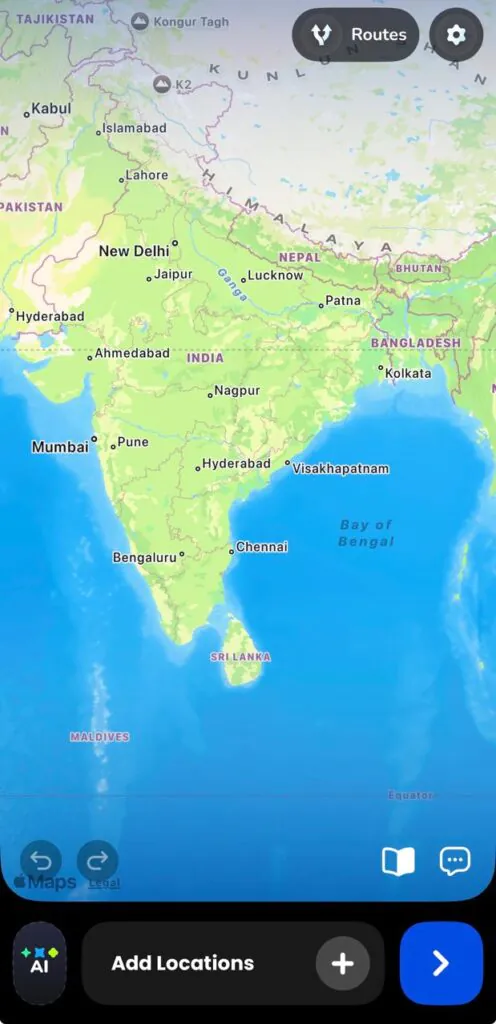
STEP-2
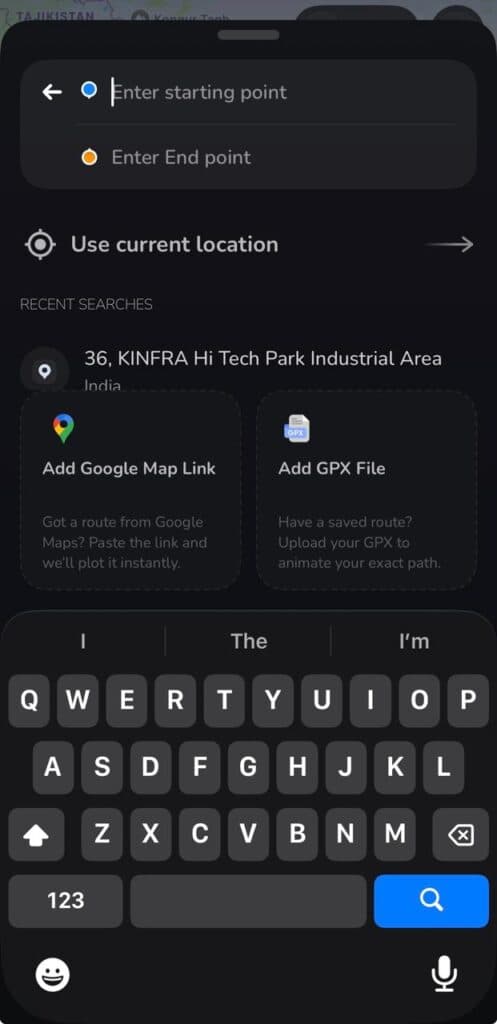
Open the location sheet to add your first point.
STEP-3
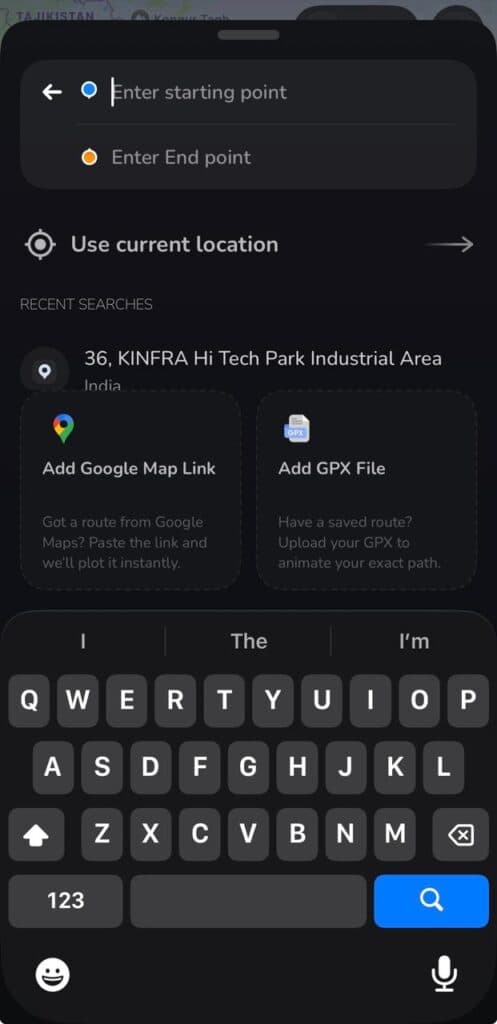
Tap Use Current Location. The first time, your phone will ask for permission to share your location. Allow it, or the app can’t see where you are.
STEP-4
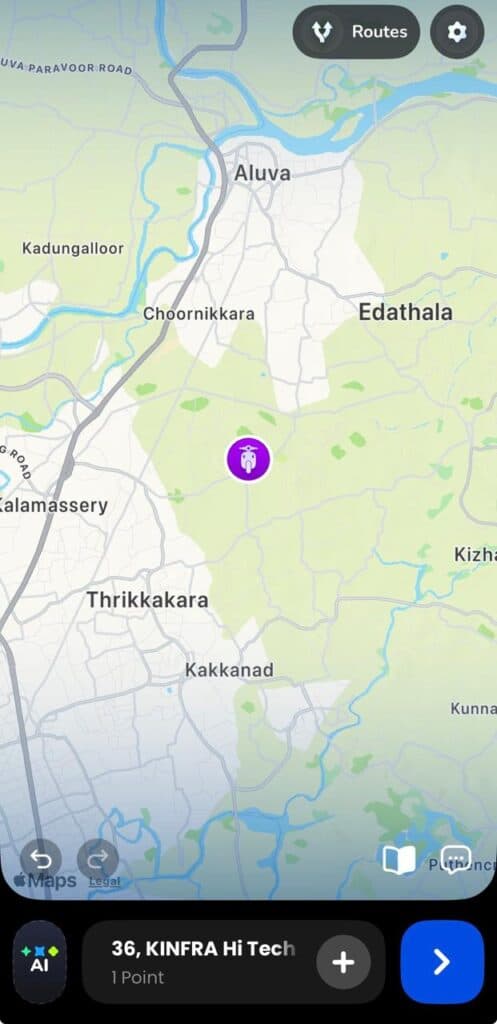
Check the pin. Your point appears on the map. GPS can drift a little indoors, so look at where it landed.
STEP-5
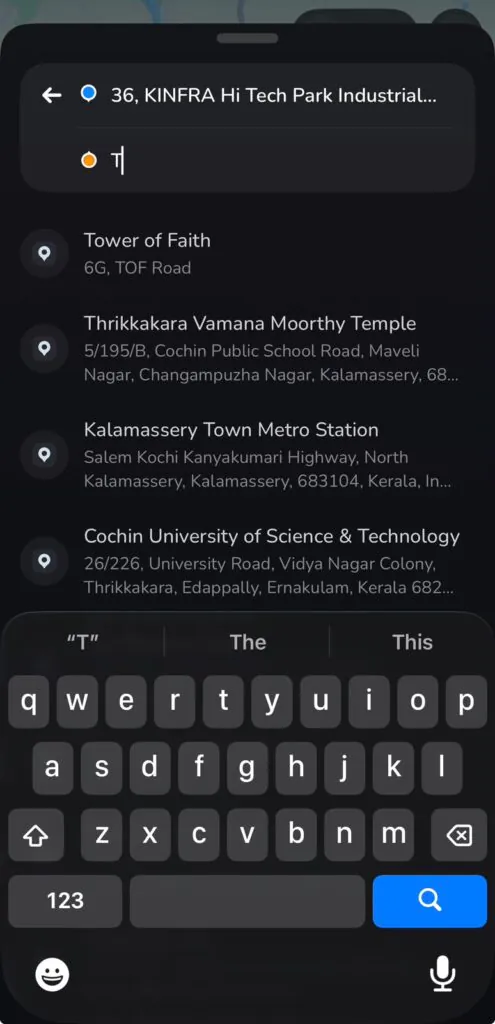
Add your next stop by searching for a place, dropping a pin or importing a route.
STEP-6
Choose a vehicle and map style, then preview the animation
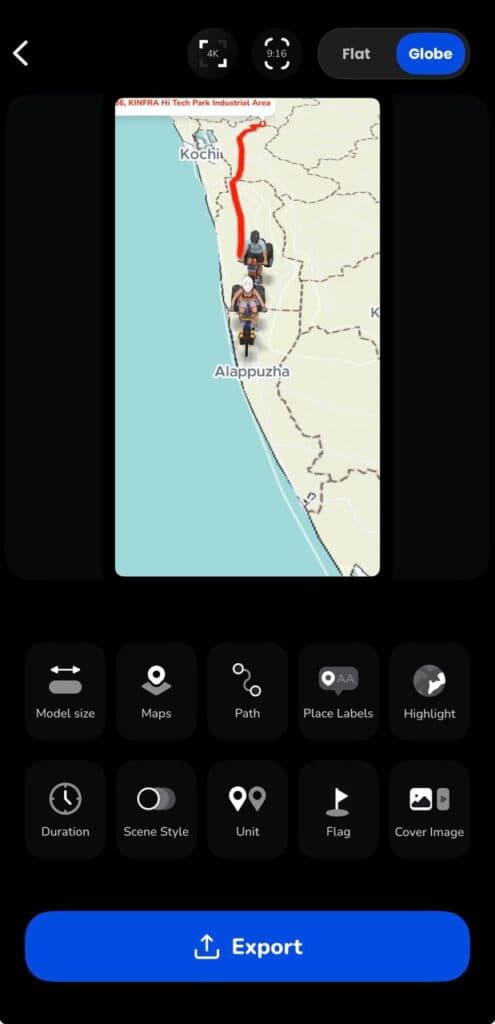
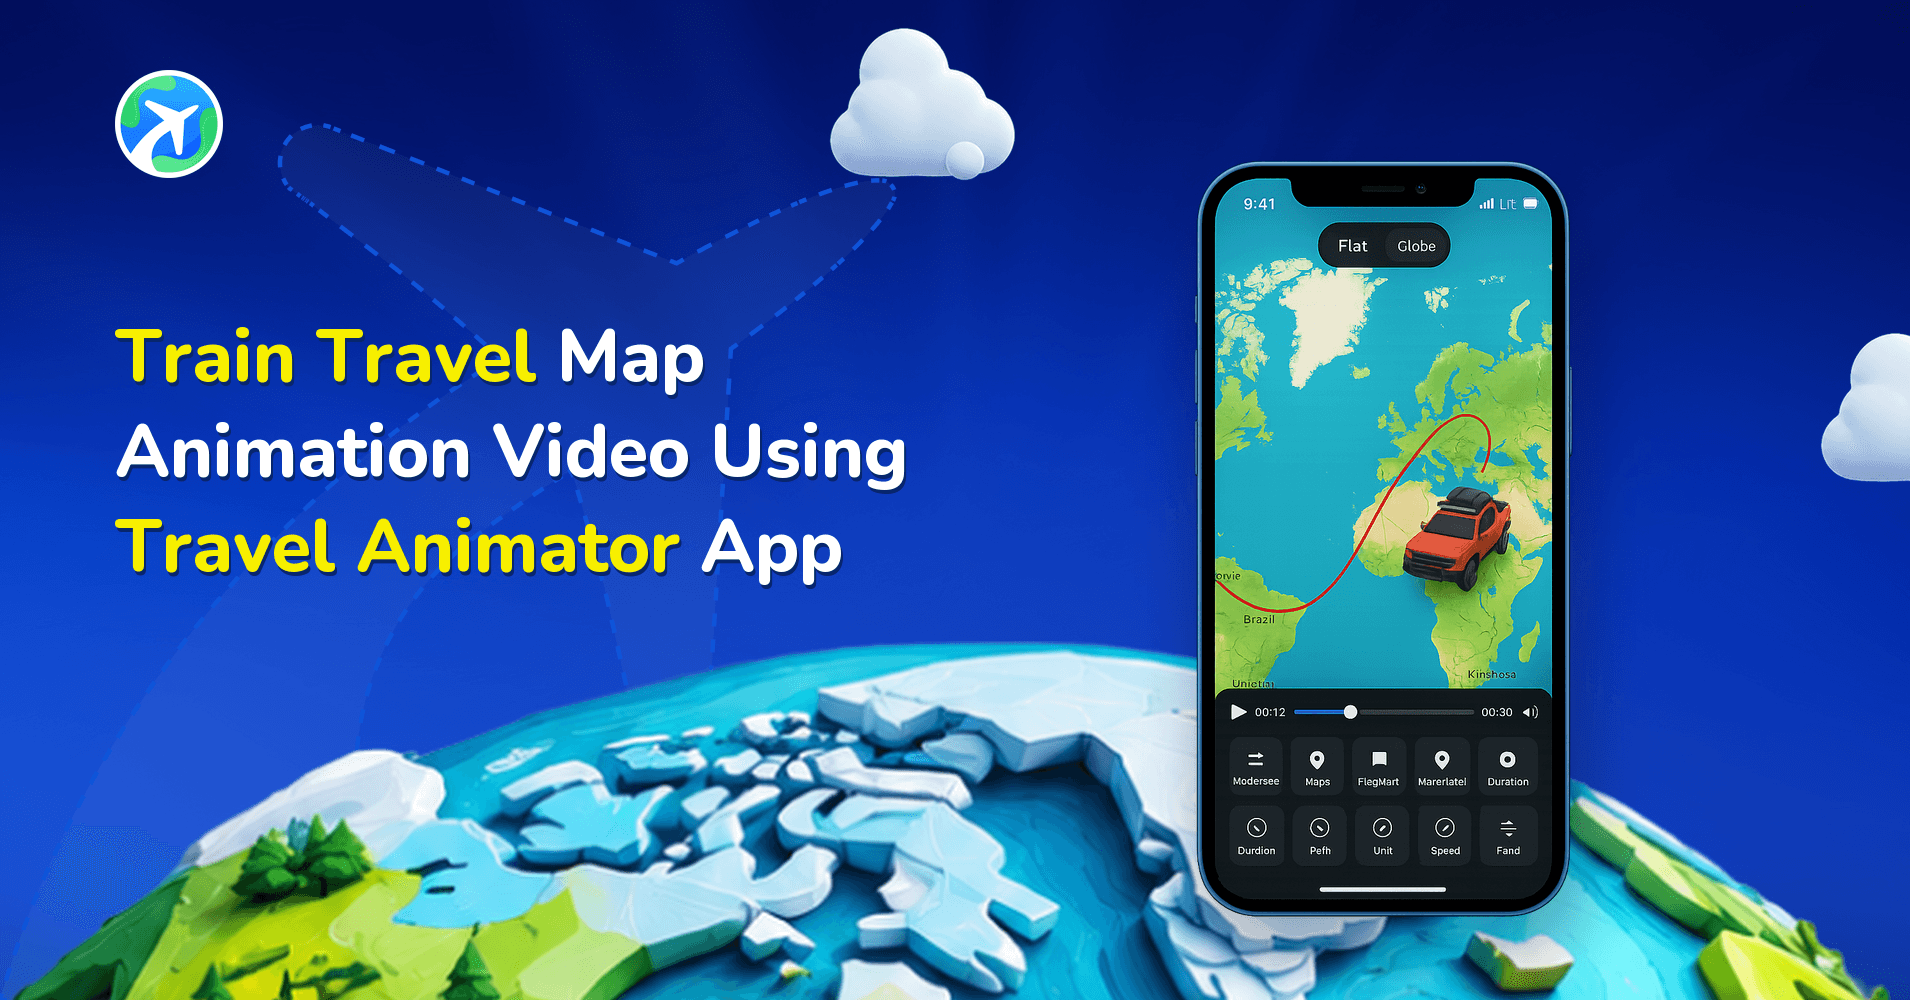
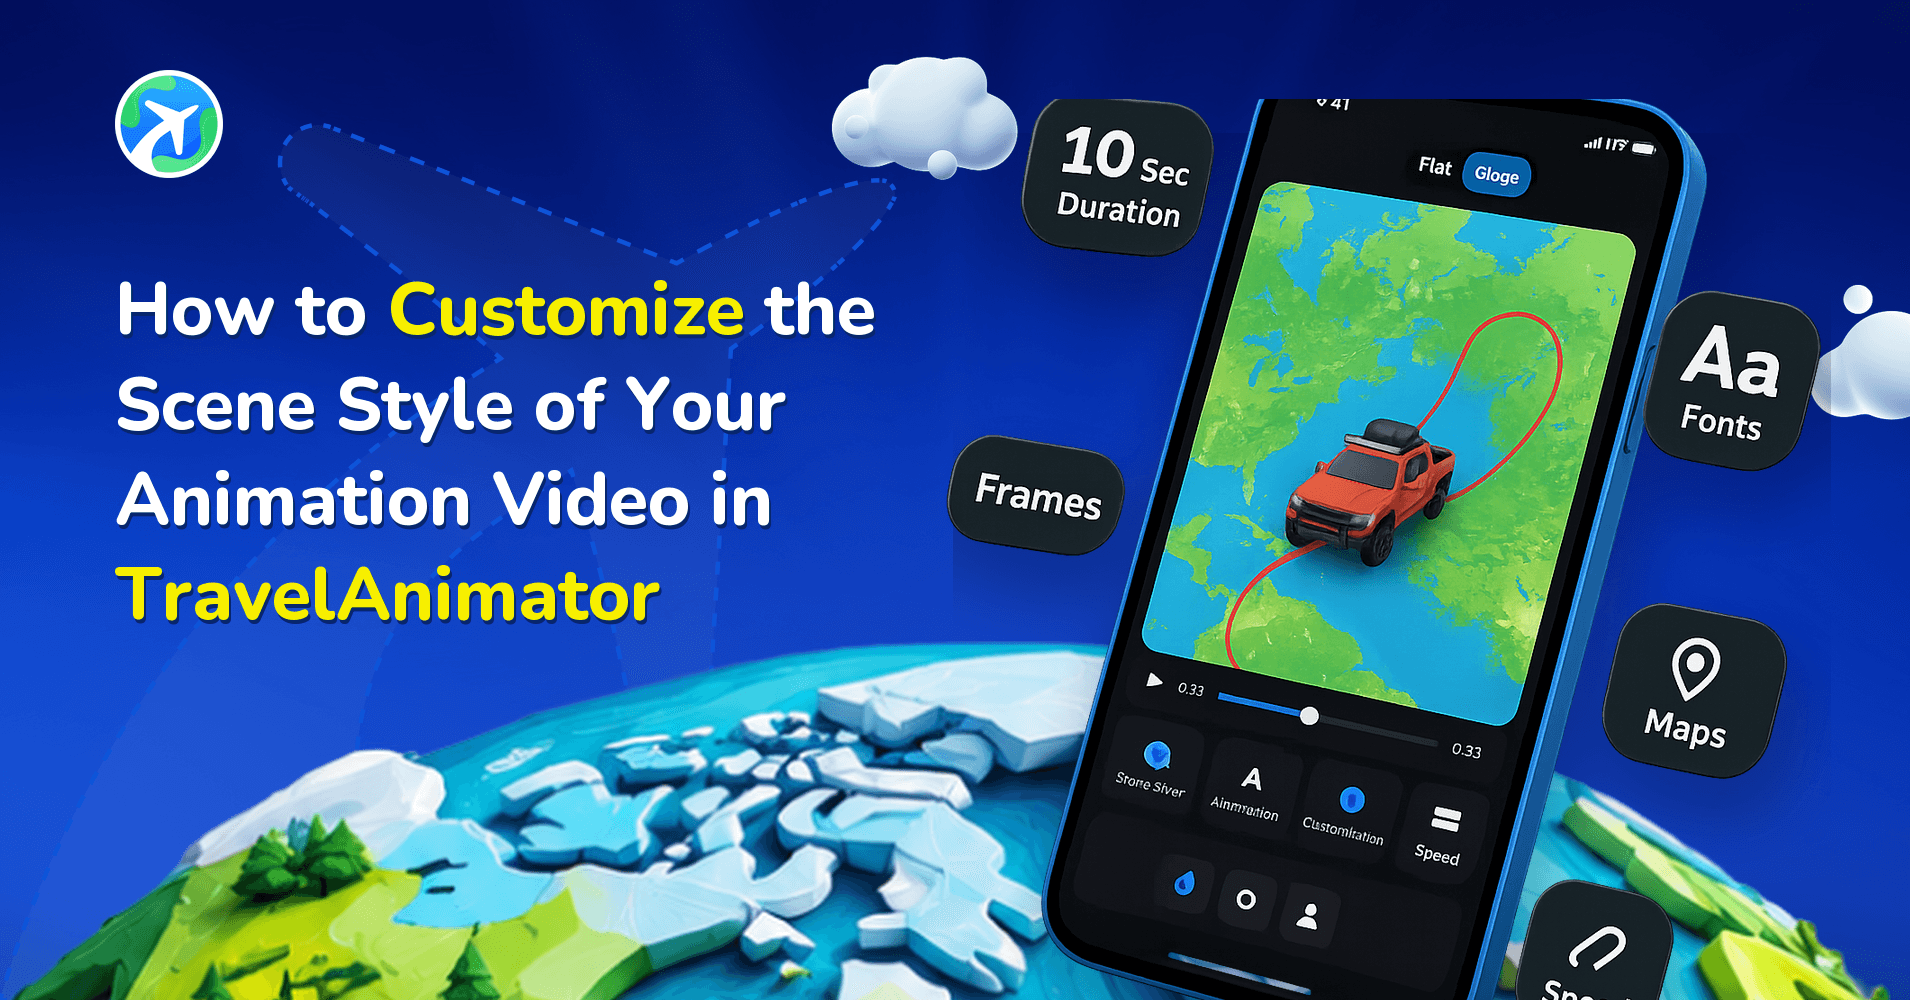
Once the route is in place, the guide to customizing your animation’s scene style shows how to make the final video look the way you imagined it.
Quick import cards for GPX and Google Maps
Starting from where you are solves the first point. The other half of the problem is getting the rest of the route in without rebuilding it by hand. The location sheet now has quick import cards for the two sources most people already use.
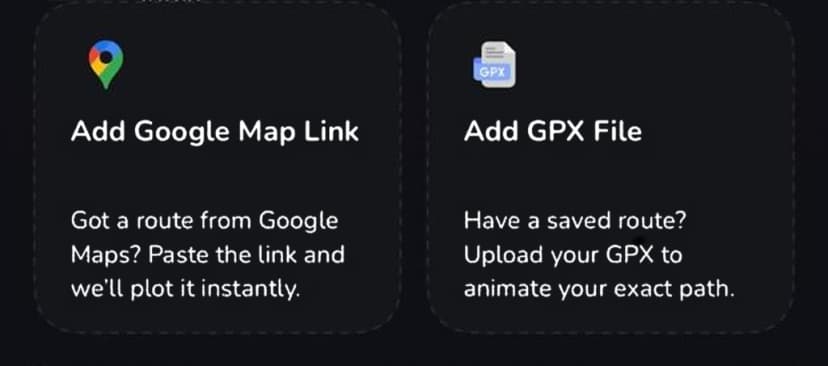
Google Maps import
Plan your trip in Google Maps the way you normally would, copy the share link, and paste it into the Google Maps card. TravelAnimator turns that route into an animation. If you’ve ever planned a road trip in Google Maps and wished you could simply watch it play out, this is that. It’s also the quickest way to share a route with someone who would rather see a moving map than a blue line on a screenshot.
GPX import
If you track hikes, rides or runs with a watch, a bike computer or a fitness app, you probably have a folder of GPX files sitting on your phone. Drop one into the GPX card and your real route is ready to animate, including every bend in the trail. Our GPX route animation page explains the format and where to find your files.
Which starting method should you use?
TravelAnimator gives you several ways to place a point, and each one is best at something different. The quick version is this: use your current location when the trip is happening now, search when you’re planning ahead, and import when a route already exists somewhere else.

Three real trips this makes easier
The live road trip diary
You’re on day three of a road trip and decide you’d like to record it. Instead of rebuilding the route from memory, you tap Use Current Location, add your next stop and let the app draw the drive. By the end of the trip you have a small collection of daily clips, each one starting exactly where that day began. They stitch together nicely for a travel vlog, and the Instagram Stories and Reels guide shows how to size them for social.
The trailhead hike
You’re standing at the start of a trail and you’ve downloaded the GPX file for the route. You start from your location, import the file and watch the path climb the map before you’ve taken a single step. Hikers and trail runners get a lot out of this, because trailheads almost never have a tidy address to search for.
The quick “how did you get there?” share
A friend asks how to reach that hidden restaurant you found. You start from your spot, import the Google Maps route you used and send them the video. It’s far clearer than a screenshot, and it takes about as long as typing out directions. If you travel by air more than by road, the flight path animation guide is a good next read, and the 3D model library has a vehicle for every kind of journey.
Tips for a cleaner first point
GPS is accurate, but it isn’t magic. A few habits make the first pin land exactly where you want it.
- Wait a few seconds outdoors. Your phone locks on faster with a clear view of the sky.
- Turn on precise location. Approximate location can put your pin a few streets away.
- Nudge the pin if needed. If it landed beside the right spot, adjust it before moving on.
- Preview a few map styles. Some of the 30+ map styles show small streets and trails more clearly than others.
If the button can't find you
When Use Current Location doesn’t place a point where you expect, the cause is almost always one of a handful of small things. Start with permission: open your phone’s settings, find TravelAnimator and make sure location access is allowed while you’re using the app. Next, check that location services are switched on for the whole phone, and that precise location is enabled, because approximate location can land blocks away. If you’re indoors or underground, step outside for a few seconds, since thick walls and station platforms weaken GPS. Finally, update the app to the latest version from the App Store or Google Play, close it completely and try again.
Still stuck? The TravelAnimator forum and the in-app chat are there to help. Include your TravelAnimator User ID and the team can look into it faster.
A quick word on privacy
Your location is personal, so it’s worth knowing how it’s used. The app asks for location access only because a feature you tapped needs it, and you can change your mind at any time in your phone’s settings.
The bigger privacy question comes later, when you share the finished video. A map animation can show where you’ve been, including your home or hotel, so think before you post a route that begins at your front door. A simple habit is to start public videos from a nearby landmark rather than your own address. You can read more in our Privacy Policy.
What this won't do
We’d rather be upfront about the edges.
- It places a point when you tap. It isn’t a tracker running in the background.
- It needs location permission. Without it, the button can’t find you.
- Indoor accuracy varies. Inside a building or station, the point may be off by some distance.
- It doesn’t replace search. Planning a trip for next month still means searching or importing.
After you've built your route
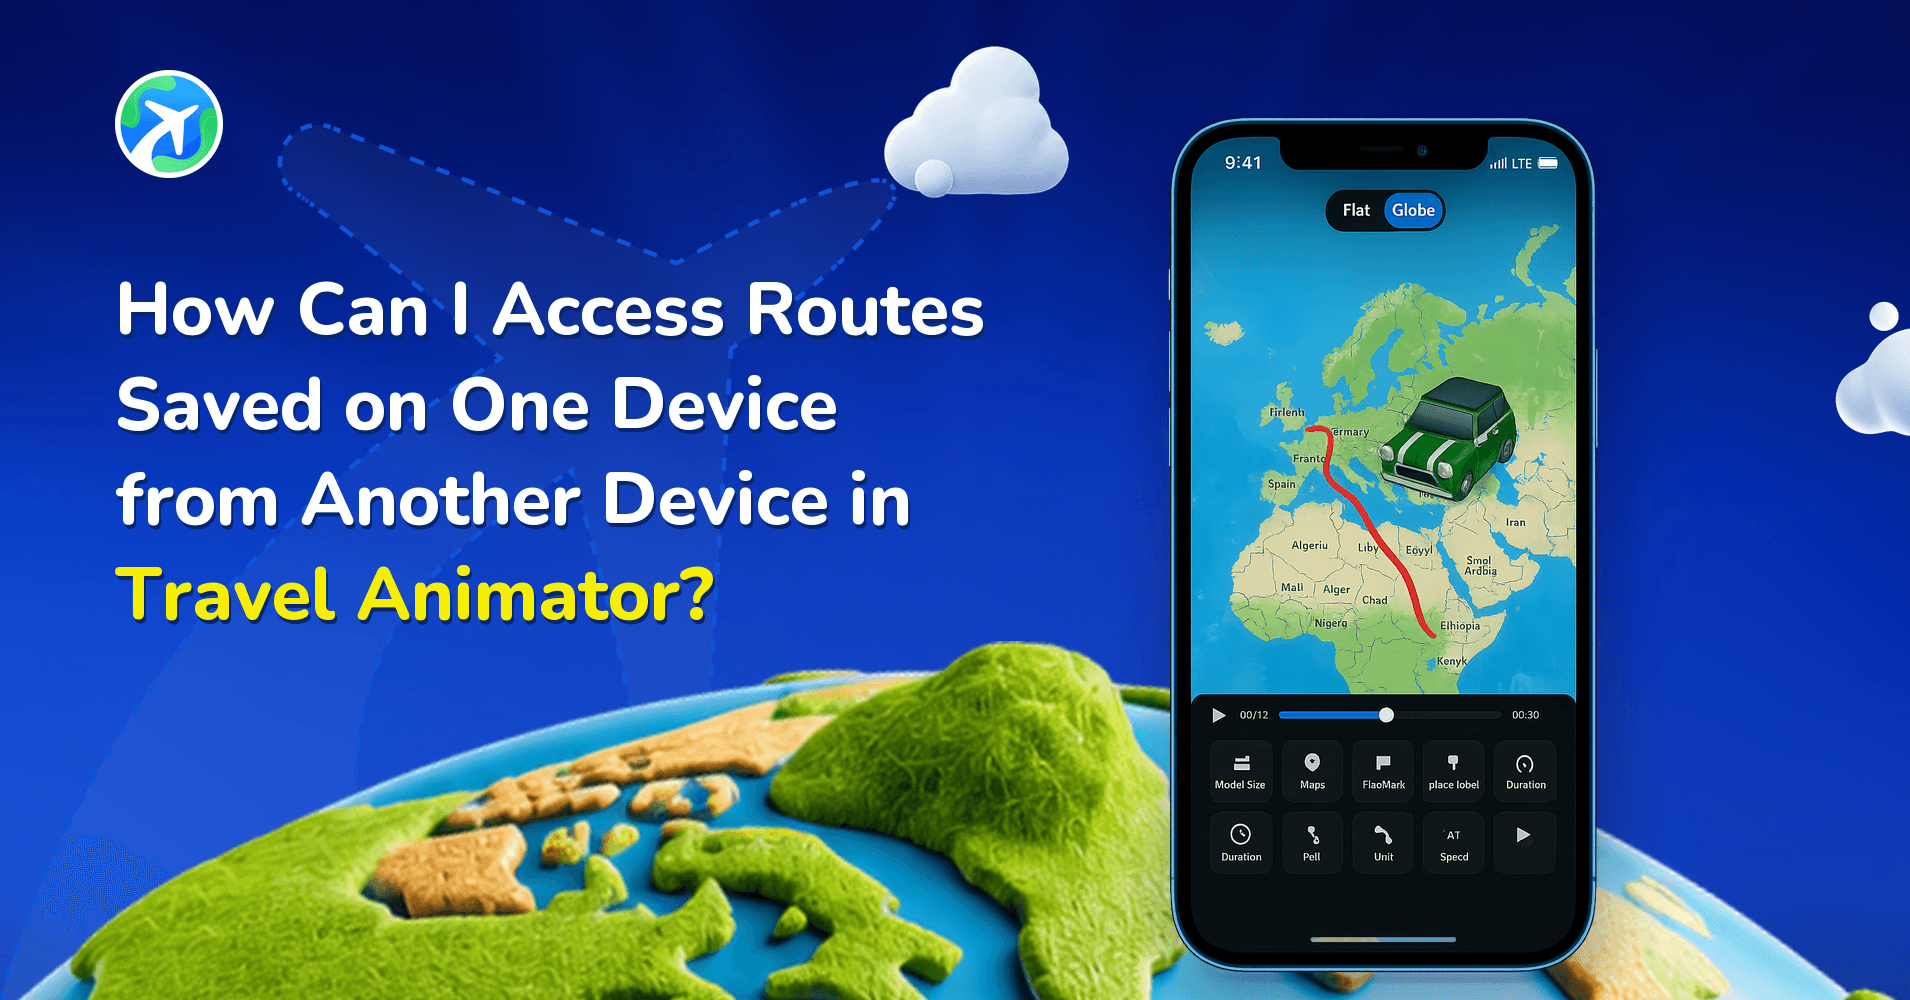
Starting the route is the beginning, not the end. From here you can pick a vehicle and style that suit the trip, then export and share. If you switch phones or work across devices, see how to access routes saved on one device from another. If you’re curious about building videos with an AI assistant, the MCP server install guide is worth a look. And if you’re weighing apps against each other, we’ve compared TravelAnimator with Mult Dev and Avomap.
How do I use my current location in TravelAnimator?
Open the location sheet while adding a point and tap Use Current Location. Allow location access when your phone asks, and the point appears on the map at your position.
Do I need to turn on location services?
Yes. TravelAnimator can only place a point at your position if your phone lets the app see where you are.
Can I combine my current location with a Google Maps or GPX import?
That’s the idea. Start at your current location, then bring in the rest of the route from the Google Maps or GPX card. Check the app for how the two combine in your version.
Can I add my current location in the middle of a route?
Yes, you can place it wherever you need a point.
Which GPX files work?
Standard GPX files from fitness watches, bike computers and tracking apps are the usual source. Our GPX page has more detail.