How to Use Templates in Travel Animator
 Jaseel S9 min read
In this article 7 sections
Travel Animator’s new Templates feature gives you a quicker way to make a travel map video. You pick a ready-made style, drop in your own places and media, and the route, vehicles and media slots are already set up for you.
Before Templates, making a map video meant building it piece by piece: adding each location, choosing a vehicle for every leg, attaching photos one at a time, and adjusting the settings for each stop. Templates do most of that groundwork for you, so you can spend your time on your trip instead of the setup.
This guide covers what Templates are, which ones are available, and how to use a template from start to finish.
What Are Templates in Travel Animator?
A template is a pre-designed travel map video layout. Each one comes with a route style, vehicle models, labels and media slots already arranged for a type of trip. You swap in your own locations, photos and videos, and the template handles the structure.
The key difference from building a video from scratch is that you see the full route with every editing option on one screen. Models, avatars, media and locations are all reachable from the same view, so you never have to dig through menus to change one stop.
Templates also come with two new finishing tools:
- My Clip: Add your own video clips between the routes and choose how they blend with the map
- Text: Place captions anywhere on the timeline of your video
Templates Available Right Now
At launch, Travel Animator includes these templates:
- Travel Memories: A multi-stop recap built around Terrain map views, good for summing up a whole trip or a year of travel.
- Flight Diary: Made for air travel, with your photos or selfies placed over the map as the route animates between cities.
- Road Trip Reel: A vertical reel for road trips and motorcycle tours, combining your footage with a globe-style route animation.

How to Use Templates in Travel Animator
Step 1: Open Templates
Open the Travel Animator app and tap Templates on the home screen. You’ll see a gallery of every available template, each with a short preview.
Step 2: Browse and Preview the Templates
Tap any template to open a larger preview. You can switch between grid view and full-card view with the icon in the top-right corner. Each card shows small icons for what the template includes, such as location markers, text labels and multiple stops. Tap the heart icon to save a template to your favourites for later.
Step 3: Choose a Template
When you’ve found the one you like, tap Use template. Travel Animator opens the map editor with that template’s style already applied.
Step 4: Add Your Locations
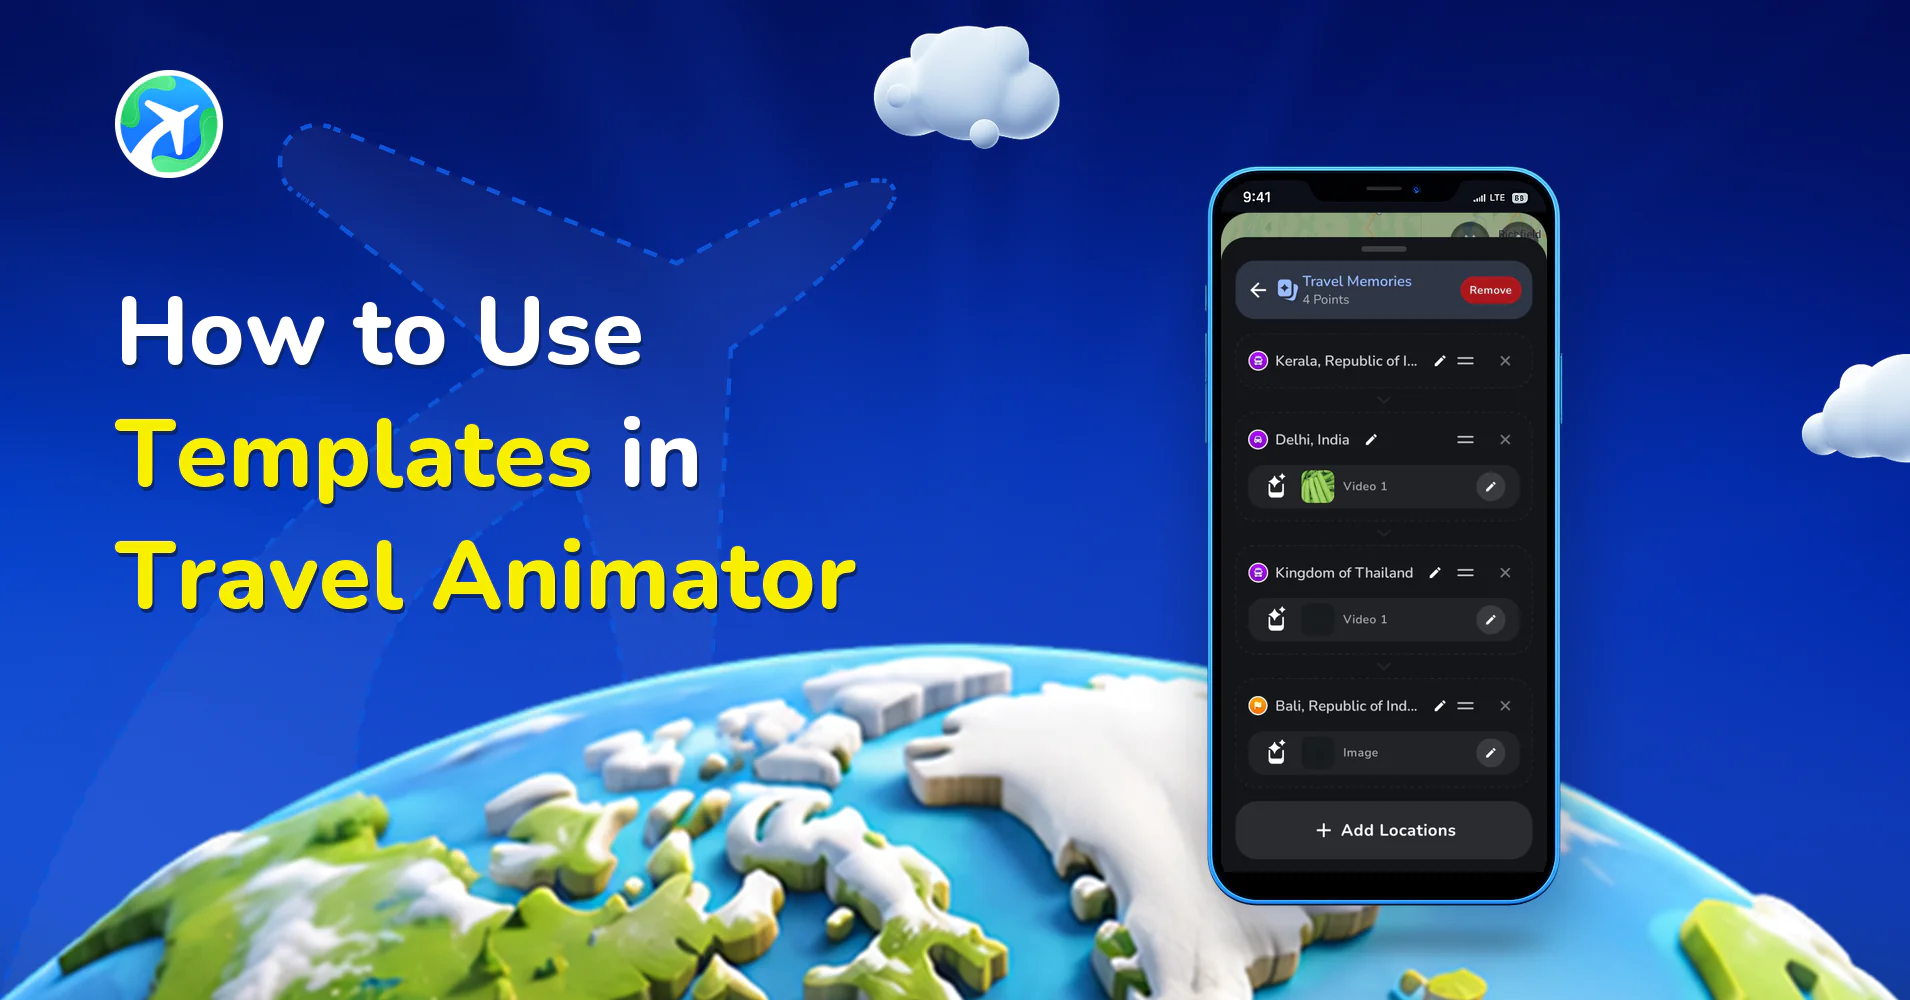
Tap the pencil icon, tap Add location and search for a new place on your trip: a city, a country or a specific spot. Add them in the order you travelled. The route draws itself between your stops, and every stop is listed under the template name with a point count (for example, “Travel Memories – 4 Points”).
From this list you can:
- Rename or edit a stop with the pencil icon
- Reorder stops by dragging the handle
- Delete a stop with the X
- Add more locations at any time with + Add Locations
Step 5: Customize Everything from One Screen
This is where Templates save the most time. The whole route sits on one map, and each stop shows its vehicle, media and avatar icons right on the map. Tap a stop to open its editing panel, which has three tabs.
Models
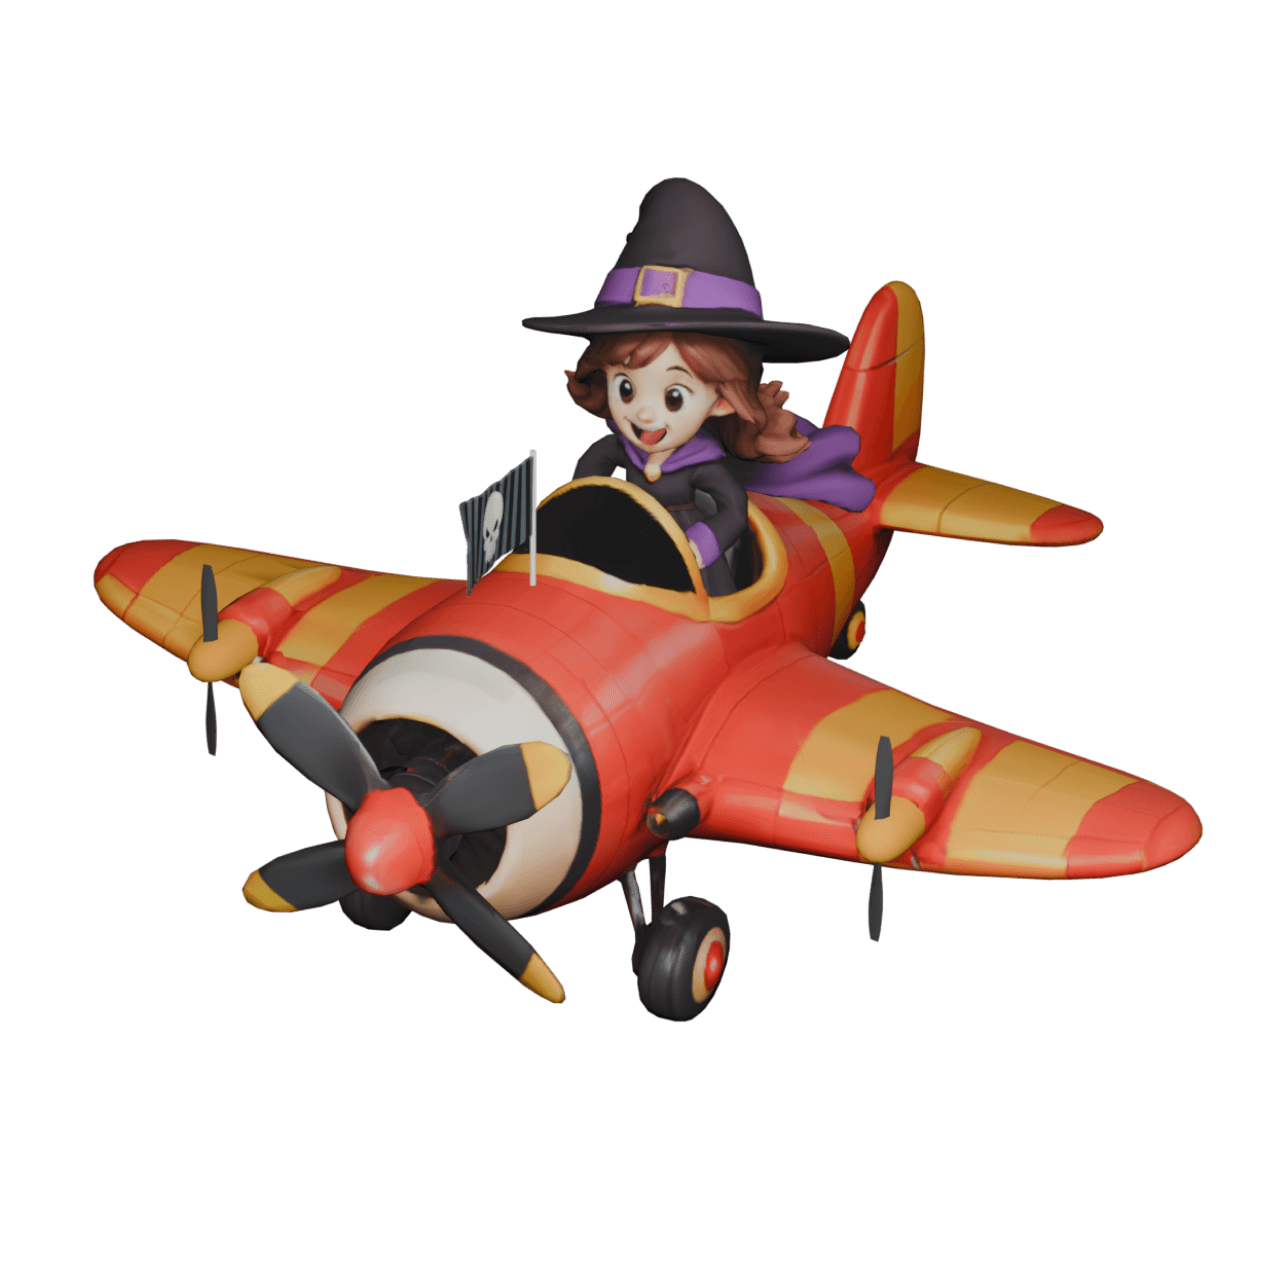
Choose the vehicle that moves along each stop of the route. Category filters (such as Recent, Indian and seasonal collections like Halloween) and a search bar help you find the right model quickly. 10+ basic models are available for free, and Pro users can access the full library of 300+ models.
Avatar
Tap Add Avatar to put your own photo on the map so the journey looks like yours. The avatar travels with the route and makes the video feel personal.
Media
Each stop in a template comes with a media slot (an image or a video) ready to fill. Under the Media tab, you can:
- Add photos or videos from your gallery under Image
- Choose a frame style, such as a classic border, a vintage torn-paper frame or a gold frame
- Turn on Add text to write a caption, or use the Text tab
- Add stickers and decorations from Elements
- Change the aspect ratio (for example, 9:16 for Reels and Shorts)
Tap the blue tick to save your changes, or Remove to clear that media.
Step 6: Fine-Tune Your Video in the Preview Screen
When you tap the blue arrow, Travel Animator opens the preview screen. Your template plays as a full animation, and every finishing tool sits in one grid below it. Press play to watch your route animate, and use the timeline to jump to any moment.
At the top of the screen, you’ll find three quick settings:
- HD: Sets the export quality of your video
- 9:16: Changes the aspect ratio, so you can make a vertical video for Reels, Shorts and TikTok or a different format for other platforms
- Flat / Globe: Switches between a flat map view and a 3D globe view
A live distance counter also appears on the map, adding up the kilometres as your route plays.
Finishing Tools
Below the preview, you can adjust every part of the animation:
- Model size – Make your vehicle bigger or smaller on the map
- Maps – Change the map style
- Path – Style the route line that traces your journey
- Scene Style – Change the overall look of the scene
- Duration – Set how long your video plays
- Flag – Customize how your flags show
- Place Labels – Show or style the city and place names on the map
- Highlight – Highlight the areas along your route
- Unit – Switch the distance counter between kilometres, NM and miles
- Cover Image – Set the opening image or thumbnail for your video
Add Your Own Video Clips Between Routes with My Clip
This is the biggest addition to Travel Animator. My Clip lets you place your own videos right inside the map animation, between the routes, so viewers see what happened at each stop and not just the line moving across the map. Your travel map video becomes a real travel story.
Tap My Clip, then tap + to add a video from your gallery. The clip sits on its own track above the map timeline, where you can:
- Move it to the exact point in your journey where it should play
- Trim it with the yellow handles to keep only the best seconds
- Delete it if you change your mind
- Add more clips at different points along the route
Then choose how your clip and the map appear together:
- Blend – Your clip fades smoothly into the map, so the footage and the route merge into one scene
- Paper – Your clip sits above the map with a torn-paper edge between them, for a scrapbook-style look
- Split – The screen divides in two, with your clip on top and the map animating below
You can also choose where the clip sits on the screen and turn on the Globe toggle to show the map as a globe while your clip plays.
Add Text to Your Video
The Text tool lets you place captions directly on your travel map video. Tap Text, then tap + to add a text layer. Each caption appears as a block on the timeline under your map video, so you can drag it to the exact moment it should show up and decide how long it stays on screen.
Step 7: Export Your Video
When everything looks right, tap Export. Your travel map video saves to your phone, ready to share on Instagram, TikTok, YouTube Shorts or WhatsApp.
Why Use a Template Instead of Starting from Scratch?
- It’s faster – The route style, vehicle choices and media layout are already done. You only add what’s yours.
- Everything is in one place – Locations, models, avatars and media can all be edited from a single screen.
- It tells your real story – With My Clip, your own footage plays between the routes, so viewers see the moments, not just the map.
- It looks consistent – Each template is designed as a whole, so your video looks polished even if it’s your first one.
- It’s still flexible – You can add, remove or reorder locations, change any vehicle, and add text or clips anywhere, so a template is a starting point, not a limit.
Tips for Better Template Videos
- Match the template to the trip – Use Flight Diary for trips that are mostly flights, Road Trip Reel for driving or biking routes, and Travel Memories for multi-country recaps.
- Keep clips short – Two to four seconds per clip in My Clip keeps the video moving and stops the map from getting lost.
- Pick the right clip style – Use Blend for smooth, cinematic recaps, Paper for a scrapbook feel, and Split when you want the route visible the whole time.
- Keep captions short – With the Text tool, a city name or a three-word memory reads better on a moving map than a full sentence.
- Pick 9:16 for social media – Vertical videos fill the screen on Reels, TikTok and Shorts.
- Add music after exporting – Travel Animator doesn’t include built-in audio, so add a trending sound in Instagram, TikTok, CapCut or InShot.
Frequently Asked Questions
What are Templates in Travel Animator?
Templates are ready-made travel map video designs. Each one sets up the route style, vehicles and media slots in advance, so you only add your own locations, photos and videos.
Can I add my own video clips to a Travel Animator video?
Yes. Use the My Clip tool in the preview screen to add videos from your gallery and place them between the routes on the timeline. Choose Blend, Paper or Split to decide how your clip appears alongside the animated map.
Can I add text captions to my travel map video?
Yes. In the preview screen, tap Text, add a text layer, and drag it on the timeline to the moment you want it to appear. You can add several captions across the video.
Are Travel Animator Templates free?
Yes, Templates are currently available on the Travel Animator free plan. Free exports include a watermark; upgrade to Pro for watermark-free 4K exports and access to 300+ models.
Can I add more locations to a template?
Yes. Tap + Add Locations at any time to add stops. You can also reorder or delete existing stops.
Can I change the vehicle in a template?
Yes. Tap any stop and open the Models tab to swap the vehicle for a plane, car, bus, train, boat or any other available model.
Is the Templates feature available on both iOS and Android?
Yes, Travel Animator template features are available on iOS and Android.
Start Your First Template Video
Templates are the quickest way to turn a trip into a shareable travel map video. Open Travel Animator, tap Templates, pick a style, add your clips between the routes, and your journey will be ready to share within minutes.