How to Create a Hiker’s Map in TravelAnimator
 Jaseel S6 min read
In this article 6 sections
With TravelAnimator’s features, you can create a realistic hiking route map where hills look like hills, valleys appear deep, and slopes are clearly visible. The exaggerated terrain view makes it easier to visualize elevation and creates stunning animated hiking trail videos for social media or trip documentation.
Whether you are trekking through mountains, exploring forest paths, or climbing steep hills, a simple flat map is often not enough. That’s where a hiker’s map using such a view becomes essential.
In this guide, you’ll learn how to create a 3D hiking map step by step using TravelAnimator.
What Is a Hiker’s Map?
A hiker’s map is a terrain-focused route map designed specifically for trekking and outdoor exploration. It emphasizes elevation and topography, trail curves and slopes, landscape texture, and natural terrain features when compared to standard navigation maps. Instead of just showing a straight line from start to end, a hiking route map visualizes how the track interacts with the land. This is especially useful in mountainous regions, where significant altitude changes significantly affect the difficulty level.
Traditional 2D route maps only display a simple line connecting one point to another, which may be sufficient for basic navigation but does not provide the depth hikers truly need. When trekking through mountainous terrain, elevation gain becomes just as important as total distance. Hikers must understand steep inclines, sharp descents, ridge crossings, and valley drops before starting their journey. A realistic satellite map of hiking trails allows hikers to visualize slope steepness, mountain ridges, forest density, and overall terrain complexity. This deeper understanding improves planning, enhances safety, and makes the entire hiking experience more predictable and enjoyable.
Beyond practical planning, a realistic hiking route map also enhances storytelling. Combined with animation, it becomes a cinematic visual experience, perfect for YouTube hiking channels, Instagram reels, and adventure recap videos.
Step-by-Step: How to Create a Hiker’s Map in TravelAnimator
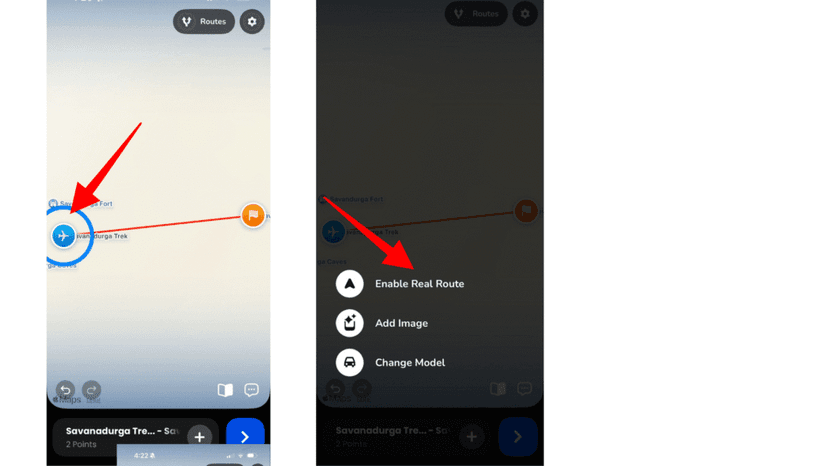
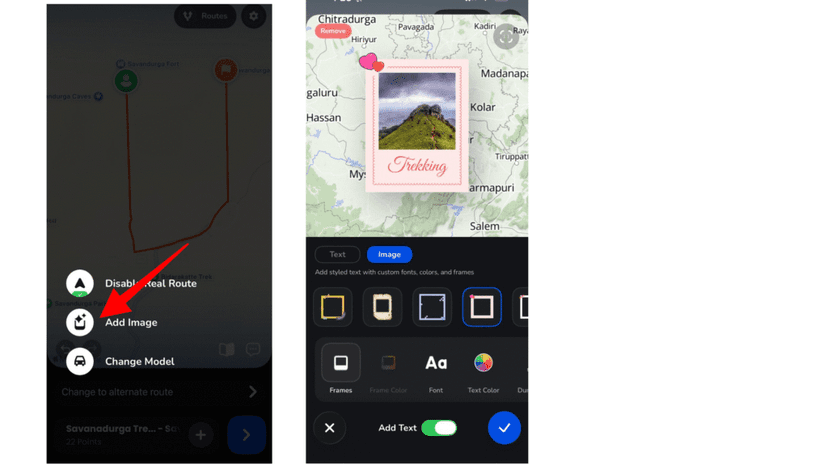
2. For realistic hiking paths, enable the Real Routes feature at each stop. When Real Routes is activated on a point, the path from that stop to the next follows actual roads or walking trails. To apply realistic routing across the entire hike, enable it at every stop.
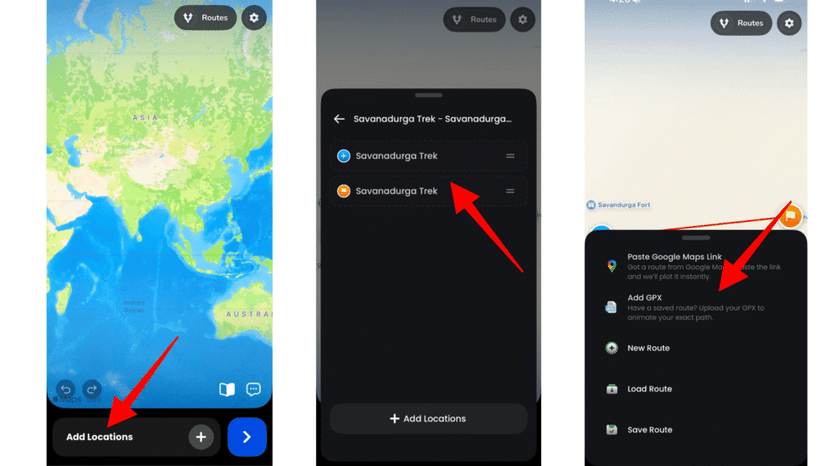
2. For realistic hiking paths, enable the Real Routes feature at each stop. When Real Routes is activated on a point, the path from that stop to the next follows actual roads or walking trails. To apply realistic routing across the entire hike, enable it at every stop.
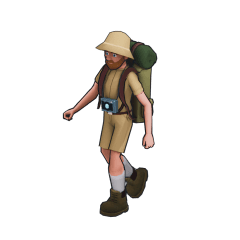
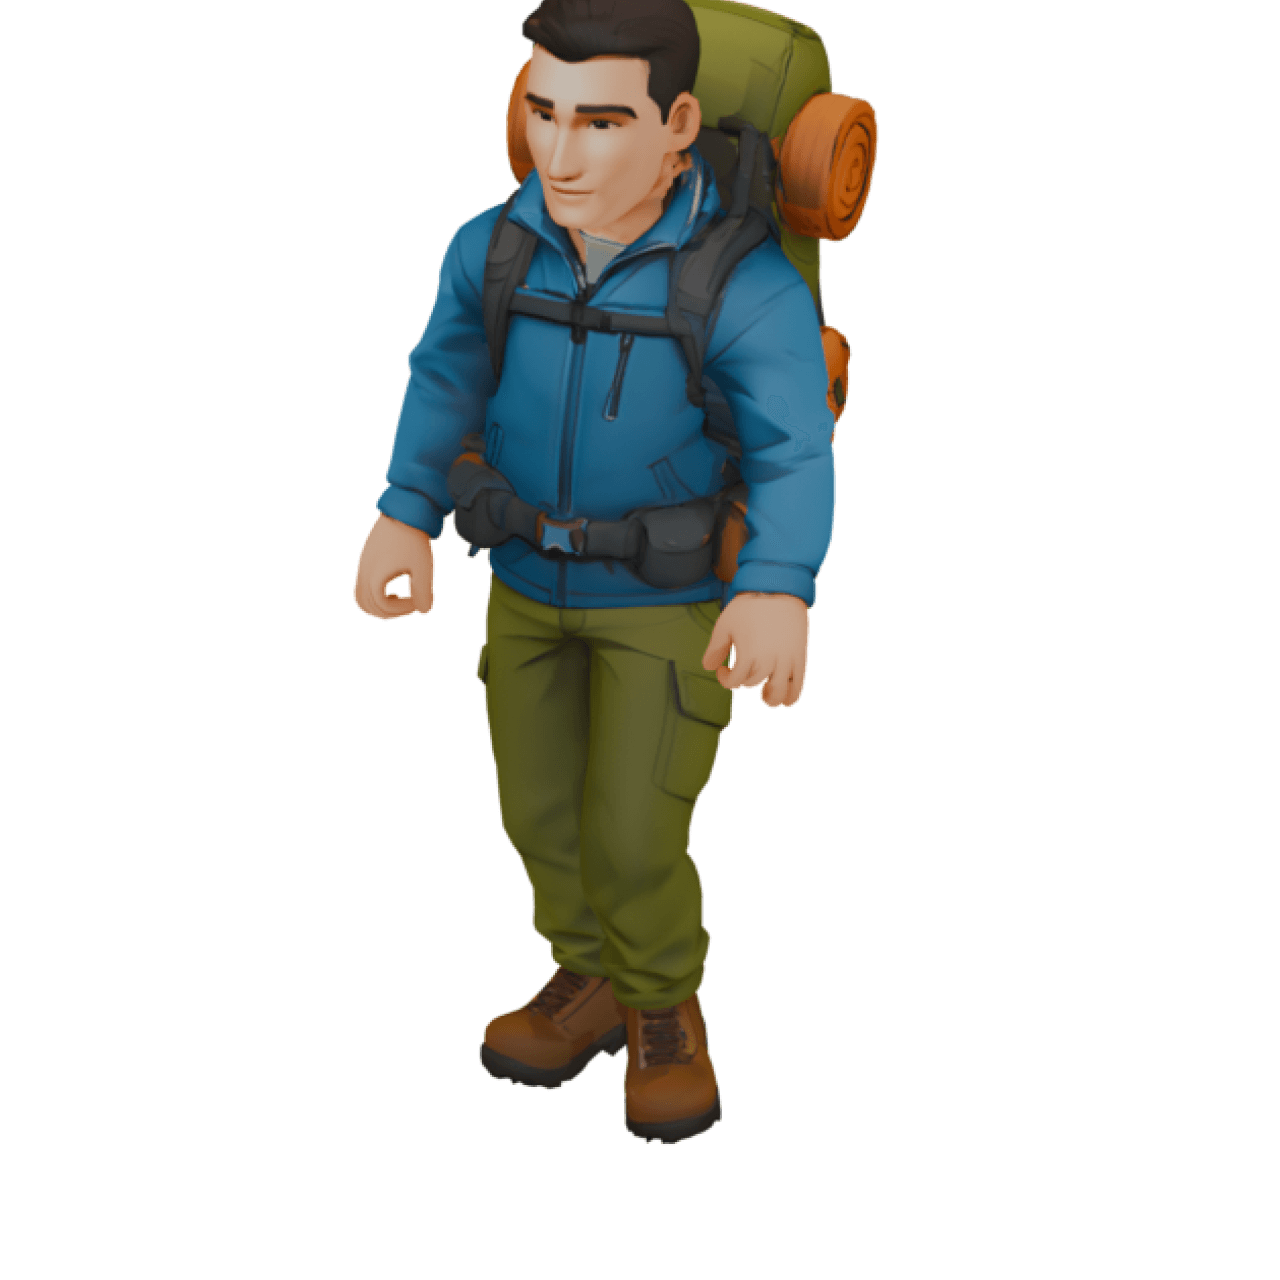
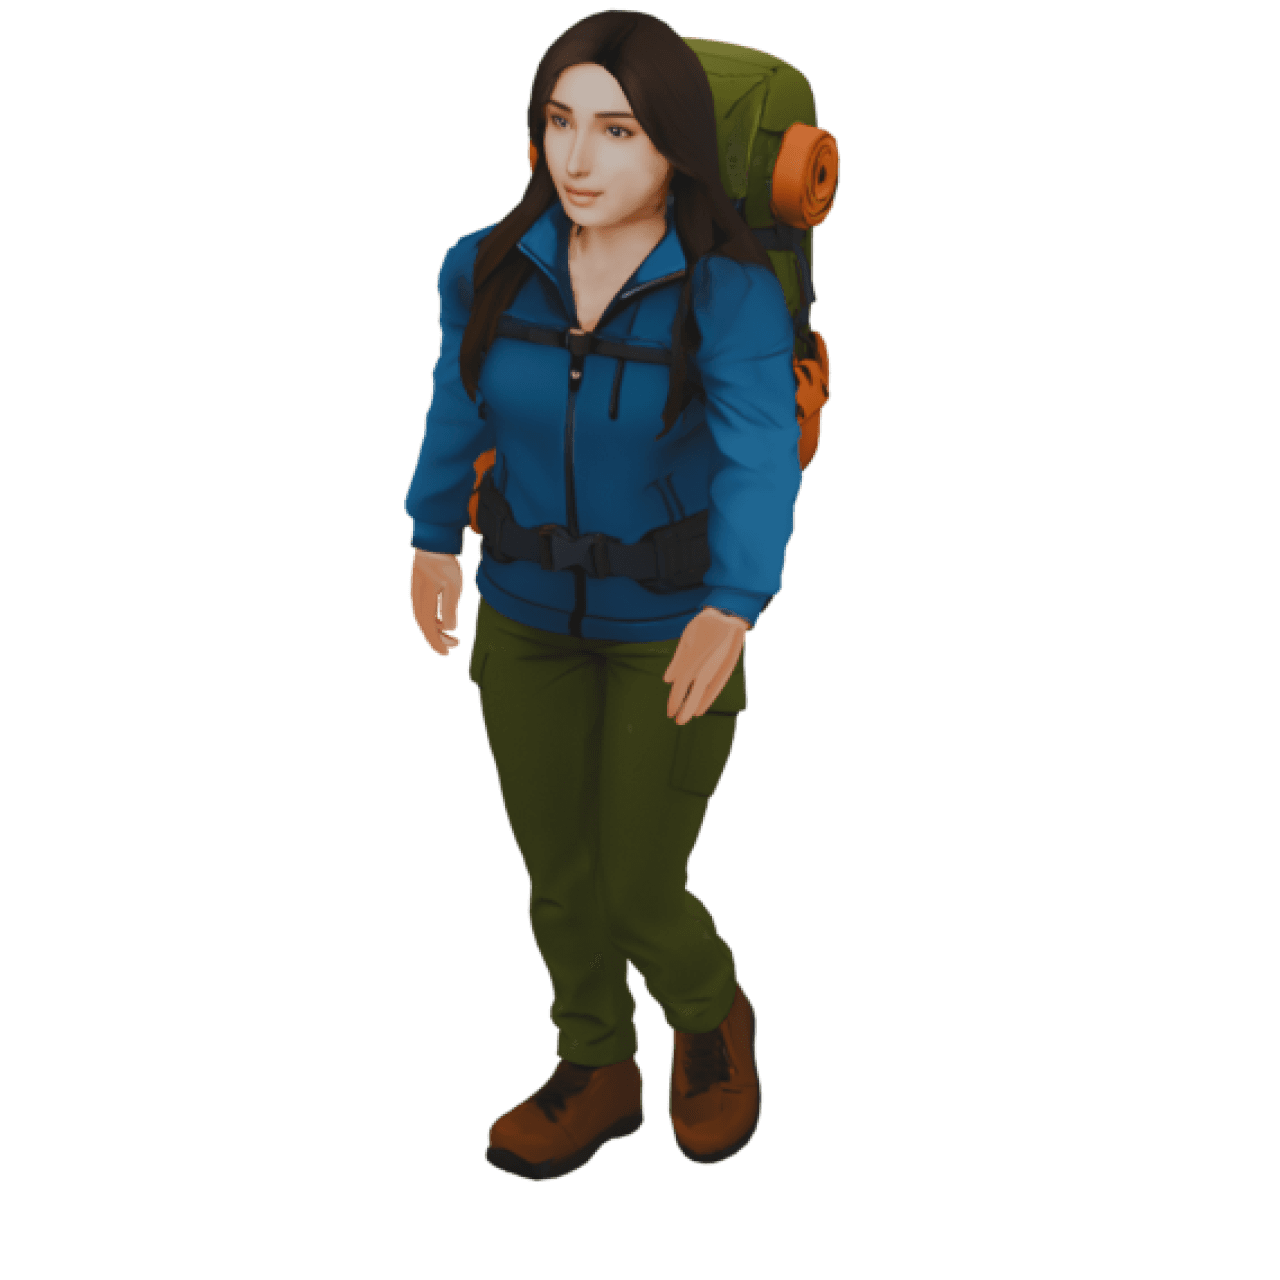
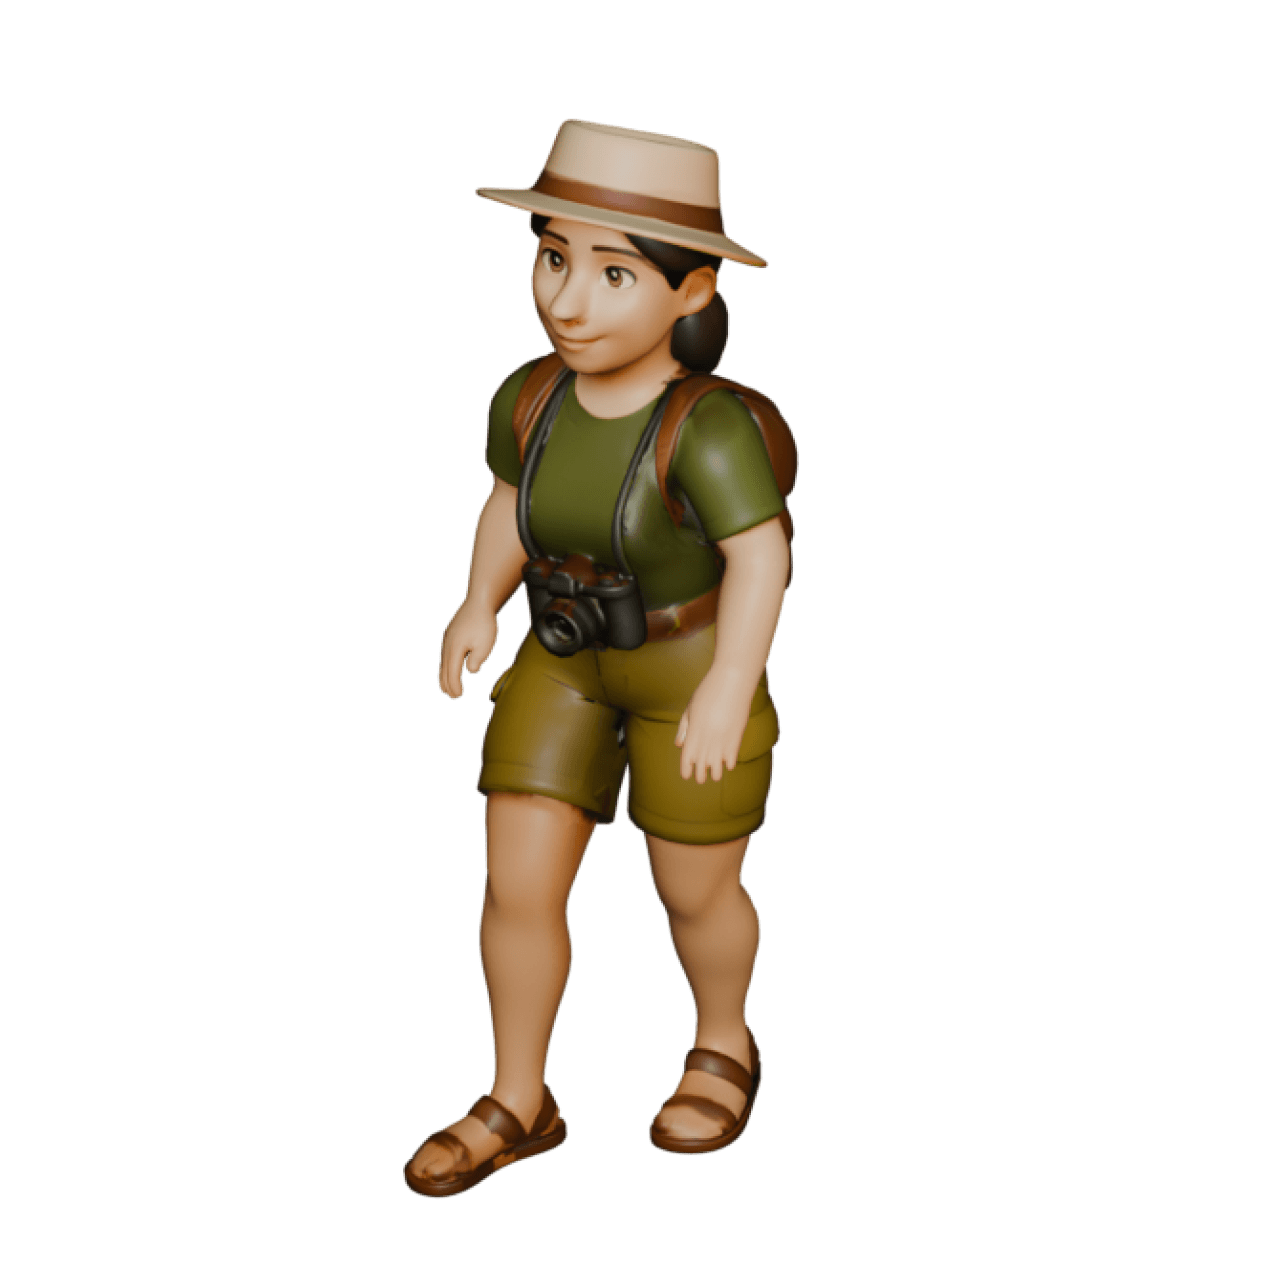
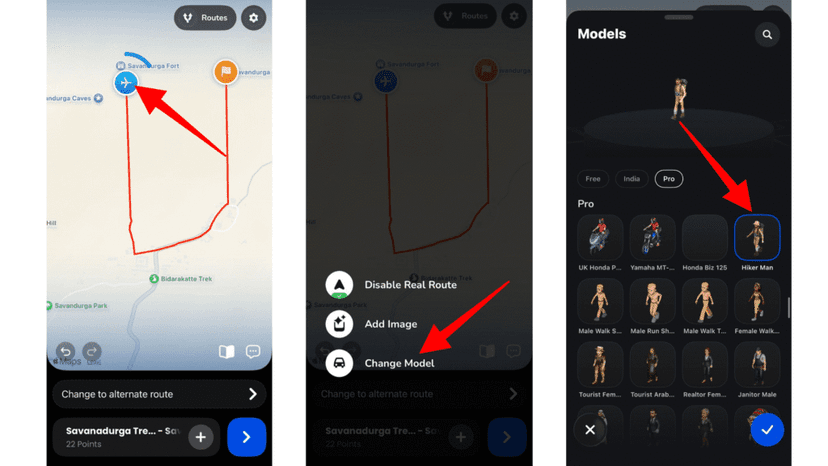
3. Long-press the point/stop, then add the vehicle models from the change models. Choose suitable models, such as a hiker man, male walking shorts, male running shorts, male walking trousers, female walking, tourist female walking, or tourist Arabic female, for the trekking animation.
4. You can add and customize images, texts & elements from the media option.
5. Preview the animation, then change the map style to satellite in 3D. This is what makes hills, ridgelines, forested sections, and rocky patches appear as real terrain rather than a flat, symbolic route line, with hills and slopes visually exaggerated for clarity.
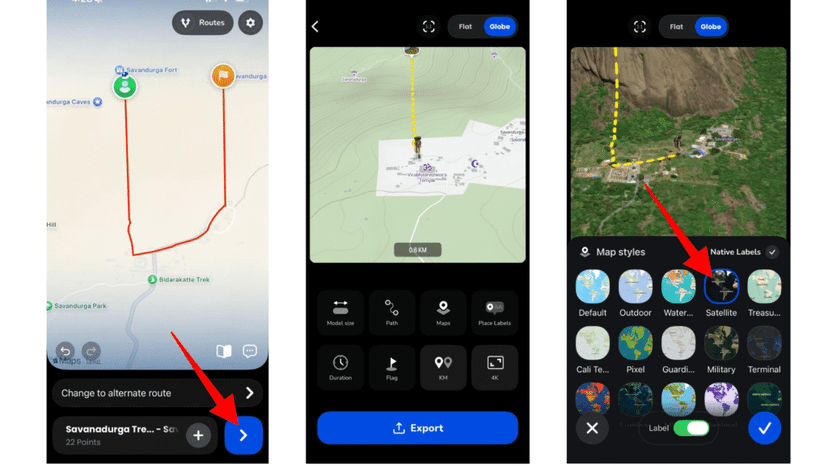
6. From the preview menu, adjust settings such as ratio, duration, model, size, route color, and other custom styling options.
7. Once you’re satisfied with the preview, export your hiking trail animation in HD or 4K for professional-quality content.

Why Satellite Maps Are Best for Hiking Routes
- Satellite maps provide real-world terrain detail that standard flat maps cannot accurately represent.
- Instead of viewing a simplified graphic layout, hikers can see actual mountains, valleys, forests, and rocky terrain in their natural form.
- This realistic terrain view helps hikers better understand the physical environment before starting the trek.
- When you switch to satellite mode in TravelAnimator in 3D, the landscape becomes visually detailed and dynamic rather than flat and symbolic.
- You can clearly observe real hills and mountain ranges along your hiking route.
- The satellite view allows you to identify valleys, ridgelines, forested sections, and rocky patches with greater clarity.
- One of the strongest advantages of satellite imagery is terrain exaggeration, which makes hills appear elevated and dramatic rather than flat and subtle. This exaggerated 3D perspective helps hikers better evaluate the difficulty of slopes and climbs.
- A satellite hiking map creates a dynamic 3D map that mirrors the actual landscape rather than a flat map route.
If Your Hiking Map Still Looks Flat
You’ve switched to Satellite and 3D, but the mountains look like a photo laid on a table. The usual culprit is the camera, not the map. 3D Elevation comes with the Satellite style, but it only shows up in Scene Styles that view the route at an angle: Default, Follow and Lead. Atlas, Sticker and Sticker 2 look straight down from above, so the terrain height is there but you can’t see it. Our guide to 3D elevation in hiking animations goes deeper on this.
The route source matters too. Real Routes follows mapped roads and walking trails, which works well on popular paths. If you went off-trail, or want the exact line you walked on a 12 km ridge hike, import the GPX file from your watch or tracking app instead. For a recorded hike, try previewing with the Smoothen Route toggle both on and off. Smoothing tidies up GPS wobble, but it also rounds off the real switchbacks, so for a technical climb the accurate version often tells the better story. See smoothing GPX routes for the trade-offs.
Turn Your Path into a Cinematic 3D Hiking Map
With Satellite Map and 3D view, you can see hills as hills, slopes as slopes, and valleys as valleys. When combined with Real Routes or GPX support, your hiking route map becomes both accurate and visually immersive. Whether you are planning your next adventure or sharing a completed trek, creating a 3D hiking map allows you to relive the journey in a cinematic way.
Download TravelAnimator now from the App Store or the Play Store, switch to Satellite view, enable 3D mode, and transform your hiking trail into a stunning animated map. Explore this article to learn how to use the TravelAnimator app.
Frequently Asked Questions
What Is a Hiker’s Map?
A hiker’s map is a terrain-focused route map designed specifically for trekking and outdoor exploration. It emphasizes elevation and topography, trail curves and slopes, landscape texture, and natural terrain features when compared to standard navigation maps.
How do I create a Hiker’s Map in TravelAnimator?
Create or import your hiking route, choose the Satellite map and select a hiking model. Add useful labels or photos, preview the terrain and camera style, then export the animation.
Why choose a Satellite map for a hiking route?
Satellite maps provide real-world terrain detail that standard flat maps cannot accurately represent. Instead of viewing a simplified graphic layout, hikers can see actual mountains, valleys, forests, and rocky terrain in their natural form.
Why doesn't my hiking map show 3D terrain in TravelAnimator?
First check that the Satellite map style is selected, since 3D Elevation is tied to it. Then check your Scene Style. Default, Follow and Lead use an angled camera that shows hills and valleys, while Atlas, Sticker and Sticker 2 look straight down, which flattens the view even though elevation is active.
Should I use a GPX file or Real Routes for a hiking trail?
Use a GPX file when you’ve recorded the hike and want the exact path you walked, including off-trail sections. Real Routes is quicker when you’re planning or recreating a hike on established trails, since it follows mapped roads and walking paths between your stops. You can add models, photos and labels to either.