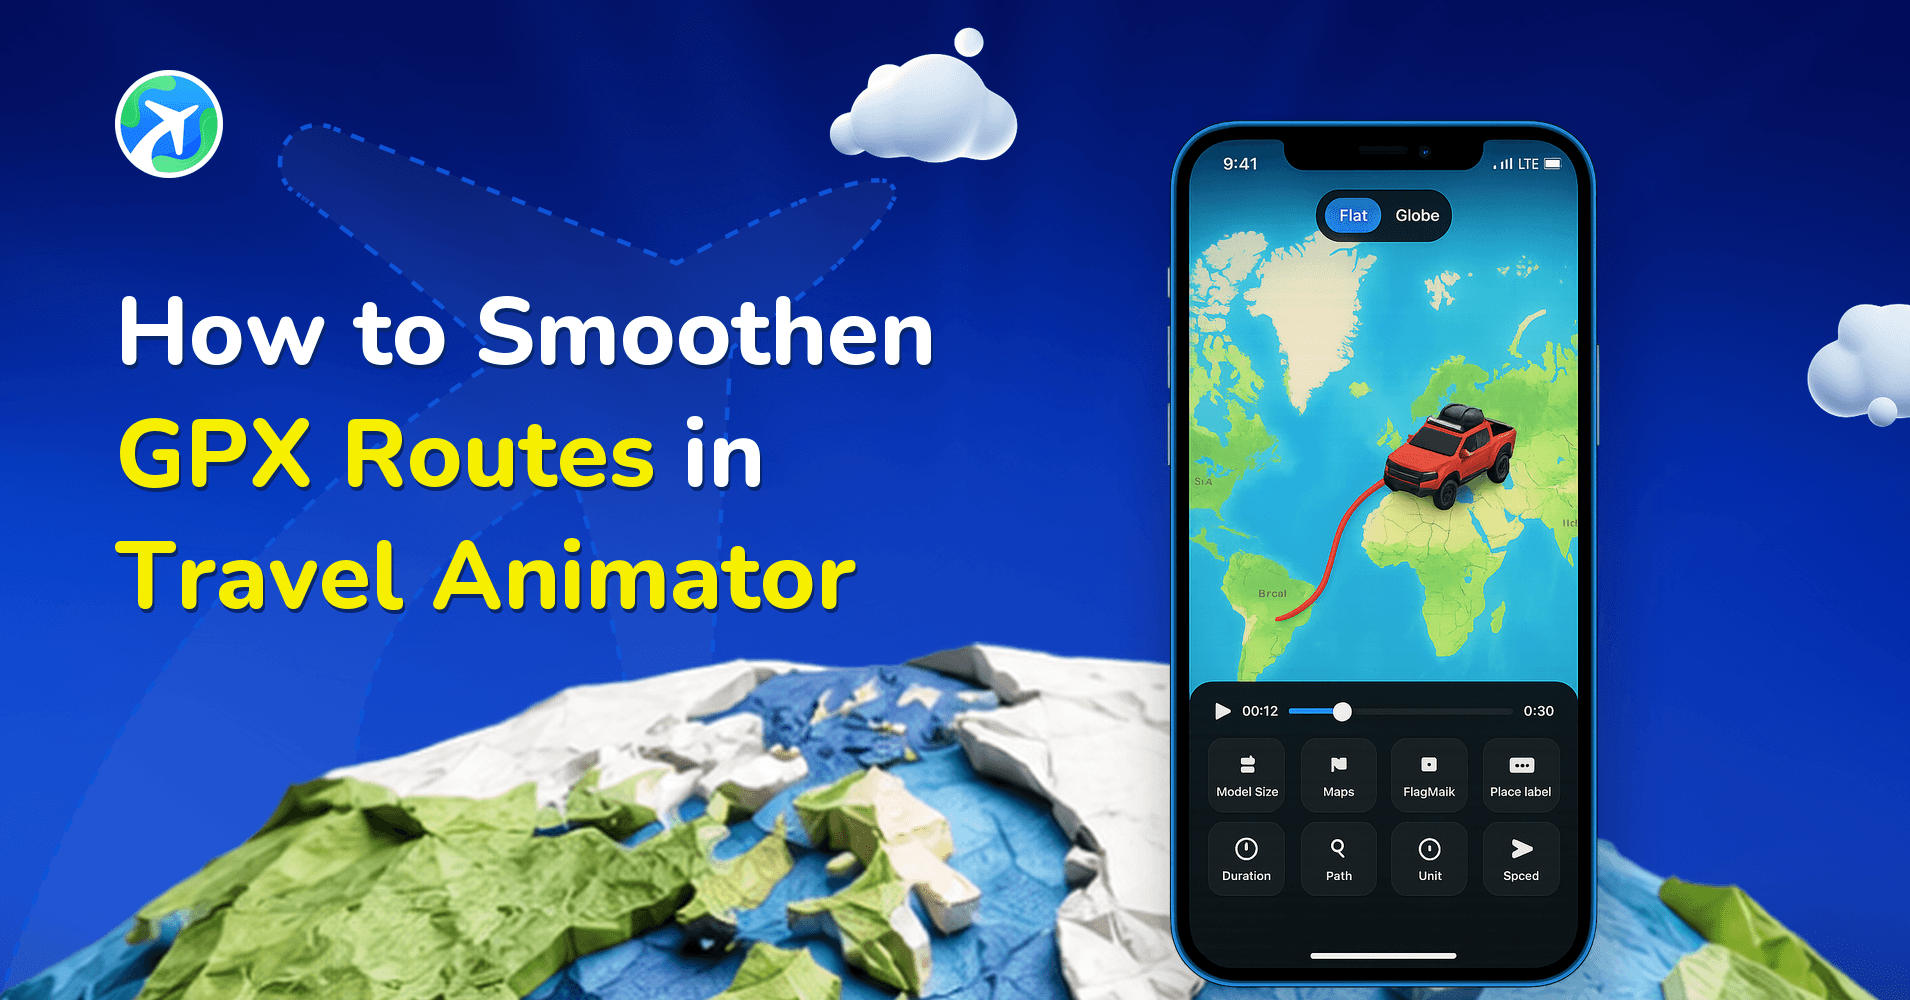
How to Smoothen GPX Routes in Travel Animator
 Jaseel S7 min read
In this article 10 sections
Travel Animator has introduced a new Smoothen GPX Route feature. With a simple toggle, you can turn a detailed, real-world GPX path into a clean, polished animation that looks cinematic without losing the essence of your journey.
One of the most common ways to add routes in the app is by importing GPX files, whether from hiking trails, cycling adventures, or road trips recorded with GPS devices.
In this guide, we’ll cover why you need to smooth GPX routes, how the feature works, and whether you should prioritize smoothness or accuracy for your travel animation.
Why Do You Need to Smoothen GPX Routes in Travel Animator?
When you import a GPX file, it may contain a large number of recorded stops or points, sometimes hundreds or even thousands. These points capture every tiny detail of your journey, from slight curves on the road to pauses along the way.
While this makes the route very accurate, it also creates some issues for animation, such as the route appearing zig-zagged instead of flowing smoothly, minor deviations cluttering the animation, and distracting the audience from the storytelling.
By smoothening the route, you get a cleaner, more cinematic path that is easier to follow and more visually appealing. This is especially useful if your video will be shown on large screens, shared on YouTube, or used in professional presentations.
How to Smoothen GPX Routes in Travel Animator (Step-by-Step)
- Open the Travel Animator app and tap on the route menu.
- Tap on Add GPX to import the GPX file of your route.
- Once your route is ready on the map, simply toggle the Smoothen Route option on or off to choose between a smoothened or original path.
- Enhance your imported route by adding models and images if needed.
- Then, preview the video and adjust other elements before exporting.
Smooth vs Accurate Routes in Travel Animator
| Feature | Smoothened Route | Accurate Route |
|---|---|---|
|
Purpose
|
Designed for cinematic, visually engaging animations
|
Focused on real-world accuracy and precision
|
|
Route Appearance
|
Smooth and flowing, it removes minor curves and turns
|
Detailed with every turn and deviation captured
|
|
Visual Style
|
Clean, aesthetic, and easy to follow
|
Complex and highly detailed
|
|
Best For
|
Travel vlogs, tourism videos, storytelling, or promotional use
|
Technical presentations, or route documentation
|
|
Accuracy Level
|
Slightly modified from the real route for better visuals
|
100% accurate to the GPX data recorded
|
|
Viewer Experience
|
Feels natural and professional
|
It can appear cluttered or shaky if there are too many points
|
|
Recommended When
|
You want to highlight the journey, not every slight movement
|
You want to showcase exact travel data or path accuracy
|
Use Cases for Smoothened Routes in Travel Animator
- By using the Smoothen GPX Route feature, you can elevate the professional and cinematic look of your travel vlogs, keeping your audience engaged and inspired.
- If you’re showcasing a city tour or scenic journey for tourism promotion, a clean route looks far better than a zig-zag path.
- For pitching travel projects or showing itineraries for corporate presentations, smooth visuals communicate better.
- Instead of distracting details in family vacation memories, smooth routes create a storybook-like feel.
- If the raw GPX has too many stops or micro-turns when highlighting adventures, smoothening lets you focus on the big picture.
Limitations of GPX Smoothening in Travel Animator
- The route loss accuracy, so it doesn’t match the exact path you took.
- Currently, it’s a simple ON/OFF toggle. So, there is no custom smoothing available.
- If you need to analyze or demonstrate exact GPS tracking, don’t use smoothening for such technical purposes.
Tips for Best Results for GPX Smoothening in Travel Animator
Always preview both versions and compare smooth versus accurate before finalizing the smoothed route.
Large Screens, like YouTube or presentations, use smoother routes to look more professional.
Keep accurate adventure data for hiking or technical sharing; accuracy is more valuable.
Combine with Customization to add models, adjust path color, and fine-tune speed for the best storytelling effect.
A smoothed path often looks better with slightly slower speeds for cinematic flow.
Smooth or Accurate? Three Real Examples
The right setting depends on who’s watching and why.
A 12 km ridge hike. If you’re sharing the route with other hikers who might follow it, leave smoothing off. They need the real switchbacks. If it’s a recap reel for friends, turn it on so the line flows. To show the climbs as well as the path, pair it with 3D elevation on the Satellite map.
A city walking tour. Phones record a lot of jitter when you stop for coffee or wander around a square, and the raw track ends up looking like scribbles. Smoothing tidies that up nicely for a travel vlog.
A bike race or a training ride. If the point of the video is the exact line you rode, keep the accurate version. Smoothing removes the small turns that riders will look for.
When Smoothing Won't Fix the Route
Smoothing tidies up a route that’s basically right. It can’t correct a GPS file that’s wrong. If the imported path has a long straight jump, a loop that never happened or a section in the wrong place, the problem is in the recording, not the animation. Tunnels, dense cities and a dying battery are the usual causes.
When that happens:
- Check the original file in the app that recorded it, and trim or re-export it there if you can.
- Make sure you’re importing an actual .gpx file. KML and KMZ files from Google Earth need converting first, as explained in our KML and KMZ import guide.
- Fill a missing section by adding manual destinations alongside the GPX route, then preview the joins.
Is GPX Smoothening or Accurate Routes Better?
The Smoothen GPX Route feature in Travel Animator offers you the flexibility to bridge the gap between accuracy and storytelling. Whether you want to highlight every exact turn or create clean, professional, and cinematic animations, the choice is yours. Try toggling smoothening ON and OFF, preview both, and choose the version that best fits your journey.
Frequently Asked Questions
Why Do You Need to Smoothen GPX Routes in Travel Animator?
When you import a GPX file, it may contain a large number of recorded stops or points, sometimes hundreds or even thousands. These points capture every tiny detail of your journey, from slight curves on the road to pauses along the way.
How do I smoothen GPX Routes in Travel Animator?
Open the Travel Animator app and tap on the route menu. Tap on Add GPX to import the GPX file of your route. Once your route is ready on the map, simply toggle the Smoothen Route option on or off to choose between a smoothened or original path. Enhance your imported route by adding models and images if needed. Then, preview the video and adjust other elements before exporting.
What are the limitations of GPX Smoothening in Travel Animator?
The route loss accuracy, so it doesn’t match the exact path you took. Currently, it’s a simple ON/OFF toggle.
Why does my GPX route look zig-zag in Travel Animator?
GPX files record hundreds or thousands of points, including tiny wobbles when you pause or when the GPS signal drifts. Animated, those show up as a zig-zag line. Turn on Smoothen Route after importing the file to get a cleaner path. If the route has large jumps or gaps, check the original recording, because smoothing can’t fix missing data.
Can I switch back to the original GPX path after smoothing it?
Yes. Smoothen Route is a simple on and off toggle, so you can turn it off at any time to go back to the accurate, original path. Try previewing both versions of your route before you add photos and labels, then keep whichever suits the video best.