How to Import KML/KMZ files in TravelAnimator
 Jaseel S8 min read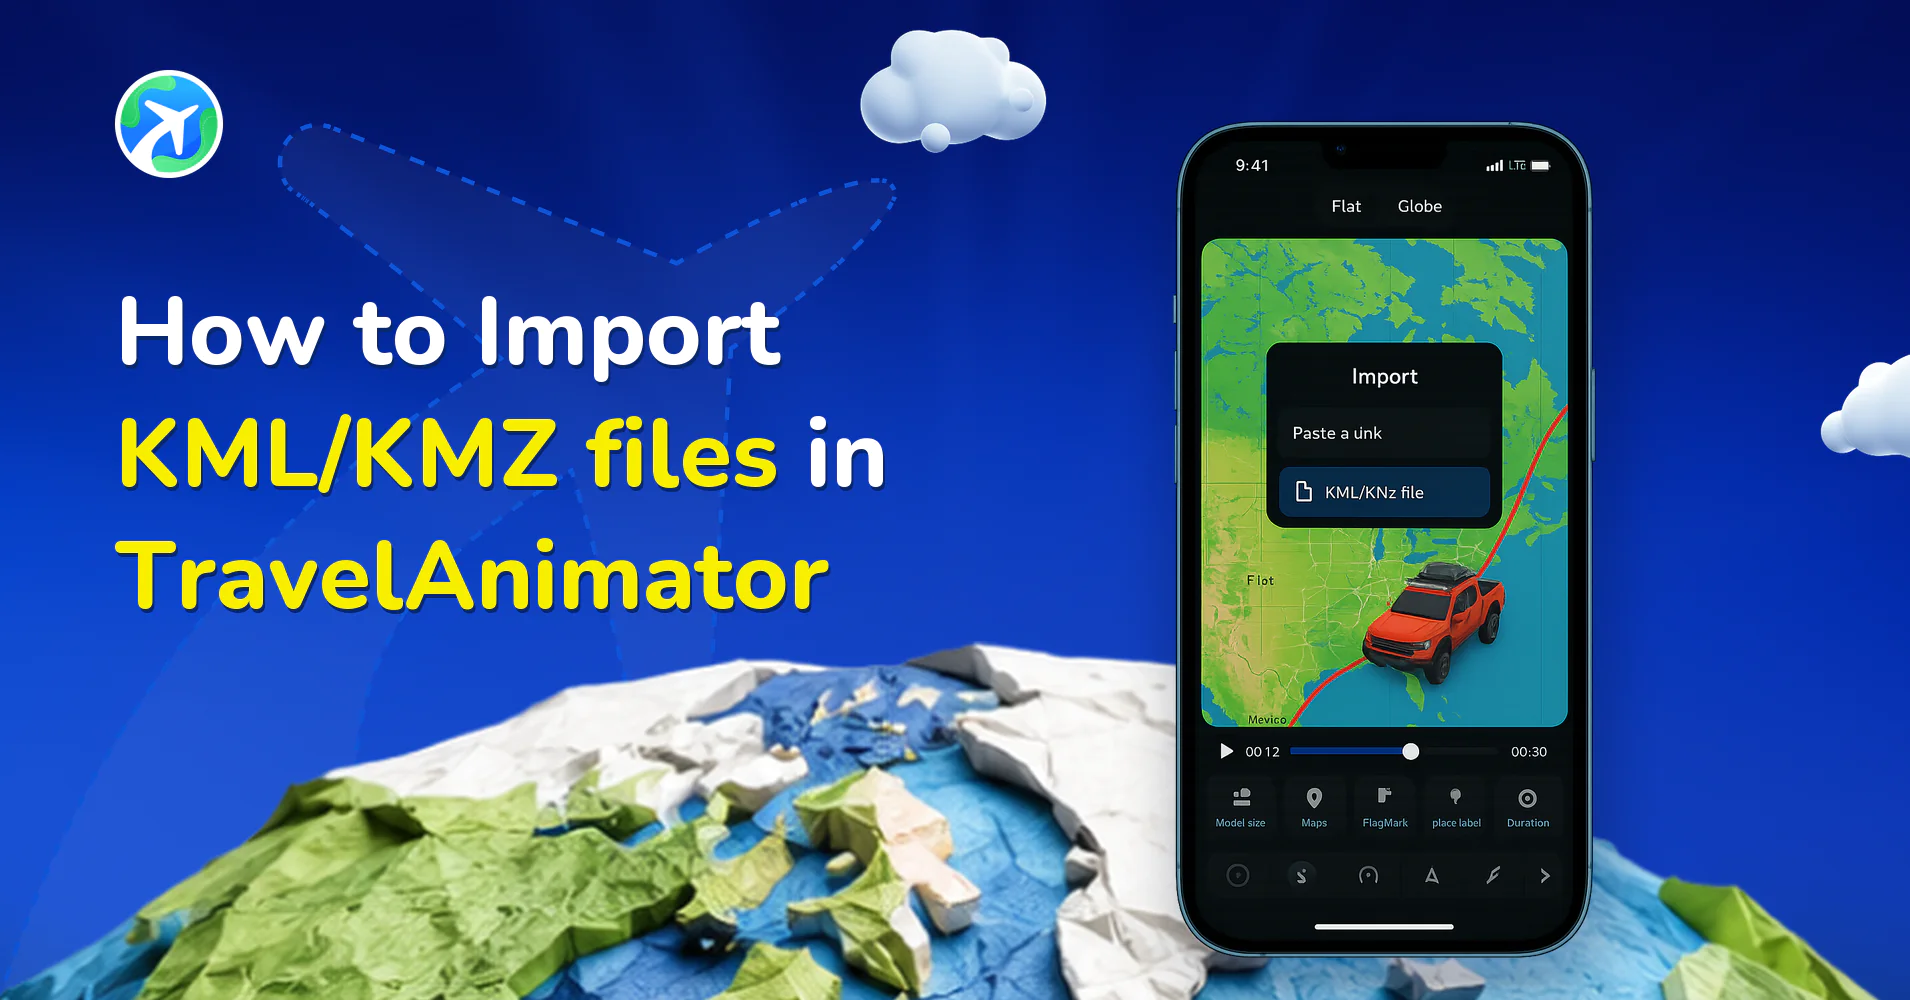
In this article 10 sections
Planning a journey often starts outside a travel animation app. Many travelers, creators, and businesses map their routes using Google Maps or Google Earth, which commonly export routes as KML or KMZ files. When it comes time to turn those routes into engaging animated videos, tools like TravelAnimator don’t seem to accept such formats.
Many users face this exact situation when working with KML or KMZ files and looking for a way to turn those planned routes into smooth, professional travel animations. That’s exactly what this guide is here for.
Through this article, you’ll understand how to convert KML/KMZ files into GPX files, import them into TravelAnimator, and turn your planned routes into beautiful animated travel videos.
What Are KML, KMZ, and GPX Files?
KML (Keyhole Markup Language) is a file format used mainly by Google Earth and Google Maps. It stores geographic data such as routes, paths, and location points.
KMZ is simply a compressed version of a KML file. It contains the same information but takes up less space.
GPX (GPS Exchange Format) is a widely used format for GPS data. It stores routes, tracks, and waypoints in a way that many navigation and mapping apps can read easily.
TravelAnimator supports GPX files because they are lightweight, accurate, and perfect for animated route visualization.
Does TravelAnimator Support KML or KMZ Files Directly?
At the moment, TravelAnimator does not support direct KML or KMZ imports. However, this does not mean you can’t use those routes. Any KML or KMZ file can be quickly converted into a GPX file using free online tools. Once converted, the GPX file can be imported into TravelAnimator without losing route accuracy.
Converting KML or KMZ files to GPX might sound like an extra step, but it offers several advantages.
- GPX files are lighter and load faster inside the app, especially for long routes or multi-stop journeys.
- GPX works better with animated paths, distance calculations, and movement timing.
- GPX is a universal format supported by many travel, fitness, and mapping tools.
- The conversion process does not change your route, it only changes the file structure.
In short, GPX is better suited for smooth, accurate travel animations.
KML to KMZ: Do You Need to Convert?
If you searched for “KML to KMZ,” here is the short answer for TravelAnimator: you don’t need it. The app doesn’t import KMZ any more than it imports KML, so changing one into the other won’t get your route into a video. Whichever you have, the next step is converting it to GPX.
There are still good reasons to make a KMZ, such as sending a smaller file or bundling icons and images with your route. A KMZ is a zipped KML, so the conversion is simple:
- In Google Earth – Right-click your route or folder in the Places panel, choose Save Place As, and pick KMZ as the file type.
- In Google My Maps – KMZ is the default export format. When you download your map as KML/KMZ, leave “Export as KML instead of KMZ” unticked.
- By zipping the file – Compress your KML into a ZIP archive, name the KML inside it
doc.kml, then rename the archive’s extension from.zipto.kmz.
Going the other way is just as easy: a KMZ opens in Google Earth, which can re-save it as KML, or you can unzip it and take the .kml file inside.
To animate the route, skip the KML-to-KMZ step and follow the conversion steps below to turn either file into GPX.
Step-by-Step Guide to Convert KML / KMZ to GPX
Get Your KML or KMZ File – Export your route from Google Maps or Google Earth. Make sure the file is saved on your device or accessible from your browser.
Choose an Online Converter – Open a trusted online KML/KMZ-to-GPX converter (we’ll list some reliable options below).
Upload the File – Upload your KML or KMZ file to the converter. Most tools support drag-and-drop uploads.
Convert to GPX – Select GPX as the output format and start the conversion. This usually takes only a few seconds.
Download the GPX File – Once the conversion is complete, download the GPX file to your device. This file is now ready to be imported into TravelAnimator.
Best Online Tools to Convert KML / KMZ to GPX
Here are some reliable and commonly used tools for converting KML or KMZ files to GPX.
- GPS Visualizer – A popular free tool that converts routes quickly and accurately.
- MyGeodata Converter – Supports many formats and works well for complex routes.
- Atlas – Fast, simple and perfect for GIS workflows.
- Aspos – Fast and accurate conversion, no more format compatibility concerns.
Most of these tools are free, require no account, and work on both mobile and desktop browsers.
How to Import the Converted GPX File into TravelAnimator
Once you get your GPX file, importing it into TravelAnimator is simple.
- Open the TravelAnimator app and start a new project.
- Click the Add GPX option from the route settings icon.
- Upload your converted GPX file from the device.
- The route will appear automatically on the map with all waypoints connected.
- After importing, you can customize almost everything, including route line styles, colors, models, map types (2D or 3D), labels, images, animation speed, and more.
Check out our guide on how to customize your GPX route in Travel Animator to add models, media, and points along your path.
If the Converted Route Doesn't Look Right
Most conversions go through cleanly. When one doesn’t, the cause is usually one of these.
- Part of the route is missing. Google My Maps files often have several layers, and you may have exported only one. Go back and export the layer that holds the line, or the entire map, then convert again.
- The app can’t find the file. On a phone, converted files usually land in Downloads or the Files app. Check the name ends in .gpx and not .kml, then pick it from your device or drive in Add GPX.
- The line looks shaky. Tracks recorded on a phone or watch can carry a lot of tiny wobbles. Switch on the Smoothen Route toggle after import for a cleaner path.
- Stop names are cryptic. Waypoints often arrive with something generic like “Point 7” or a long address. Open Place Labels on the preview screen, tap Edit Labels, and use the pencil to rename them. See our guide to editing location names.
Whatever the issue, preview the whole route once before you spend time on models and photos.
When You Can Skip KML Entirely
Converting makes sense when the route already exists as a file, like a Google Earth tour or a My Maps itinerary someone shared with you. If you’re still planning, there’s often a shorter path.
For a planned trip, say a Lisbon to Porto drive with a stop in Coimbra, build the directions in Google Maps and paste the link straight into TravelAnimator. Tap Paste Google Maps Links in the route menu, then Plot Route. No export, no converter. Our comparison of GPX and Google Maps imports explains when each one fits better.
For a trip you’re about to take, record it as GPX from the start with a GPS app or watch. You get the real path you travelled, and it goes straight into Add GPX.
Turn Any Route Into a Travel Animation
Even though TravelAnimator doesn’t directly support KML or KMZ files, converting them to GPX makes it easy to bring your planned routes into the app. With free online converters and a simple import process, you can transform routes from Google Maps or Google Earth into stunning animated travel videos. Whether you’re a traveler, content creator, educator, or business, this workflow ensures that no route goes to waste. Convert your file, import it into TravelAnimator, and start animating your journey in minutes.
If you already have a KML or KMZ route planned, convert it today and bring your travel story to life with TravelAnimator.
Frequently Asked Questions
What Are KML, KMZ, and GPX Files?
KML stores map features such as routes and places, while KMZ is a packaged KML file. GPX stores GPS route or track data and is the format used by this guide to bring the route into TravelAnimator.
Does TravelAnimator Support KML or KMZ Files Directly?
The workflow in this guide converts KML or KMZ to GPX before importing it. Save the converted file, then use Add GPX in TravelAnimator and check the resulting route.
How do I convert KML / KMZ to GPX?
Export the KML or KMZ file, convert it with a tool that supports the file’s contents and download the GPX result. Import that file through Add GPX in TravelAnimator and check the route before styling it.
Why is part of my KML route missing after importing it into TravelAnimator?
The most common reason is that the original map had more than one layer and only one was exported. In Google My Maps, export the layer that contains your route line, or the whole map, then convert the new KML or KMZ file to GPX again. Re-import it with Add GPX and preview the full route.
Can I rename stops after importing a converted KML file?
Yes. Once the GPX is in TravelAnimator, go to the preview screen, open Place Labels and tap Edit Labels. Each location has a pencil icon for renaming and a visibility toggle for hiding it. That’s handy when converted waypoints come through as long addresses, coordinates or generic names. Tap the blue tick to apply your changes.