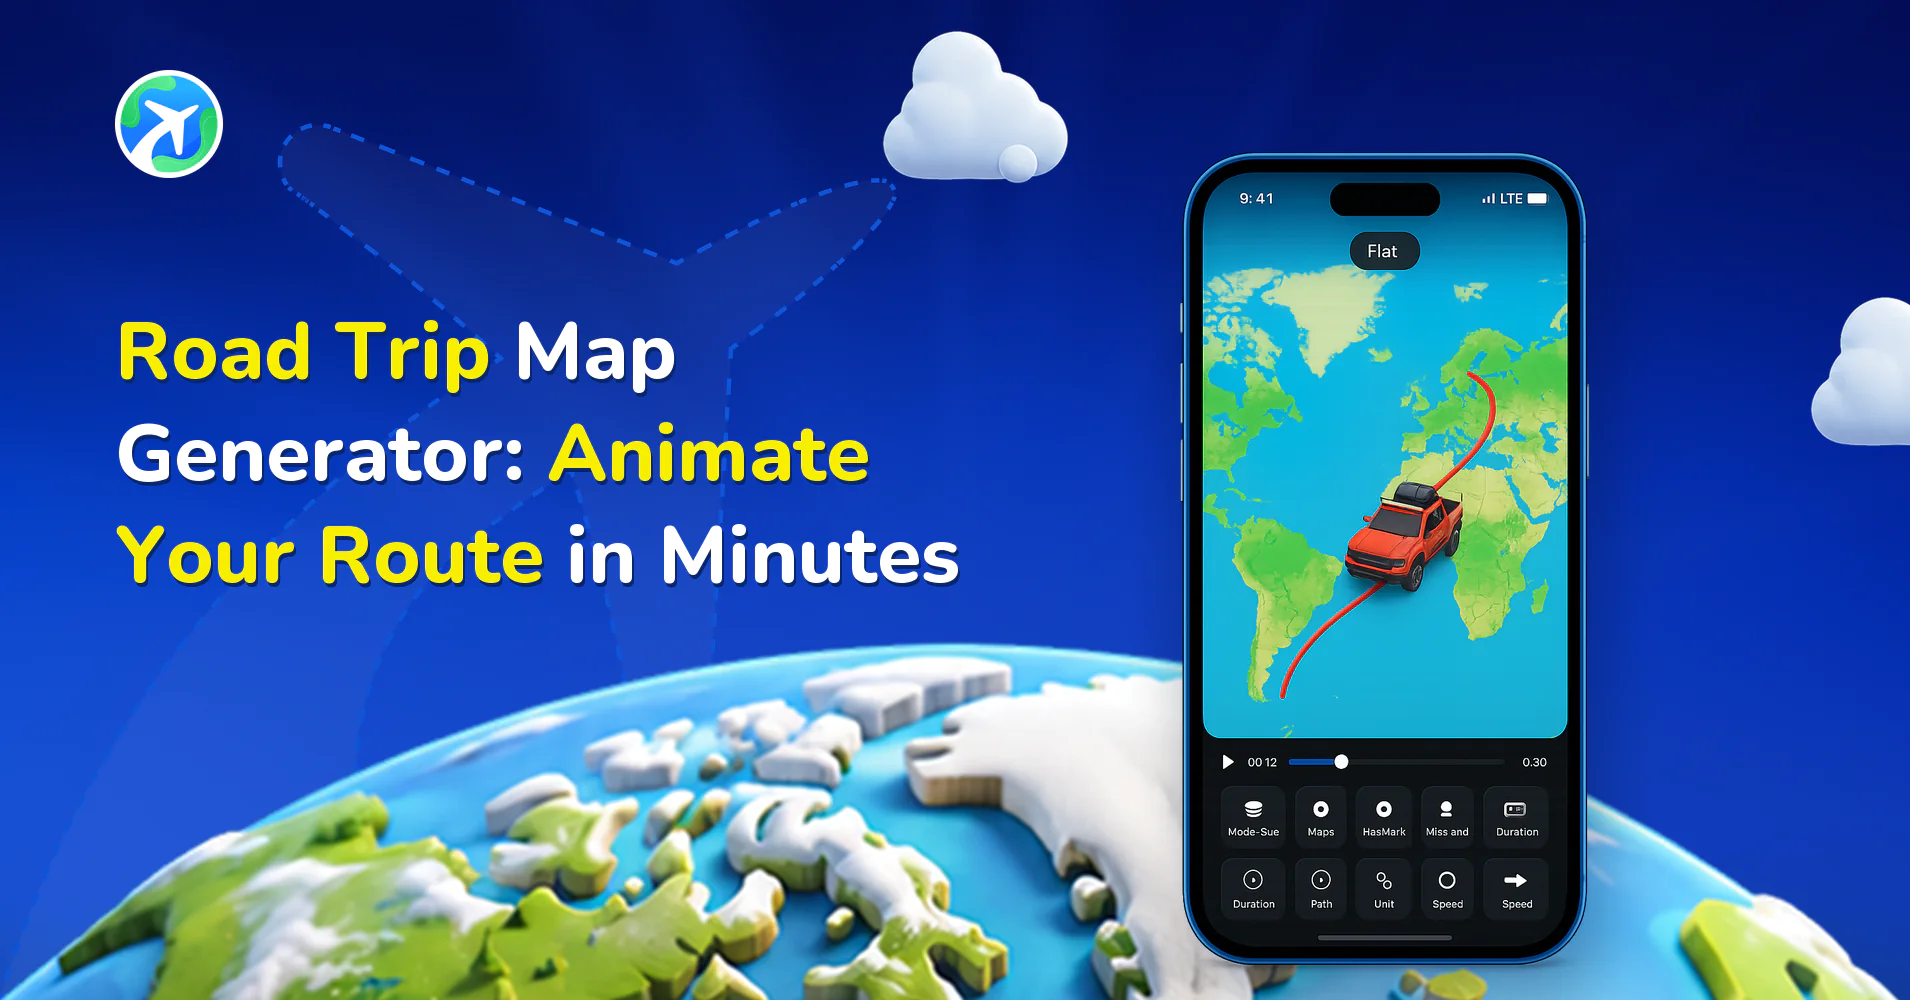
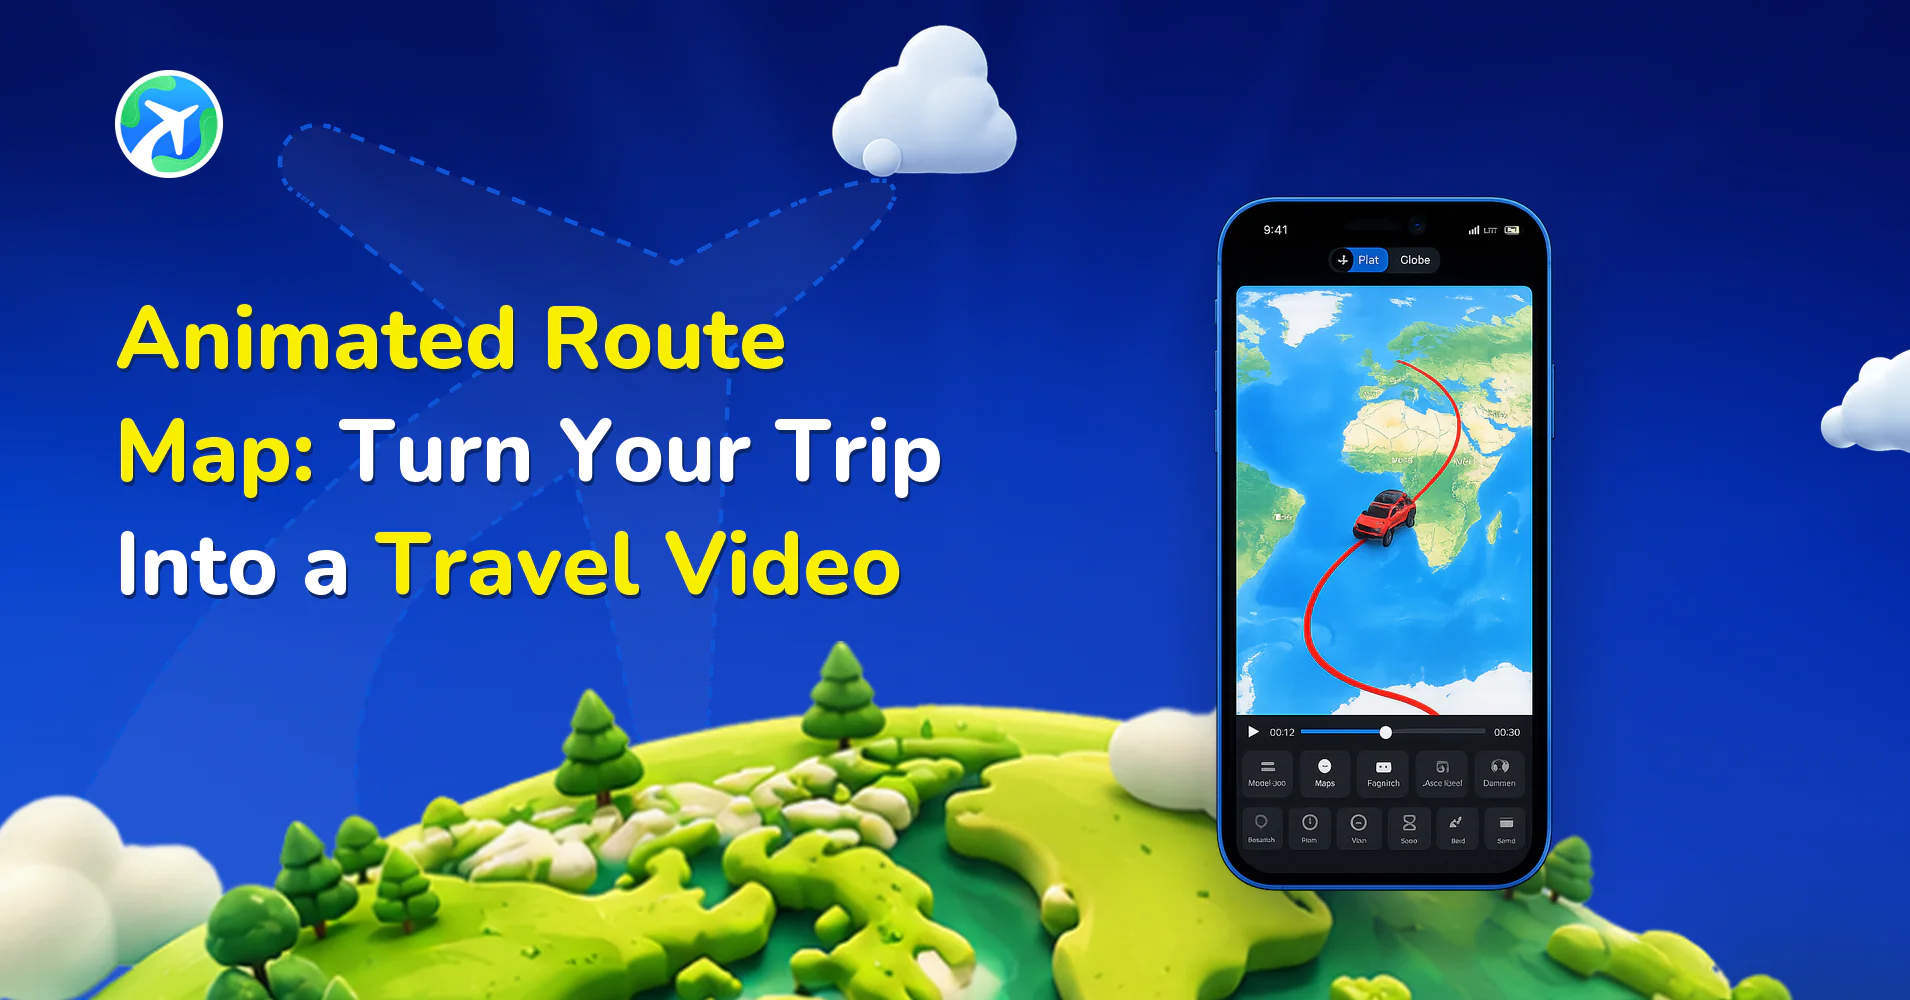
Animated Route Map: Turn Your Trip Into a Travel Video
 Jaseel S11 min read
In this article 11 sections
Somewhere between a static map pin and a full travel vlog sits the animated route map: a short video where a line draws itself across a map, tracing the exact path someone drove, flew, cycled or walked. It is the format behind most of the trip recaps you scroll past on Instagram, and the ones that actually make you stop. If you have ever tried to describe a nine-day road trip in a single photo and watched it fall flat, an animated route map is usually the fix. It also takes a lot less effort to build than it looks like it should, mostly because the route is already recorded somewhere. A GPS watch logged it, Google Maps has the saved trip, or the memory of which towns the drive actually passed through is still clear enough to place on a map by hand.
What an Animated Route Map Actually Is
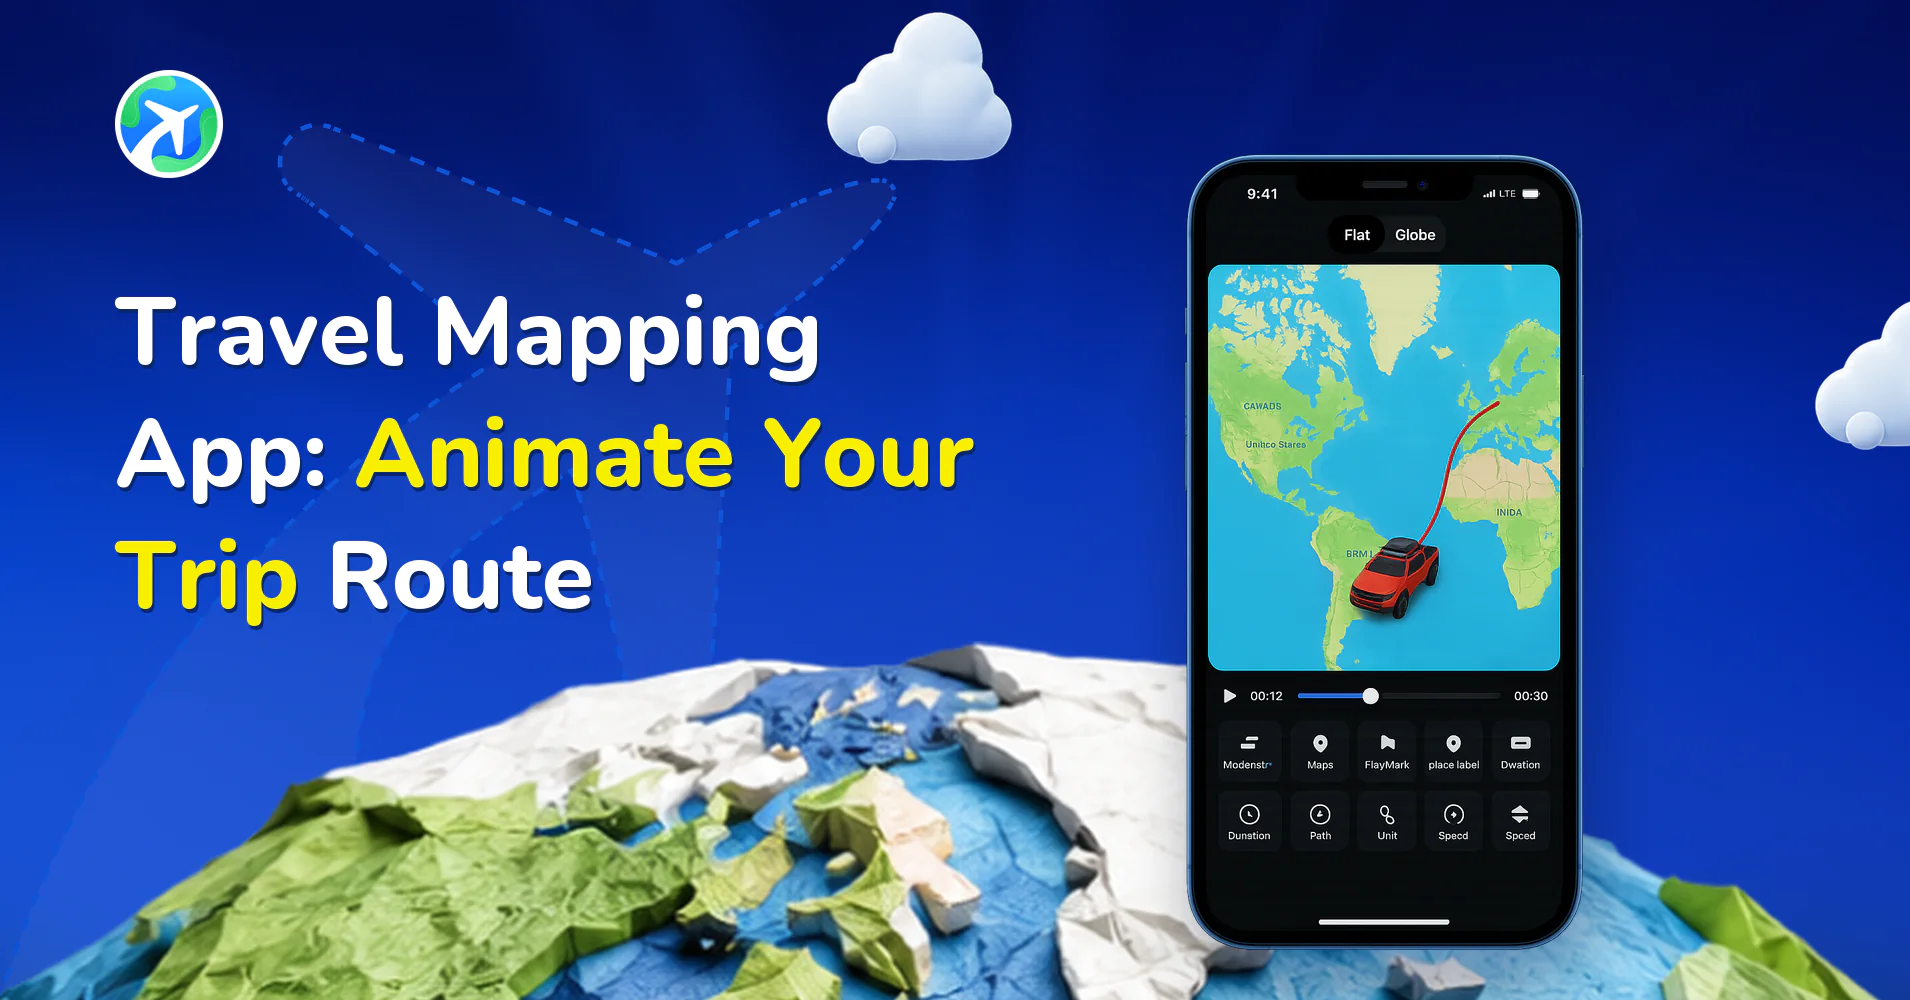
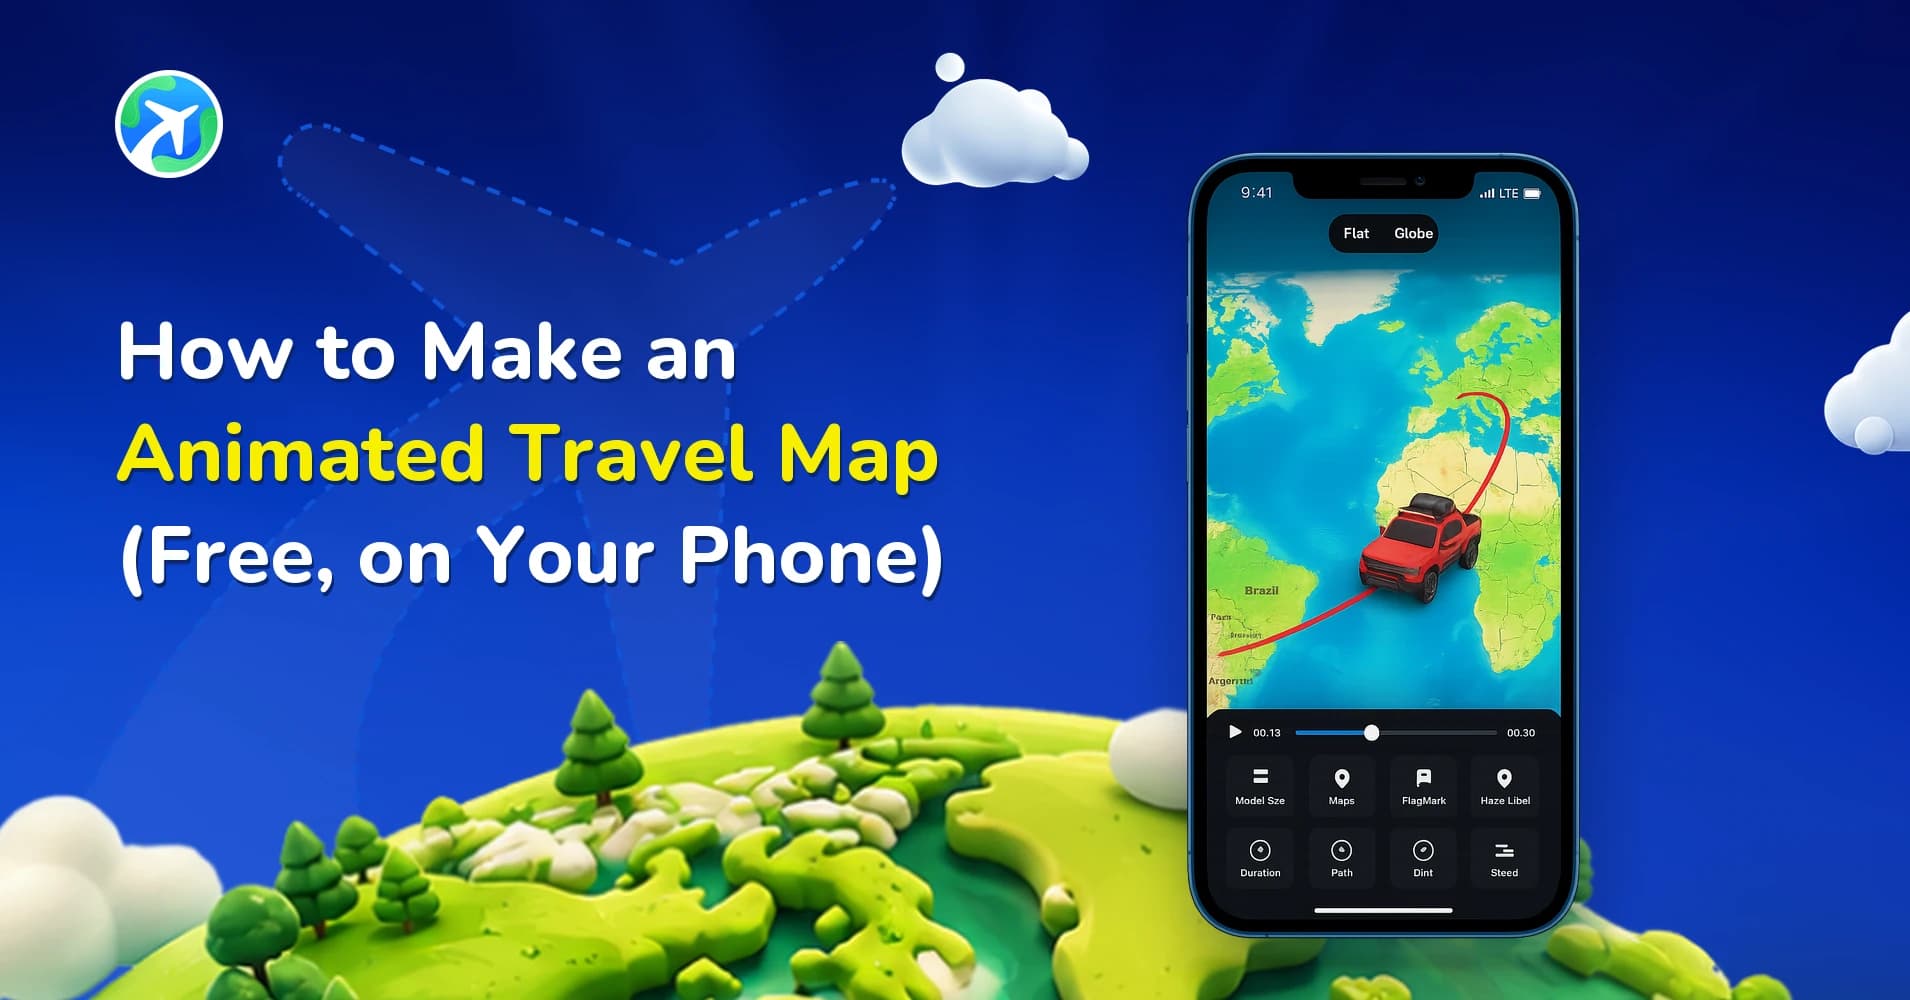
Strip away the branding and an animated route map is three things layered together. A base map, flat or a rotating globe. A line that draws itself between two or more points over a few seconds. A marker, a car, a plane, a bike, a dot, that rides along the line as it draws. The result exports as an MP4, so it behaves like any other video: it drops into Reels, plays in a group chat, and survives being reposted without losing the route. A static map with pins shows where you went; an animated route map shows the shape of the trip, how far one leg was compared to the next, where the road curved around a coastline, how much ground got covered in a single afternoon. That’s usually the detail people actually ask about afterward.
What You Need Before You Open the App
A route. There are three realistic ways to get one into TravelAnimator. The fastest is pasting a Google Maps link for a trip you already planned there; TravelAnimator reads the stops and plots them automatically, the same approach covered in how to import routes from Google My Maps. If you already logged the trip on a GPS watch or cycling computer, you can import the GPX, KML or KMZ file directly and skip replotting anything by hand. And if neither exists, you can drop points onto the map manually, which works fine for a short city hop but gets tedious past five or six stops. None of these methods needs a paid account to try; the import step itself is free on both tiers.
Decide on the shape of the route before you touch speed or vehicles. A route with a dozen tiny detours animates messily. One trimmed to the stops that actually mattered reads clean on a 15-second export.
How to Build an Animated Route Map, Step by Step
- Open TravelAnimator and start a new project, then import your route: a Google Maps link, a GPX/KML file, or manually placed points.
- Check the plotted path against what you remember. Drag any point that landed in the wrong place; a route pulled from a shared link occasionally needs one or two corrections.
- Pick flat map or globe mode depending on how much of the world the trip covers.
- Add stops along the way if specific places deserve a pause in the animation rather than a straight pass-through.
- Choose a vehicle model that matches how the trip was actually taken: car, bike, plane, ship or on foot.
- Set speed and total duration so the animation matches the length of video you’re exporting for.
- Add any 3D elements or labels you want visible on the finished map.
- Preview the full animation once before exporting. Small timing issues are easier to catch at this stage than after export.
- Export the video. Free exports carry a watermark; TravelAnimator PRO removes it.
Flat Map or Globe: Picking the Right Mode
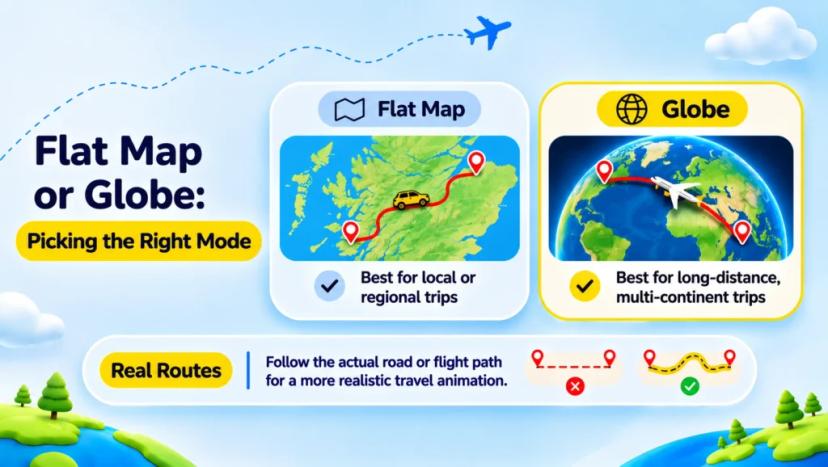
Flat map mode reads better for anything that stays within one country or region. A weekend loop through the Scottish Highlands looks cramped and oddly curved on a globe, but clean and legible flat. Globe mode earns its place when the trip actually spans continents: a flight from Singapore to Reykjavik, or a sailing route across the Atlantic, benefits from the curvature because it’s showing real distance in a way a flat projection flattens out.
Curves and stops matter more than people expect here. A route animated as a single straight line between two cities looks synthetic even when the underlying data is accurate, because almost no trip is actually a straight line. Letting Real Routes follow the actual road or flight path, rather than snapping a line between endpoints, is what makes the animation look like a record of a real trip instead of a diagram.
Vehicles, Speed and Timing
The vehicle model is doing more work than it looks like. A car crawling along a coastal road at a deliberate pace reads as a scenic drive. The same route with a plane icon and a five-second runtime reads as a commute. Match the model and the pacing to how the trip actually felt, not how it was technically travelled.
If a route pulled in from a GPX file came in bare, you can also add images and travel models to a GPX or Google Maps route afterward. That step is often the difference between an animation that looks like a debug overlay and one that looks finished.
Duration is the other lever: a 90-second video for a Stories post needs a tighter, faster-paced animation than a three-minute recap of the same trip for YouTube, and TravelAnimator lets you set that total runtime independently of how many stops the route has.
Labels, Pauses and the 3D Touches Worth Using
Labels matter more than they get credit for. A route with no text on it forces the viewer to recognize places from shape alone, which works for a handful of famous capitals and fails for almost everywhere else. Naming the three or four stops that actually mattered, rather than every town the GPS logged, keeps the map readable without turning it into a geography quiz.
3D elements are worth adding when the terrain itself is part of the story: a mountain pass, a coastal cliff road, a river crossing. They’re easy to overuse on a flat city-to-city drive, where they add weight to the animation without adding information.
A pause of a second or two at a stop that deserves attention does more for the finished video than another visual layer on top of the line.
A Worked Example: Four Days Along the Algarve Coast
Here’s roughly how the process plays out on an actual trip. Start in Lisbon, log the route through Sesimbra, Vila Nova de Milfontes, Lagos and finish in Faro: four stops, four driving days, nothing exotic about the itinerary. Importing it as a Google Maps link brought in all five points correctly on the first try, with one bend near Sesimbra that needed dragging back onto the coast road by hand.
Flat map mode was the obvious call here since the whole trip sits inside one country. Real Routes kept the line following the coast instead of cutting straight across the water between headlands, which is exactly the kind of shortcut that makes a route look fabricated. A car model at a moderate pace, a two-second pause at each of the four towns, and a 35-second total duration turned four days of driving into a clip short enough to post without losing any of the stops.
The export ran with the free watermark the first time, mostly to check that Sesimbra’s bend had actually been fixed. The second export, after upgrading, is the one that went out.
Where This Format Actually Earns Its Keep
A ten-day interrail loop from Prague to Kraków to Budapest is exactly the shape an animated route map was built for: enough distinct legs to show progress, not so many that the video drags. The same goes for a charity bike ride logged leg by leg on a cycling app. Riders who’ve used TravelAnimator for Google Maps route animations for cycling trips tend to export one clip per stage rather than trying to compress a multi-day ride into a single pass.
A straightforward weekend drive benefits too, even without any exotic stops. Turning a two-hour coastal drive into a 20-second clip, using the same approach as animating a road trip route, is usually enough to make a trip that would otherwise be three photos and a caption feel worth watching.
Family trips with kids tend to work especially well here, since parents often have a Google Maps list of every stop already saved from planning the drive, which means the import step is already done before the app is even opened. A school project tracing a grandparent’s emigration route, pieced together from a few remembered city names decades later, is a less obvious use case that comes up more than you’d expect.
Where it works least well: a single city visited for a weekend. There isn’t enough route there to animate meaningfully, and a map with pins serves that case better.
Free Export vs PRO
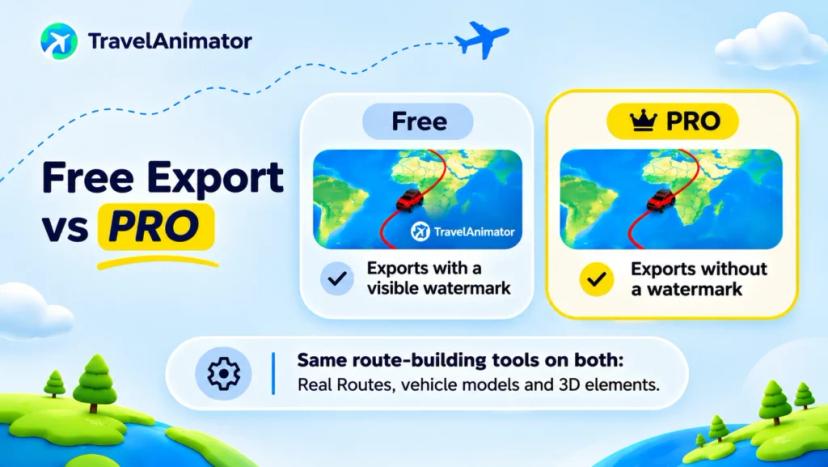
Every animated route map you build on the free tier exports with a visible watermark. For a quick test of whether a route looks right, that’s fine, since you’re checking pacing and plotting, not publishing. For anything going on a public feed or sent to family, the watermark is usually worth removing, since a logo stamped in the corner undercuts the whole point of a polished-looking trip recap. TravelAnimator PRO removes it, and is the only functional difference between the two tiers for this workflow; the route-building tools themselves, from Real Routes to vehicle models to 3D elements, are identical on both.
TravelAnimator is free to install on Android and iOS, so testing a route costs nothing beyond the few minutes it takes to plot it.
Mistakes That Flatten an Animated Route Map
Leaving the default speed untouched regardless of trip length is the most common one. A 45-minute drive and a four-day road trip animated at the same pace either rush the short trip into nothing or drag the long one past the point anyone keeps watching.
Skipping Real Routes is the second, and it costs the entire point of the format. A straight line between two cities tells a viewer nothing about the road, coastline or terrain the trip actually covered.
The third is overcrowding the map with stops that don’t matter. Every added point slows the pacing down, so a point worth including should be one worth seeing paused on, rather than a town the route happened to pass through.
And the fourth, which shows up more with GPX imports than Google Maps links, is exporting before previewing. A route that looks fine in the editor can still jump or stutter at a sharp turn, and that’s much cheaper to catch on a preview pass than to notice after the export has already finished.
FAQs
Is an animated route map the same as a travel map video?
They overlap, but an animated route map specifically describes the line-drawing-across-a-map format with a moving vehicle marker. A travel map video is the broader term and can include that format along with photo overlays, captions and other footage layered on top of the same base animation. In practice, most people searching for either term mean the same thing: a video built from a route rather than from separate trip photos.
Can I make an animated route map without a GPS track?
Yes, a Google Maps link or manually placed points both work fine.
How long should an animated route map be?
It depends on the platform. A clip for Stories or Reels generally works best between 10 and 20 seconds, long enough to show the route without losing the viewer. A standalone recap meant to be watched on its own can run to two or three minutes, especially for a multi-day trip with several distinct legs.
Does the route follow actual roads or just straight lines?
With Real Routes enabled, the animation follows the actual road or flight path between your points rather than drawing a straight line connecting them. That’s what makes a finished export look like a genuine record of the trip instead of two dots joined together.
Why does my exported video have a watermark?
It’s a free-tier limit. TravelAnimator PRO removes it and uses the same route-building tools as the free version underneath.
Can an animated route map include more than one vehicle type?
Within a single project the vehicle model stays consistent for the route, since it’s meant to represent how that trip was actually travelled. A multi-leg journey that switched from train to car to bike works best as separate clips, one per leg, stitched together afterward rather than one animation trying to show a vehicle change mid-route.