How to Use the Load Route Features in Travel Animator
 Jaseel S6 min read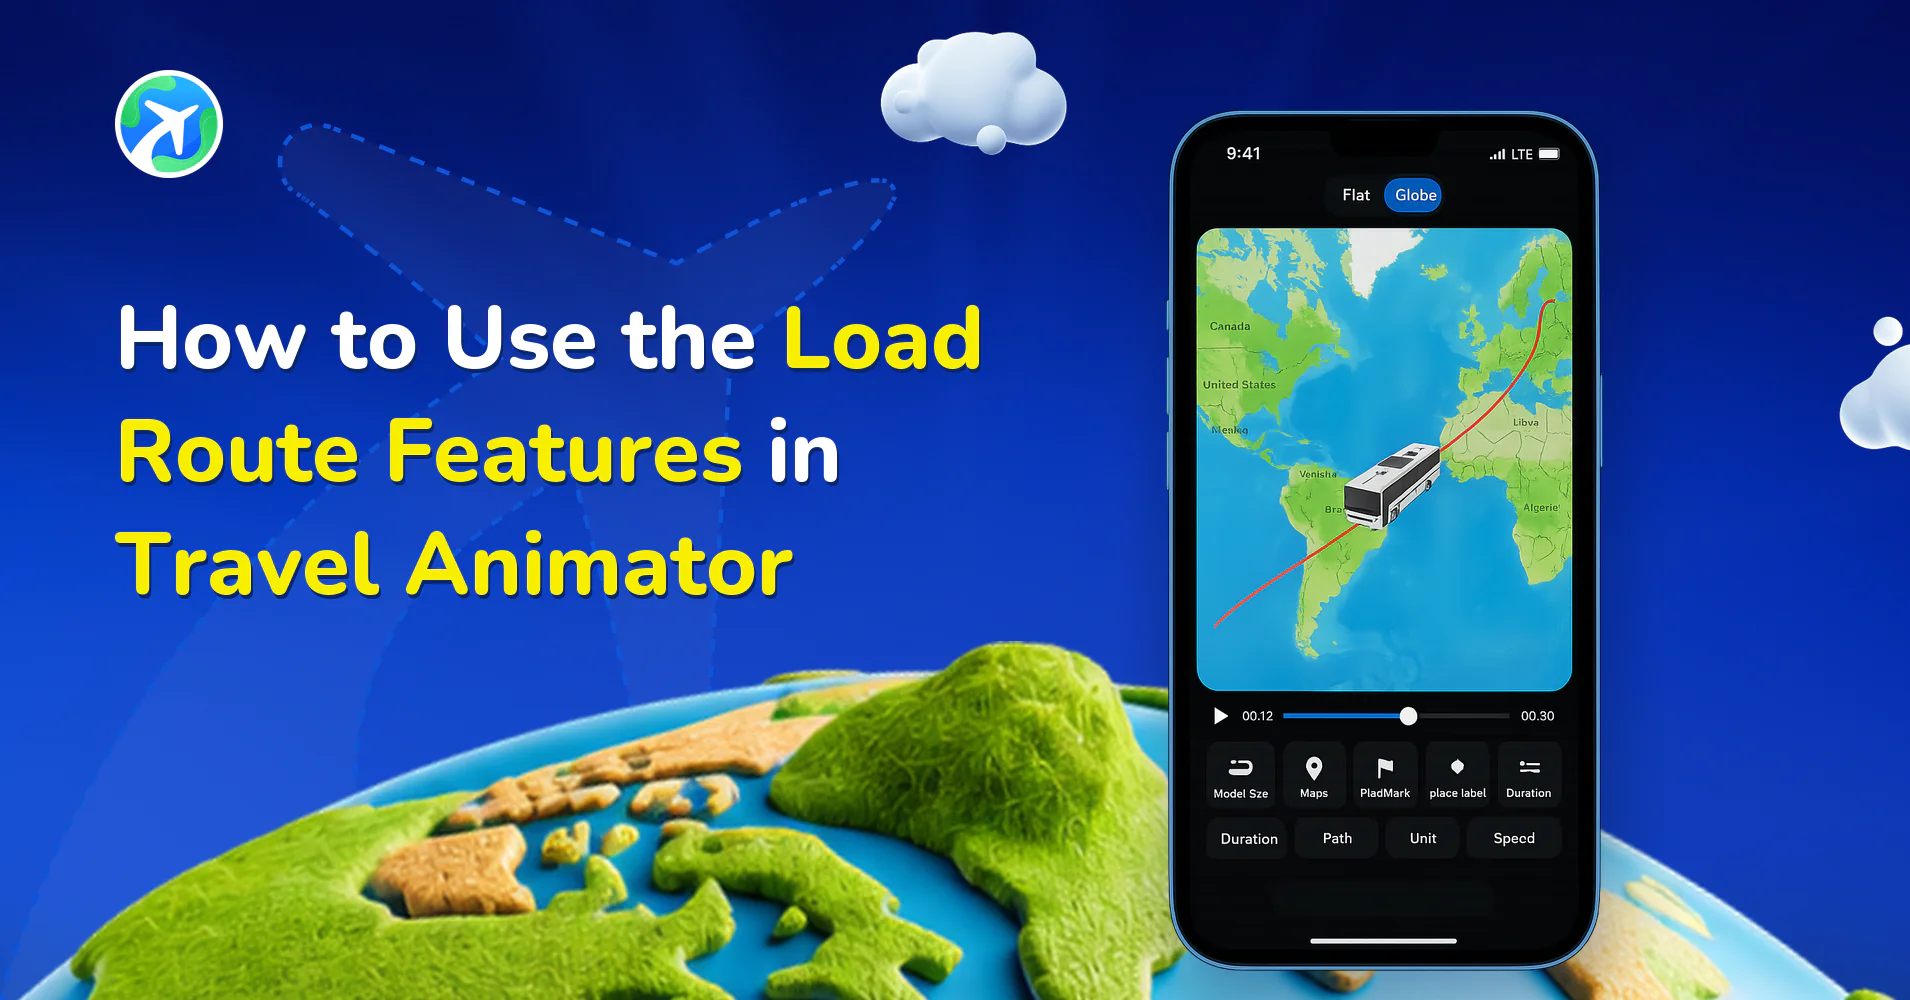
In this article 8 sections
Travel Animator helps you continue your work easily with the Load Route feature, which allows you to open saved routes and finish or update your animation without having to start over.
Let’s say you’ve saved a route from a previous animation project. Later, you want to continue editing, make changes, or reuse the same path for a new video. Instead of starting from scratch, just load the saved route and keep building. It’s a smart way to manage ongoing projects, repeat animations, or update old routes with fresh content.
In this blog, we will explain what the Load Route feature is, how it works, and its common use cases.
What is the "Load Route" Feature in Travel Animator?
The Load Route feature in Travel Animator allows you to store and open any route that you previously saved. This is useful when you’re creating multiple travel animations or working on detailed animations.
Before previewing your video, you can save your progress, including travel destinations, stops, images, and labels, by naming and storing the route for easy access later through the Load Route feature.
Steps to Load Saved Route in Travel Animator
- Open Travel Animator App.
- Click the route icon at the top of the screen, located near the main settings icon.
- Tap on the “Load Route” to open the saved routes.
- You can see the list of saved routes.
- Select the route you need to edit or export.
- Complete the animation and preview the video.
- Adjust the video as needed and export it.
- You can share the travel animation directly on specific platforms.
Editing an Old Route Without Breaking It
Opening a route from a few weeks ago is easy. Changing it without losing what already worked takes a little care.
- Play the preview first. Before you touch anything, watch the whole animation once so you remember how the route, models and photos behaved.
- Make one kind of change at a time. Fix the stops, then the photos, then the labels. If something looks off, you’ll know which edit caused it.
- Lean on undo. The backward and forward arrows on the route editing screen reverse or restore your most recent actions, so you can try moving a stop and step back if it looks worse.
- Re-check the preview settings before exporting. Ratio, video duration, map style and export quality are set from the preview screen, so confirm they match where this version is going.
- Save again when you’re done. Loading a route doesn’t keep your edits by itself; you need to save the updated version.
If you only want to tweak an old video for a client (swap one photo, rename a label), this routine takes a few minutes and you skip re-plotting the whole trip.
Use Cases for the Load Route Feature in Travel Animator
- Update last week’s trip by loading the saved route and adding this week’s destination to create a full monthly journey.
- If you are creating a Travel animation for clients, they may request a few edits, such as changing images or adding new stops.
- You can save a styled route and use it later as a template for future videos. This is useful for travelers or agencies creating multiple similar videos.
- Save routes to make quick edits or adapt videos for various platforms, such as YouTube, Instagram, or client-specific requirements.
Reusing One Route for a Brand-New Video
A loaded route is a head start, not just a backup. A few ways we use one saved path to make something new:
- Make the return trip. Load a Kochi to Delhi route and use Invert Route from the route menu. Every stop flips into reverse order, so the trip home doesn’t need to be rebuilt.
- Change the story, keep the path. The same Lisbon to Porto line can be a train journey in one video and a road trip in another. Long-press a point and choose Change Model to swap vehicles.
- Restyle it. Try a different map style or path colour from the preview screen and you get a video that looks new, even though the route is identical.
- Cut a shorter version. Shorten the video duration and switch to 9:16 for a Reel, while the original stays as your long YouTube version.
If you’d like to keep the original untouched, save the new version under its own name (Pro allows unlimited saved routes). Our guide to the Save Route feature has a simple naming pattern that keeps versions easy to tell apart.
Tips for Managing Loaded Routes in Travel Animator
- Delete old or unused routes regularly that are no longer needed. This makes your navigation easier.
- If you make changes to a loaded route, remember to save it again to keep your updates.
- To avoid confusion, delete outdated route versions after re-editing and saving the updated one.
Want to Reuse Your Old Route?
The Load Route feature in Travel Animator helps you reuse or edit an existing route more efficiently. Whether you’re a travel creator, agency, or casual user, it enables you to revisit and update your projects without starting from scratch. It saves both time and effort. If you’re unsure how to save a route, check out our blog on the Save Route feature.
Frequently Asked Questions
What is the "Load Route" Feature in Travel Animator?
The Load Route feature in Travel Animator allows you to store and open any route that you previously saved. This is useful when you’re creating multiple travel animations or working on detailed animations.
How do I load Saved Route in Travel Animator?
Open Travel Animator App. Click the route icon at the top of the screen, located near the main settings icon. Tap on the “Load Route” to open the saved routes. You can see the list of saved routes. Select the route you need to edit or export. Complete the animation and preview the video. Adjust the video as needed and export it. You can share the travel animation directly on specific platforms.
What can I do after loading a saved route?
Continue editing the saved journey, update its labels or models and export another version. Loading a route lets you reuse existing work instead of plotting it again.
Why is my saved route not showing in Load Route?
Check that you’re signed in with the same account you used when you saved it, since saved routes are linked to your login. Make sure you have an internet connection, then reopen the list. Also remember that an exported video isn’t a saved project. On the free version only one route can be saved at a time, so if you saved a newer route, the older one may have been deleted to make room.
Can I load a saved route on a different phone?
Yes. Install Travel Animator on the second device and sign in with the same email you used on the first one. Your saved routes appear in Load Route, and you can continue editing or exporting there. This works between Android and iOS, so you can start a route on one platform and finish it on the other.