How to Use the Save Route Features in Travel Animator
 Jaseel S5 min read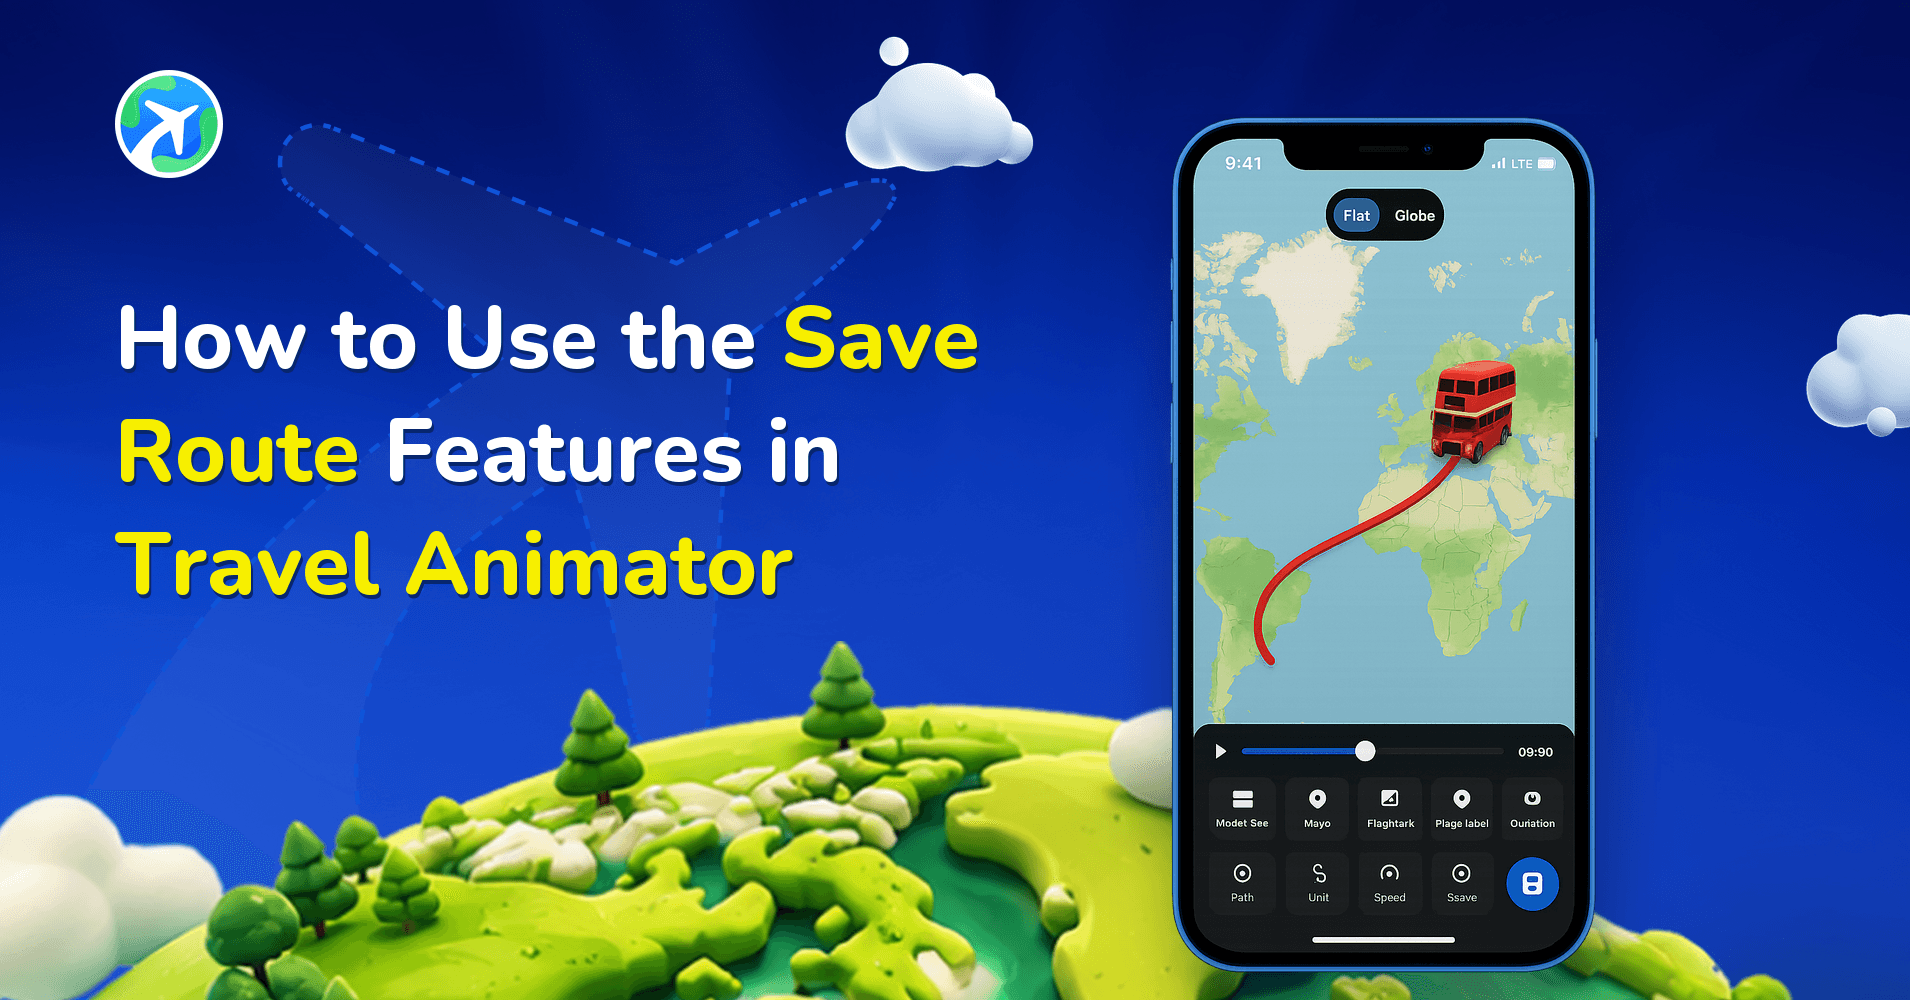
In this article 8 sections
Travel Animator allows you to save your route at any stage, so you can return and complete your project later.
Imagine you’re halfway through creating your previous trip animation video with Travel Animator and suddenly need to plan for the next trip using Travel Animator. That’s where you can use the saved route feature. It lets you pause your current project, save your progress, and start working on a new route without losing any of your previous work.
This guide will help you use the Save Route feature in Travel Animator and explain its functionality.
What is the "Save Route" Feature in Travel Animator?
The Save Route feature in Travel Animator allows you to save your current travel route for future editing and exporting. Whether you’re creating a short weekend trip or a multi-destination journey, this feature will help to store your entire path, stops, models, images, and labels safely.
The free version of Travel Animator allows you to save only a single route at a time. But in Travel Animator Pro, you can save multiple routes at a time for future use.
How to Save a Route in Travel Animator - Step-by-Step
- Open the Travel Animator App and start creating your animation.
- Map your destinations and add models, images, and labels to improve your animation.
- At the top of the screen, you can see an icon of the route settings near the main settings icon.
- Tap on the Save Route from the route settings.
- A pop-up will ask you to name your route. Enter a suitable name and save.
- After saving, if you want to create a new route, you can remove the current one using the Delete Route option under the same route settings.
Best Practices While Saving Routes
- No need to wait to save until the project is finished. You can save after the update to keep it safe.
- Avoid saving the same video multiple times. Start updating the videos from the saved project.
- If you’re creating multiple projects at once, a clear name helps you recognize the file easily.
- Always confirm that the save was successful before closing the app.
Avoid using the same name for two or more projects. It will confuse.
The Moments When You Should Always Save
Saving is manual, so it helps to tie it to a few habits rather than trying to remember it at random. These are the points where an unsaved route is most likely to get lost.
- Right after the route itself is right. Placing stops and bending curves is the slow part. Once the path for, say, a Lisbon to Porto train ride looks correct, save before you start on photos and labels.
- Before you tap New Route. The app asks whether to save and continue or continue without saving. Read that prompt properly; tapping the second option clears the map.
- Before restarting the guided tour. Restart Guided Tour in the main Settings gives you the same choice, with Save and Continue as the safe option.
- Before you switch phones or hand the project to a tablet. Saved routes are linked to your login, so sign in first and save, then open it on the other device.
- Before exporting. An exported video is a finished file. If a client asks for one more stop next week, you’ll want the editable route, not just the MP4.
Naming and Organizing Saved Routes
The name you type into the save pop-up is the only thing you’ll see when you come back to the list, so make it do some work. A pattern that holds up well is place + purpose + version:
- Kerala 3 days – client draft
- Lisbon to Porto train – Reel cut
- Ridge hike 12 km – final
Purpose matters more than date. Three months from now you won’t remember which “Italy trip” was the one with the hotel labels for the client, but “Italy – client hotels” tells you immediately.
How you organize depends on your plan. On the free version you have one save slot, so saving a different project means deleting the old one first. Before you do, export anything from that route you might still need. On Travel Animator Pro, saved routes are unlimited, which makes deliberate versions practical: keep a clean “base” route with just the path, and save styled variants (a vertical Reel, a client version with photos) under their own names.
The catch with unlimited saves is clutter. When a version is truly done, keep the final and clear the drafts so the list stays readable when you reopen a route with Load Route.
Common Questions about Save Route
Where are the saved routes stored in Travel Animator?
Tap on the Load Route located in the route menu.
Can I save multiple routes in Travel Animator?
You can save multiple routes only in the pro version of Travel Animator. In Travel Animator Free, you can save only a single route.
Can I edit a saved route later in Travel Animator?
Yes. You can edit the saved route from the Load Route. Once you save, you can make changes and re-save or export at any time.
Is there an auto-save feature in Travel Animator?
Currently, users must manually save the route.
Troubleshooting a Save That Didn't Stick
Why can’t I find the route I just saved?
Open the route menu and tap Load Route; that’s where saved routes are listed. If it isn’t there, the save may not have completed, so go back and check you tapped save in the naming pop-up rather than closing it.
Why is my saved route missing on my other phone?
Routes follow your account, not the device. Make sure both devices are signed in with the same email and have an internet connection, then reopen the list. Our guide on accessing saved routes on another device covers the full checklist.
Can undo bring back a route I didn’t save?
Undo and redo work on recent edits while you’re working on the map. They aren’t a replacement for saving, so save before clearing the map or starting something new.
What's Next After Saving Your Route?
When you’re creating multiple animation videos at a time, it helps you to complete the video that’s more important. Whether you’re creating animation for personal trips, client projects, or business trips, saving your route never wastes your effort. You can pause a work, start a new work, and complete the previous work later.
You can save your routes using the Load Route feature in the Travel Animator.