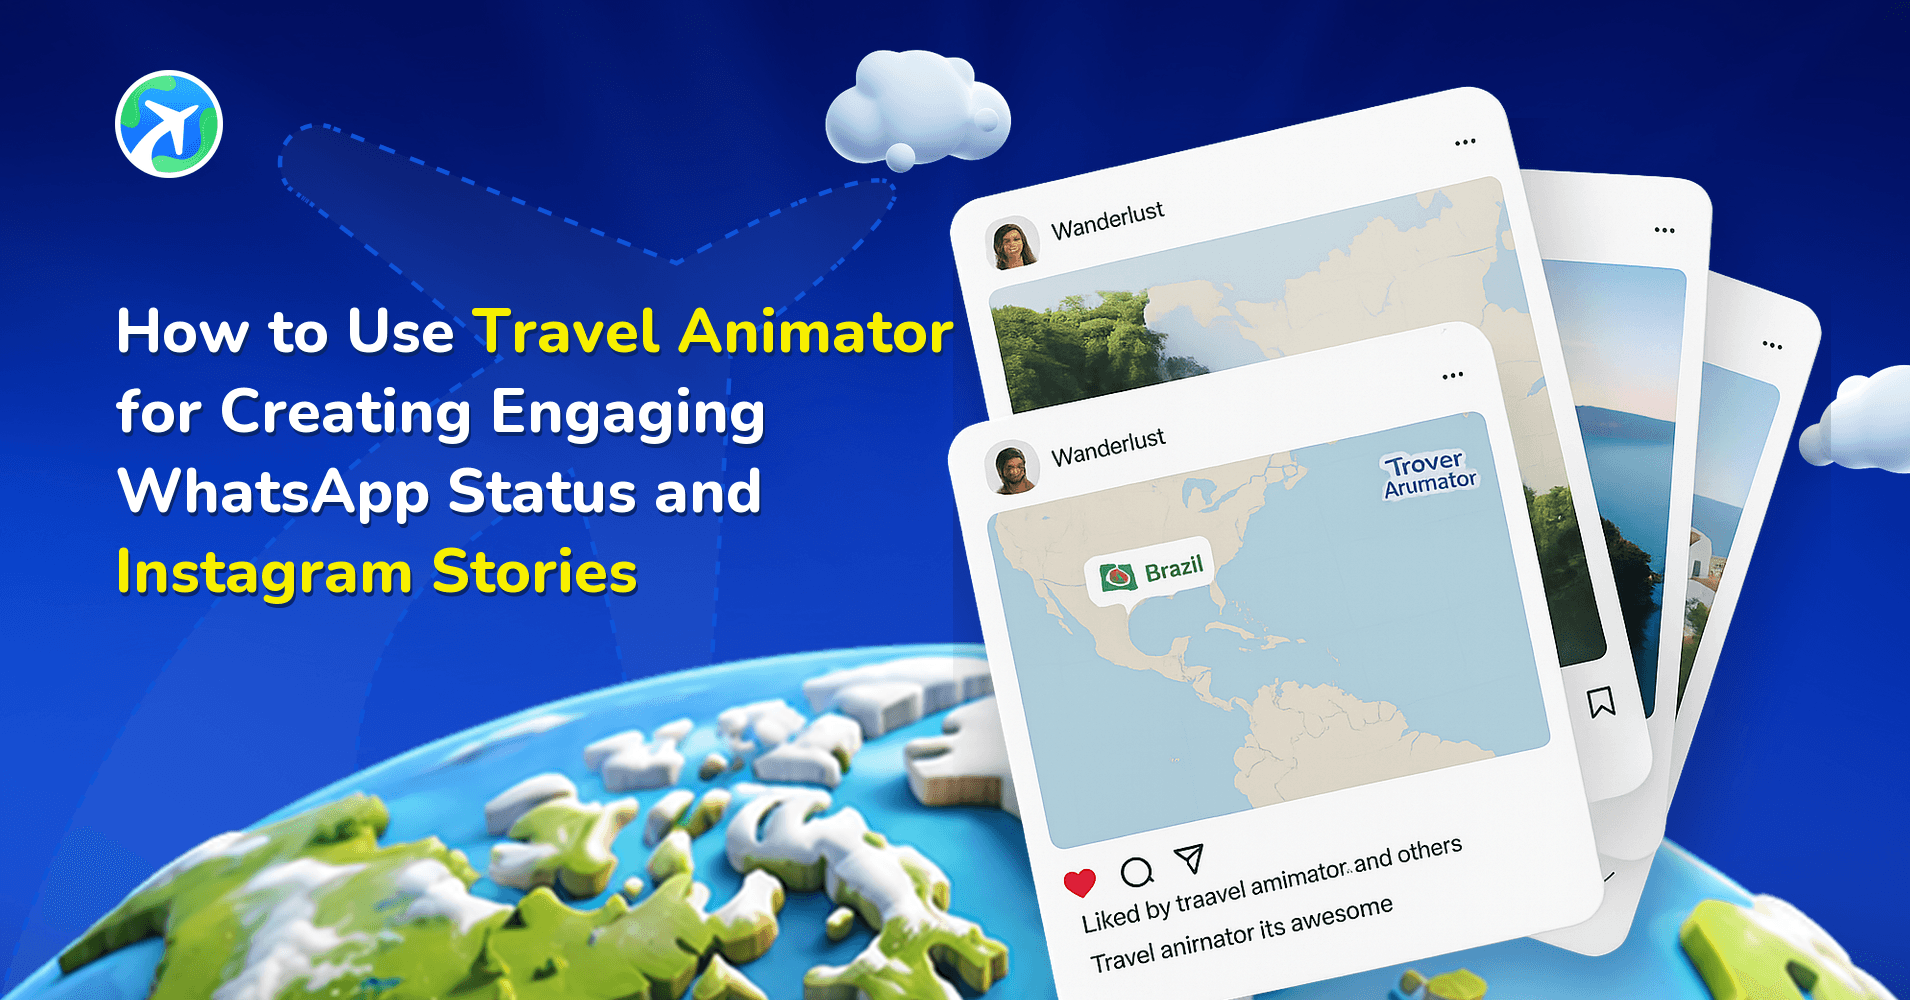
How Travel Agencies Present Itineraries to Clients
 Jaseel S6 min read
In this article 6 sections
Travel itinerary presentations have changed significantly over the years. Instead of sending long text documents or static PDFs, modern travel agencies now focus on creating visually engaging experiences that help clients clearly understand their journeys.
Today’s travellers want more than just hotel names and travel dates. They want to visualize the route, understand how they will travel between destinations, and feel excited about the trip before it even begins.
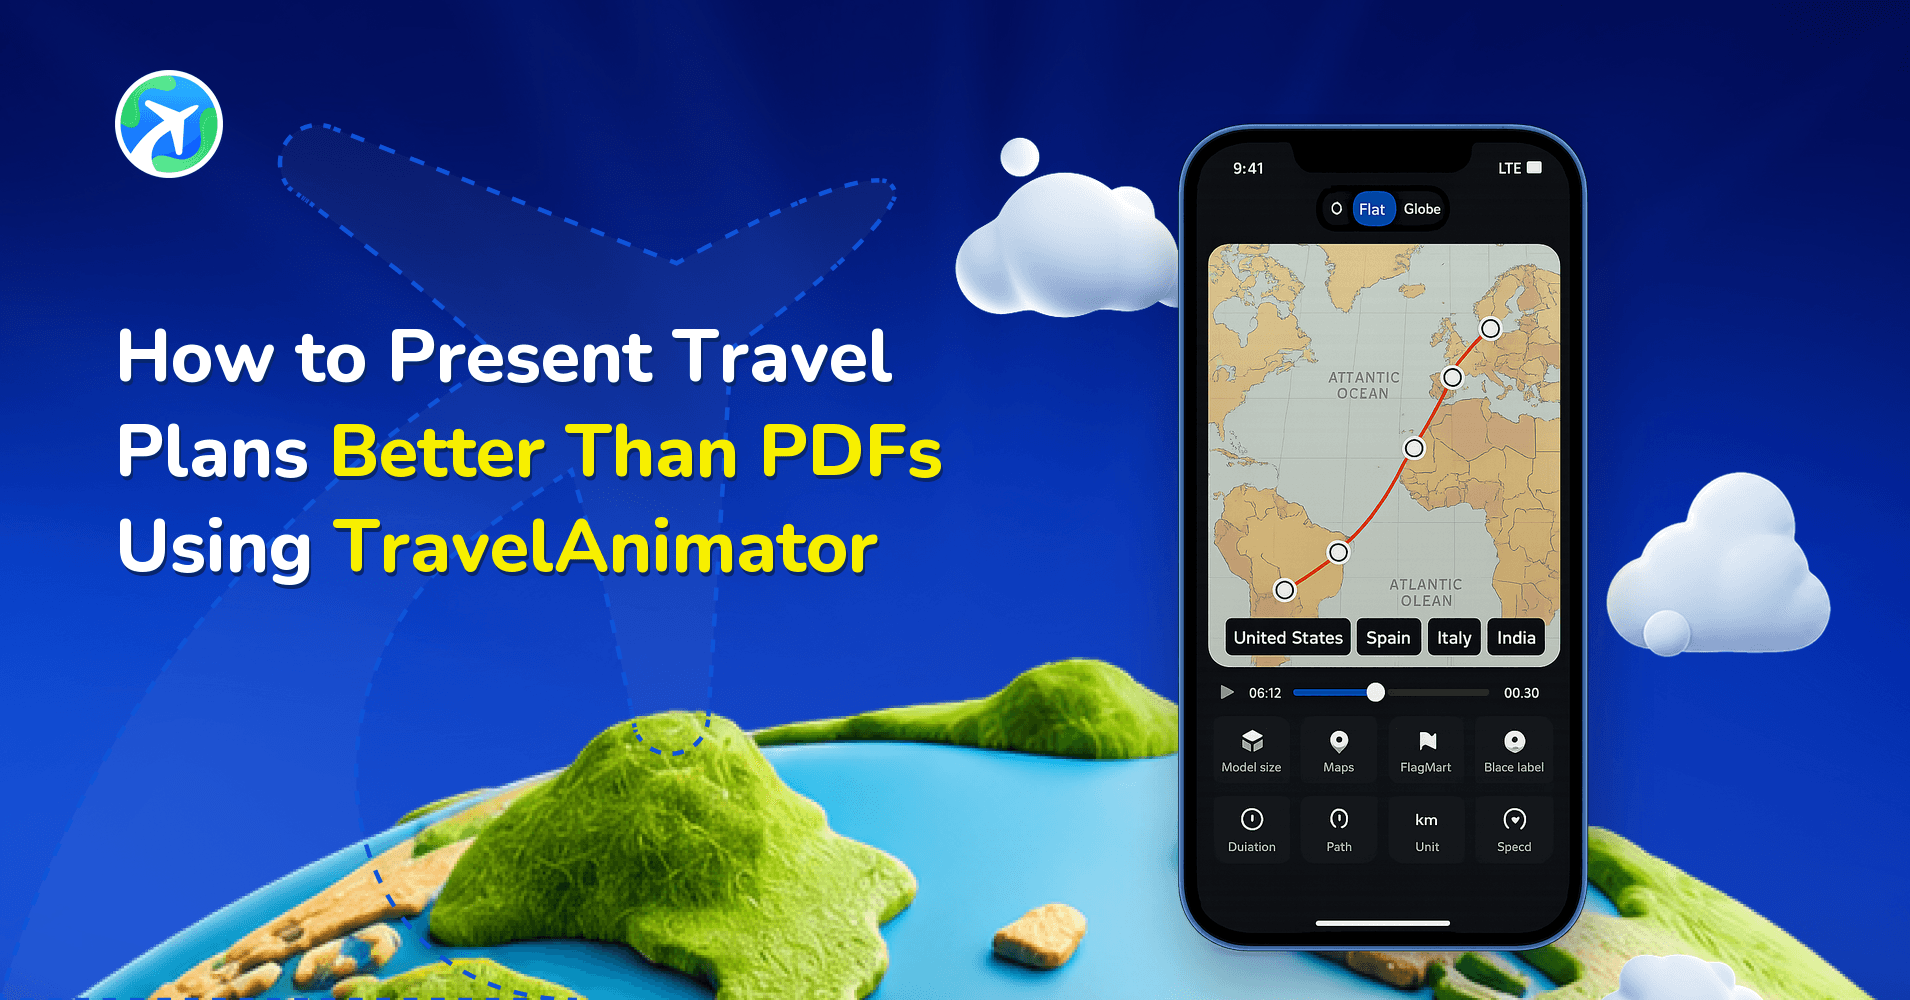
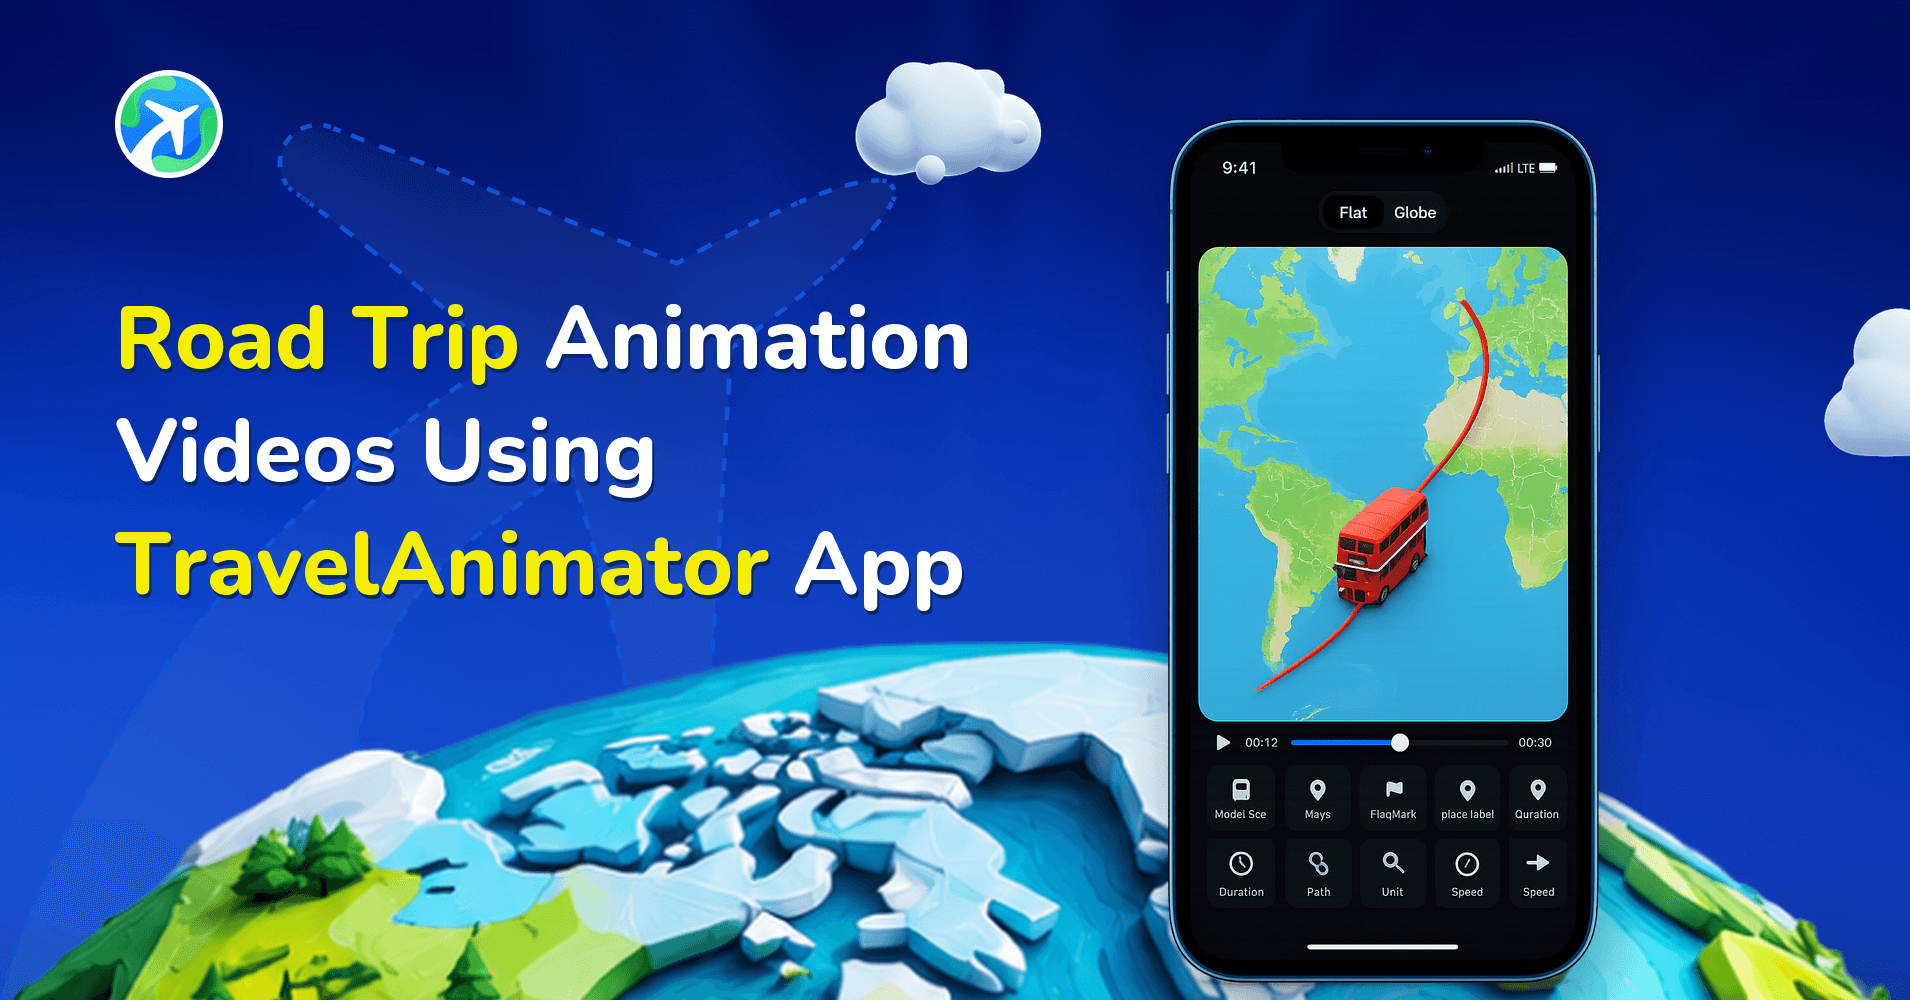
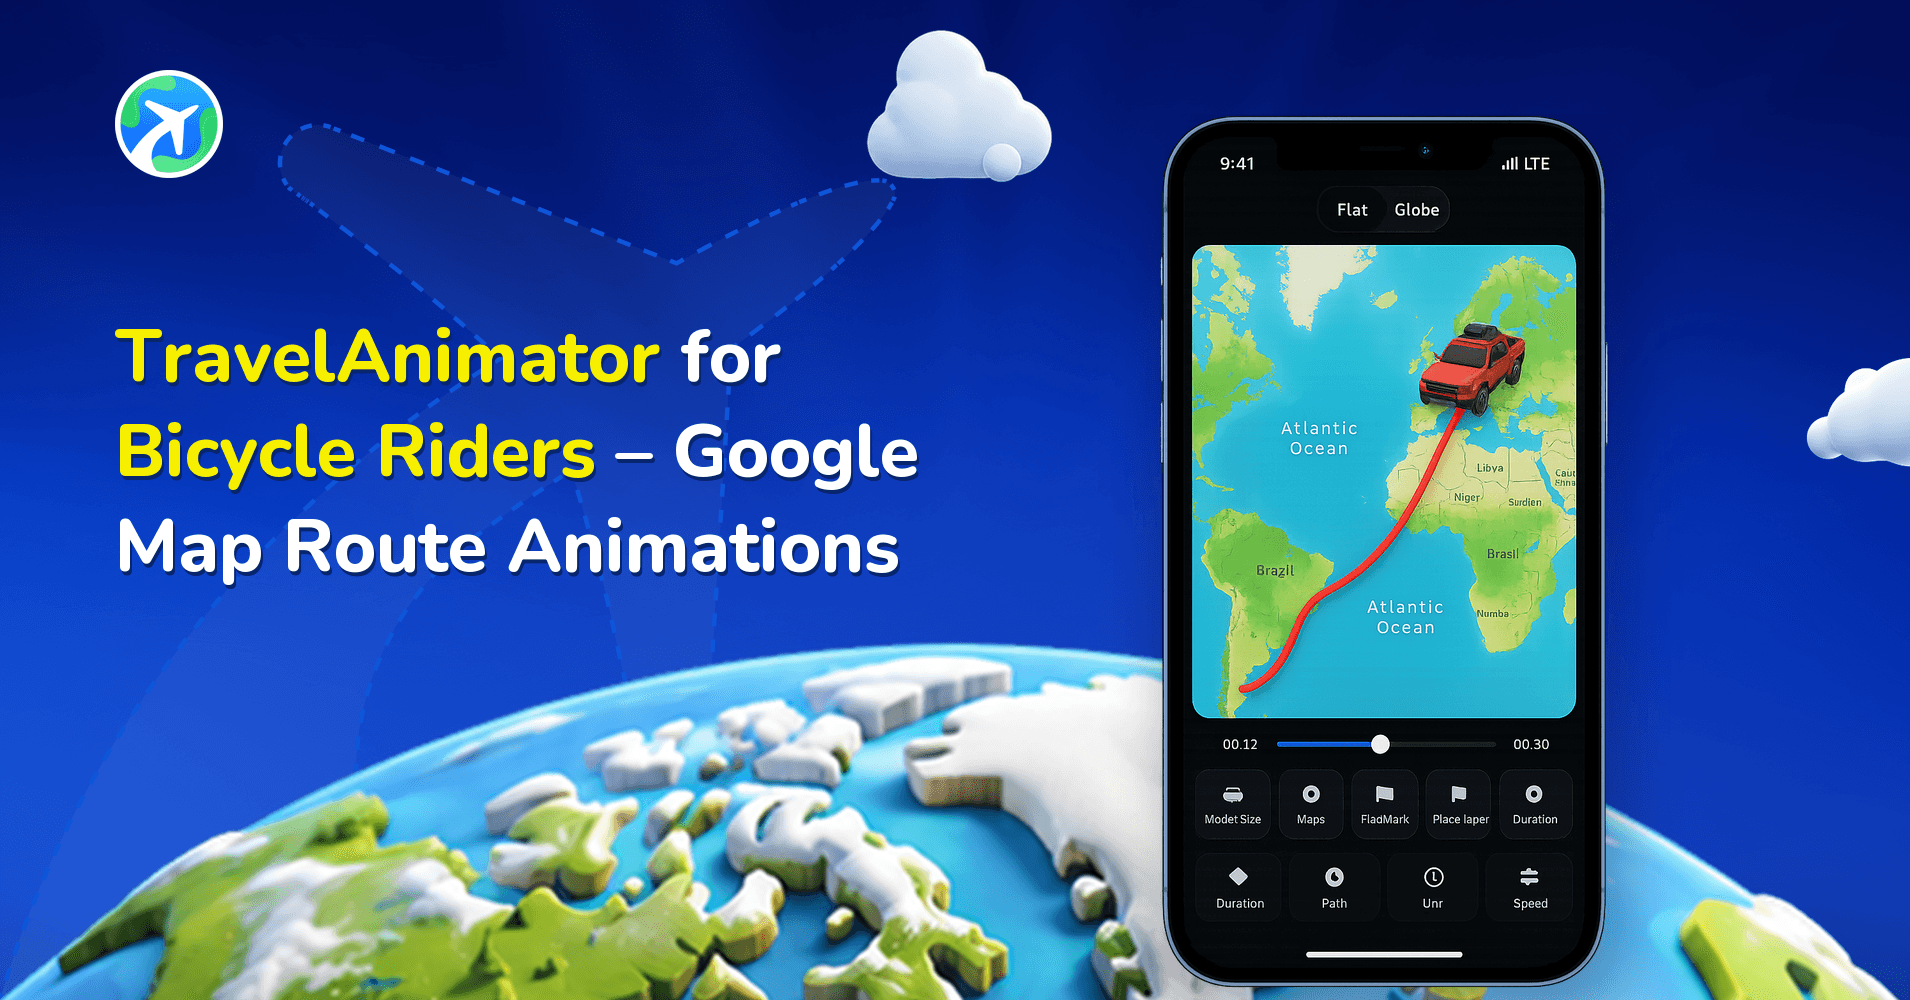
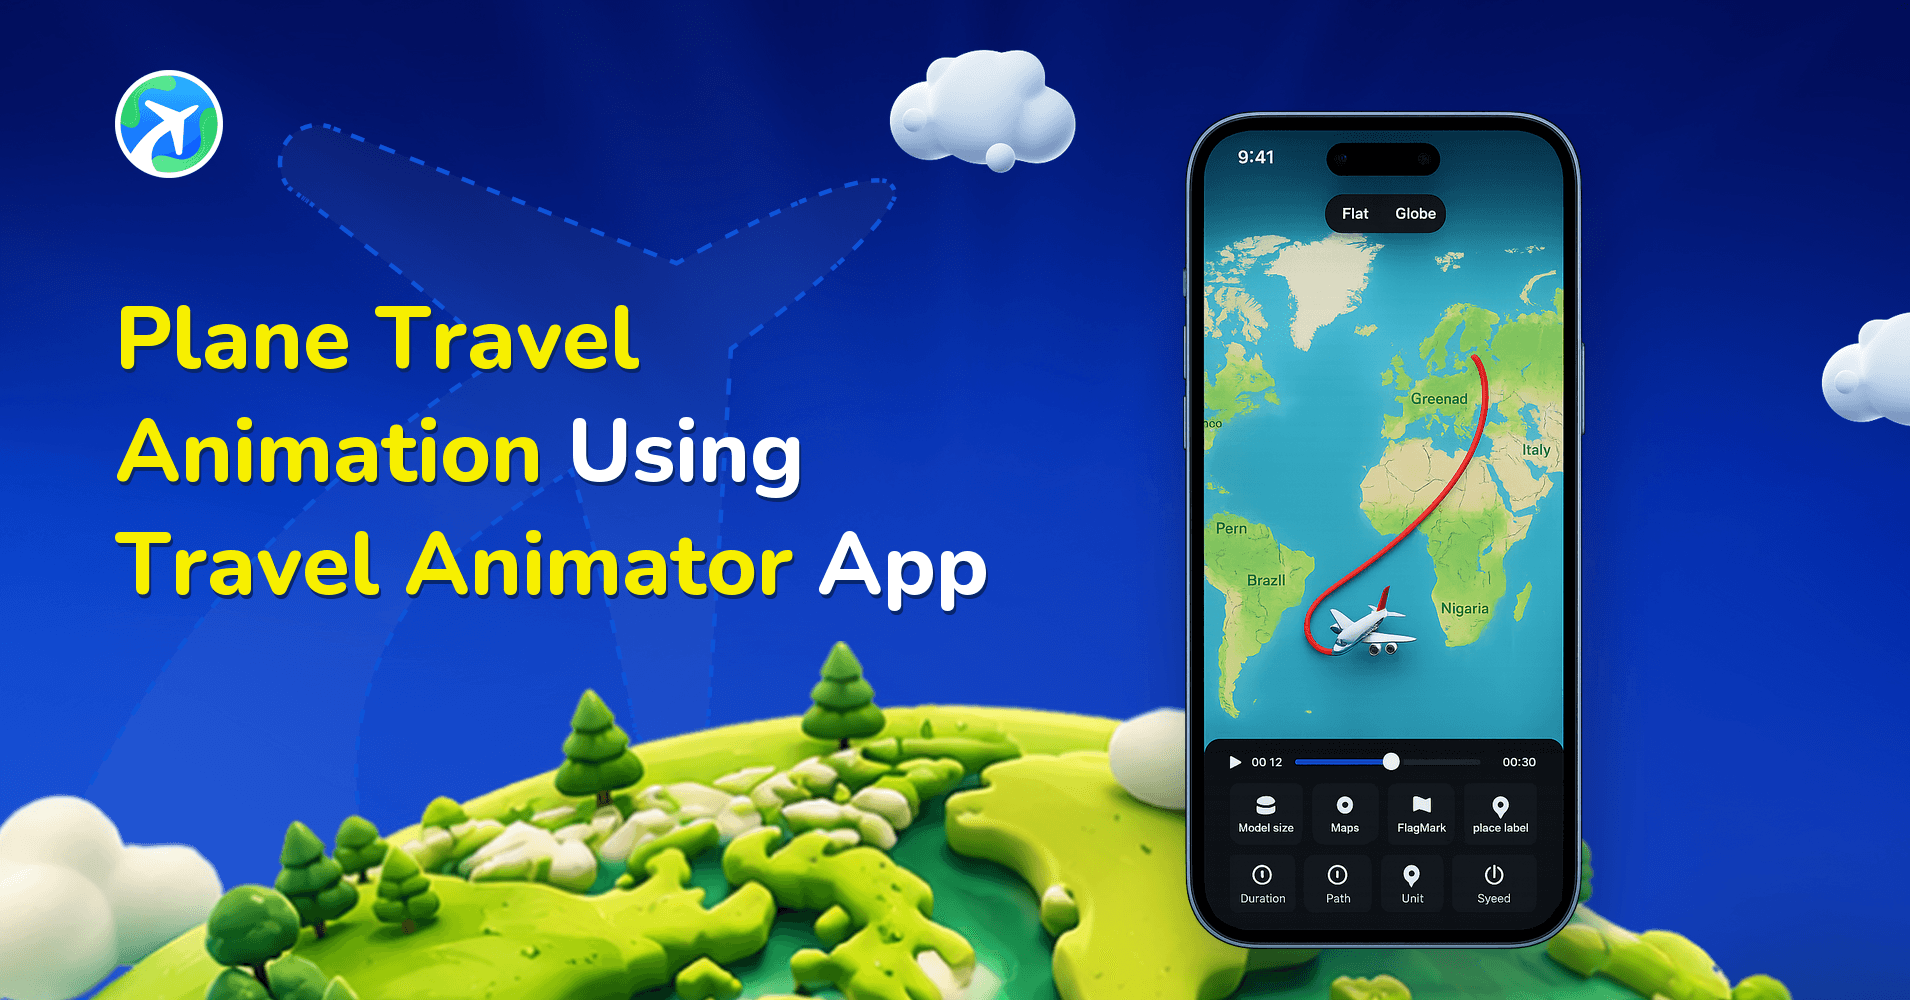
That’s why many travel agencies are now using maps, visuals, animations, and interactive presentations to showcase itineraries in a more professional and engaging way. Tools like the Travel Animator app help agencies transform simple travel plans into cinematic route presentations that are easier for clients to follow and remember.
This guide explains how travel agencies present itineraries professionally, what modern travellers expect, and how visual travel route animations improve the overall client experience.
Why Travel Itinerary Presentation is Important
A professional itinerary presentation helps agencies to build trust with clients, explain complex multi-city trips more clearly, improve communication, create a premium brand image and increase client engagement and conversions.
Modern travellers also expect visually rich experiences. Instead of reading through several pages of plain text, they prefer maps, timelines, images, and route-based visuals that quickly communicate the journey.
For luxury travel agencies and personalized tour planners, presentation quality can directly influence whether a client decides to book the trip.
Step-by-Step: How to Create a Professional Travel Itinerary Presentation
Creating a professional itinerary presentation requires more than listing destinations. It should help clients clearly understand the journey while keeping the experience visually engaging.
1.Plan the Destinations and Timeline
Start by organizing the complete travel plan, including departure and arrival destinations, travel dates, stops and activities, and transportation methods. This creates the itinerary’s structure.
2. Organize the Travel Sequence in the App
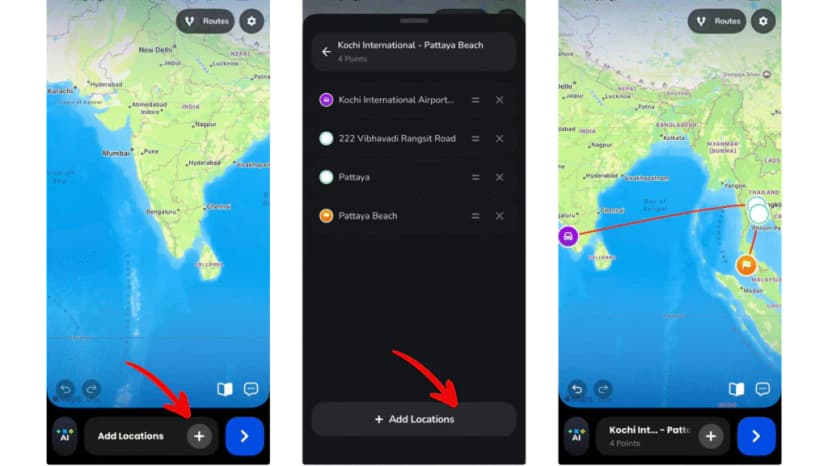
Download and open the Travel Animator app and add destinations in the exact order of the trip. This helps create a smooth route flow that clients can easily understand, especially for multi-city or international itineraries
3. Add Transportation Details
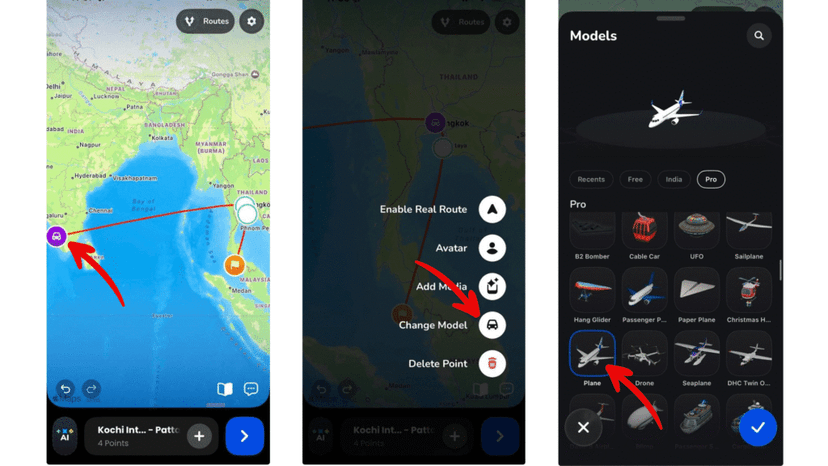
4. Include Hotels and Activities with Elements
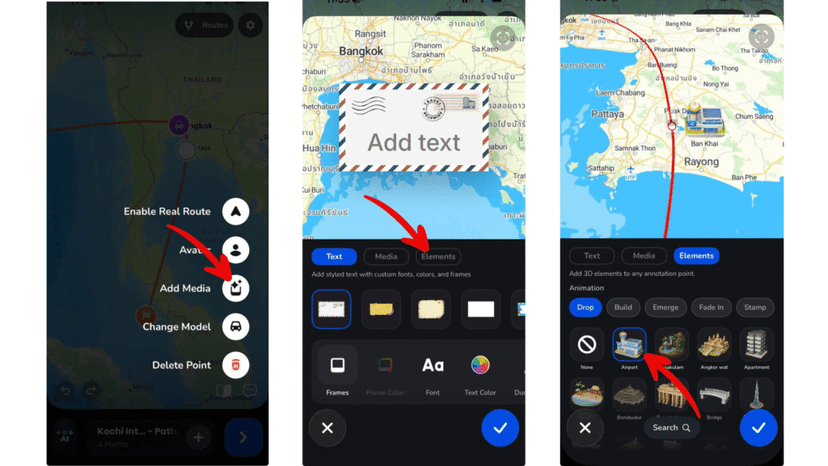
Add important trip details like hotels, sightseeing spots, landmarks, or activities using labels, media, and elements. This helps transform a simple route into a more complete travel presentation that clients can visualize more easily.
5. Visualize the Journey with Animated Maps
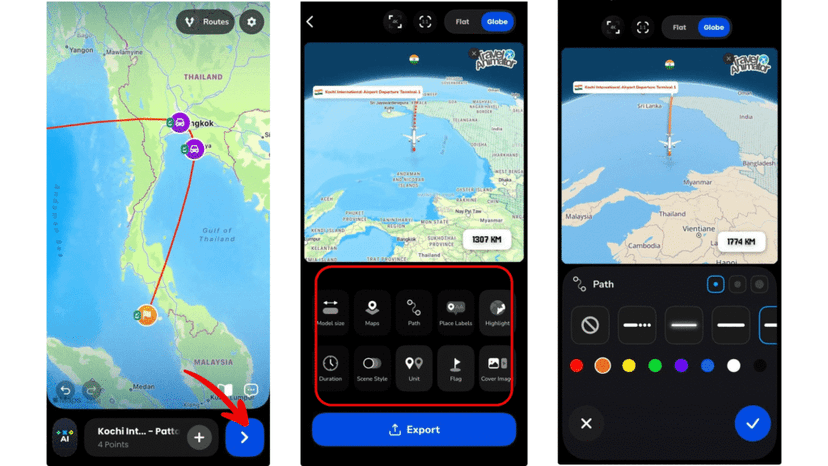
Customize the route using map styles, path colours, highlights, models, and transitions to create a visually engaging travel animation. Animated maps help clients understand the complete journey flow much faster than static documents or plain maps.
6. Preview and Share the Presentation
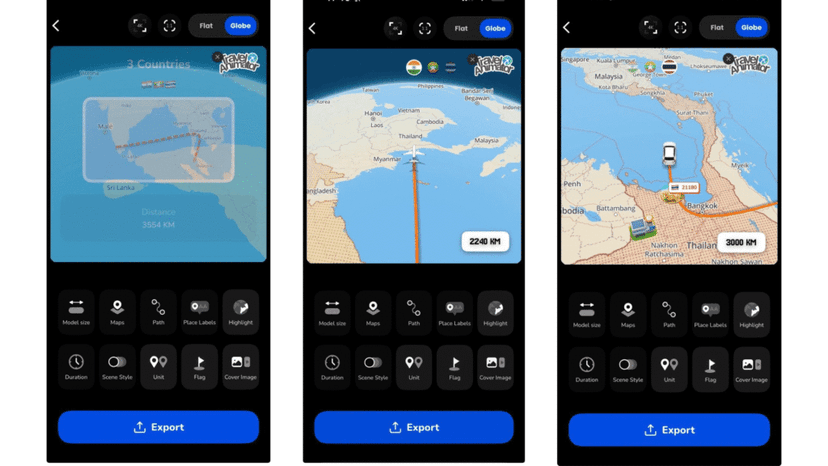
Preview the travel animation to ensure the route, labels, models, and visuals appear correctly. Make final adjustments to timing, aspect ratio, or map style before saving the project or exporting the itinerary video.
7. Share the Itinerary with Clients
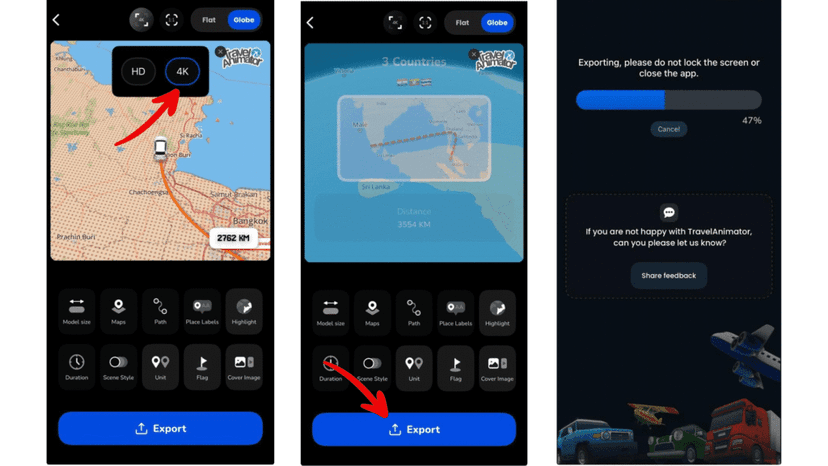
Export the final travel animation in HD or 4K quality and share it with clients through presentations, WhatsApp, email, social media, or travel proposal documents. A visually presented itinerary helps clients feel more connected and excited about the journey.
You can also read our detailed guide on how to create a travel animation video in Travel Animator for a complete step-by-step walkthrough.
A Worked Example: Five Days in Kerala
Here’s how the steps above come together for a typical client trip: Kochi, two nights in Munnar, a night in Alleppey, a houseboat across Vembanad Lake to Kumarakom, then back to Kochi for the flight home.
- Add Kochi, Munnar, Alleppey, Kumarakom and Kochi again, in that order. For a trip that ends where it started, see how to create a round-trip travel map.
- Long-press Kochi and enable Real Routes so the drive up to Munnar follows the actual hill roads. Do the same on the road legs after it.
- Use a car for the drives and switch to a boat model for the houseboat leg.
- Rename the labels to match your proposal, for example “Munnar, 2 nights” instead of the full map name. Here’s how to edit location names.
- Add one photo per stop, the hotel or the view, rather than five. Each photo creates a short pause so the client can take it in.
- Export 9:16 for WhatsApp and 16:9 for the proposal deck.
Making the Video Look Like Your Agency
Clients notice branding. On the free plan, every export carries the TravelAnimator logo. With Pro you can export with no watermark at all, or open Settings, tap Watermark and upload your own agency logo. You can keep up to four logos, handy if you run separate brands for honeymoons and corporate travel. A transparent PNG looks cleanest on both light and dark maps. The full steps are in adding your brand logo to Travel Animator videos.
Pro also lets you save unlimited routes, so you can keep one route per client and reopen it from Load Route when they ask to swap Munnar for another hill station. The free plan saves one route at a time. Saved routes are linked to your login, so a route you started on your phone between meetings can be finished on a tablet.
Turn Travel Plans into Visual Experiences
Modern travellers expect more than static PDFs and plain travel schedules. They want to clearly visualize their journey and feel excited about the experience before the trip begins. That’s why travel agencies are increasingly using maps, visuals, and animated travel routes to present itineraries in a more engaging and professional way.
Travel route animations help agencies explain trips more clearly, improve client understanding, and create a stronger emotional connection with the journey. With tools like the Travel Animator app, agencies can transform ordinary itineraries into visually immersive travel experiences that clients can easily follow, remember, and share.
Download the Travel Animator app from the App Store or the Play Store and try the app today to help clients truly experience the journey before they even start travelling.
Frequently Asked Questions
Why does the way I present a travel itinerary matter?
A professional itinerary presentation helps agencies to build trust with clients, explain complex multi-city trips more clearly, improve communication, create a premium brand image and increase client engagement and conversions. Modern travellers also expect visually rich experiences.
How do I create a Professional Travel Itinerary Presentation?
Plan the destinations and timeline, arrange the stops in travel order and add transport details. Use labels or elements for hotels and activities, preview the route and share the animation with the detailed itinerary.
How can I show hotels and activities in an itinerary video?
Add important trip details like hotels, sightseeing spots, landmarks, or activities using labels, media, and elements. This helps transform a simple route into a more complete travel presentation that clients can visualize more easily.
Can I add my travel agency's logo to an itinerary video?
Yes, with TravelAnimator Pro. Open Settings, tap Watermark, choose Custom and upload your logo, ideally a high-resolution transparent PNG. You can store up to four logos and choose one per video. Preview the animation before exporting to check that the logo is readable and doesn’t cover any part of the route.
How can I reuse one itinerary route for different clients?
Save the route with a clear name, then open it from Load Route whenever a similar trip comes up. Change the stops, models, photos and labels for the new client, export, and save it again under that client’s name. Pro saves unlimited routes, while the free plan keeps one at a time, so agencies with several clients usually need Pro.