Travel Animator for Travel Vloggers
 Jaseel S7 min read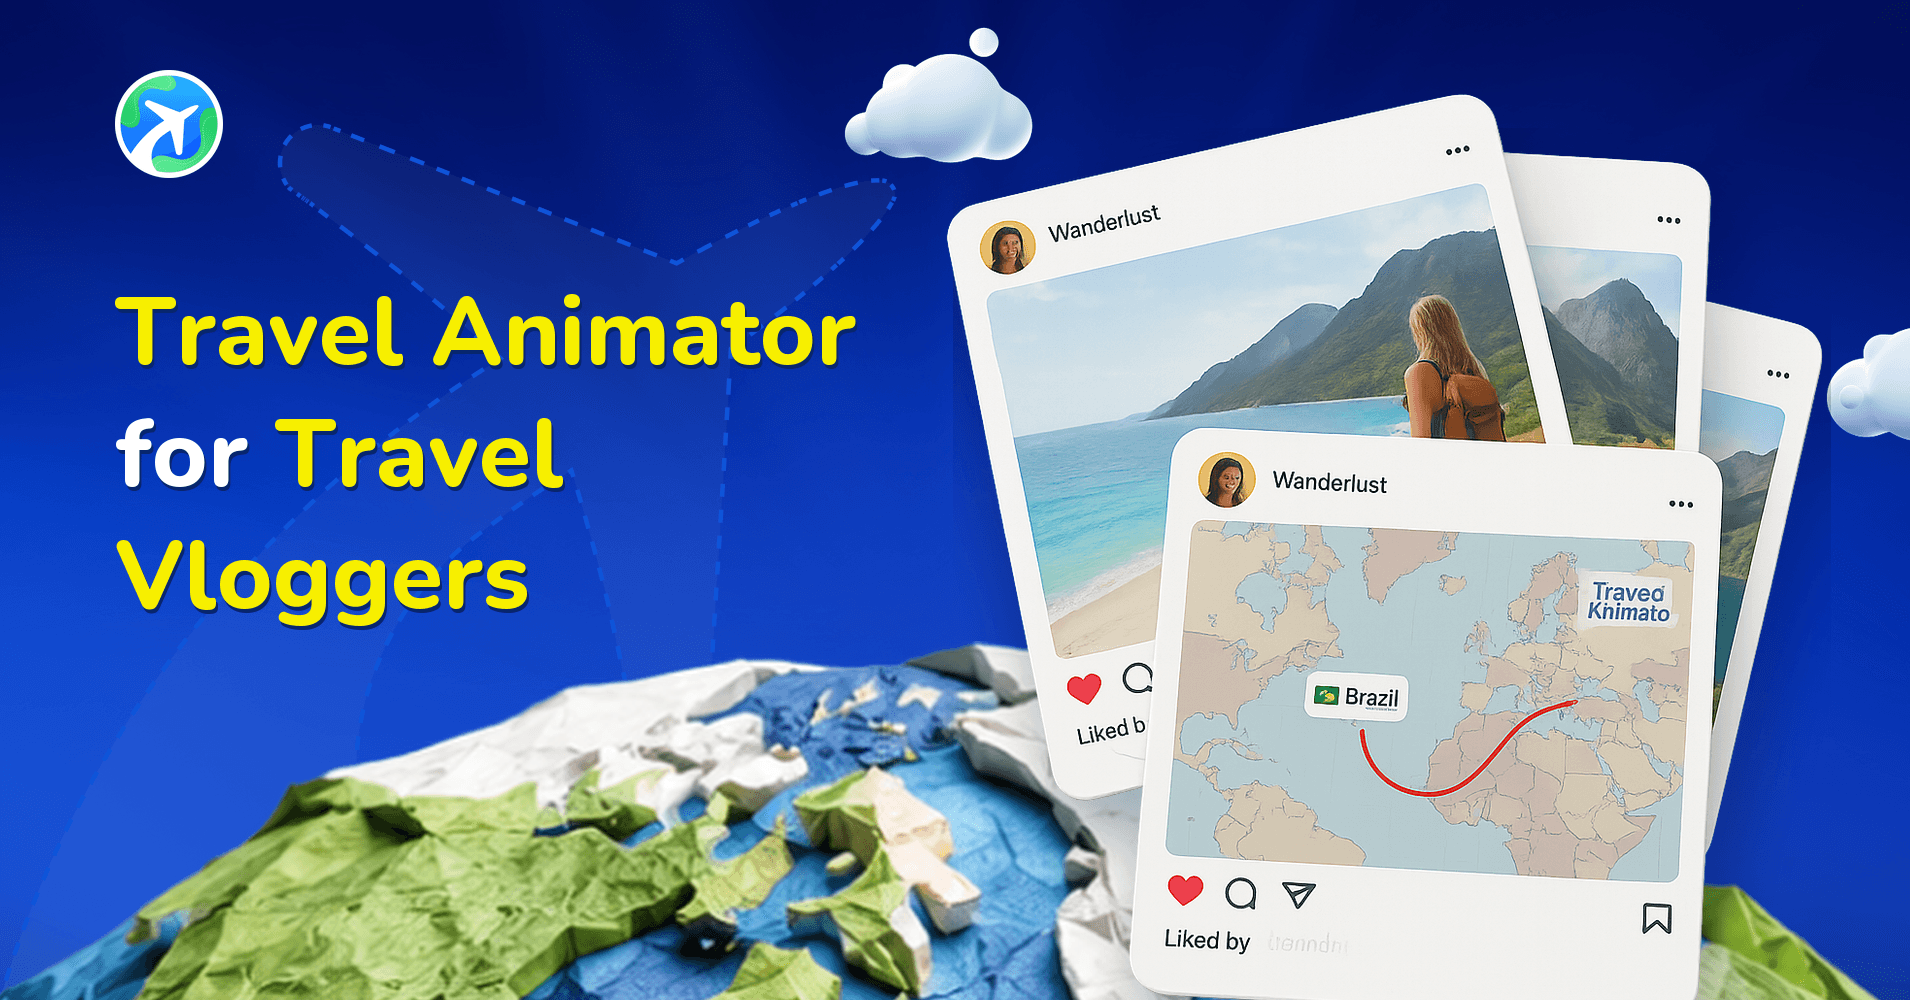
In this article 9 sections
Travel Animator offers various features to create travel vlogs and experiences using animation videos.
Imagine you are visiting a place where cameras are not allowed, or you want to enjoy the beauty of the destination without a camera. Travel Animator offers a solution to create your travel journeys in such cases.
This comprehensive blog will provide complete information on how Travel Animator can be useful for travel vloggers.
Why Travel Vloggers Should Use Travel Animator?
- Create engaging travel videos—Animation videos tell stories in an engaging way that takes the audience through the journey. Travel Animator helps vloggers create visual content for sharing on social media.
- Highlight routes, stops, and destinations—When exploring a destination, it is essential to highlight the specific routes, attractions, etc. This allows the vloggers to map the entire journey, showing the path, vehicle used to travel, and images captured.
- Stand out with unique visual content—Travelers create different types of videos, so standing out is a challenge nowadays. Travel Animator gives multiple features for personalizing videos with high-quality export, helping content be unique and memorable.
- Suitable for every platform—Travel Animator videos can be used across various platforms. It offers a feature to choose the ratio for different platforms and can be shared directly on social media.
How Travel Animators Can Be Beneficial for Travel Vloggers
- Animation routes give a brief view of the journey, giving the audience an idea about the distance covered and the destination traveled.
- Unique travel animation videos make the content engaging and shareable.
- Advanced features for creating travel animation help the vloggers customize the videos of their choice.
- It can be optimized and directly shared on different platforms, making it easy for vloggers to reach a wider audience without extra effort.
- Travel Animator isn’t limited to routes. It offers features to align your photos to add between the destinations.
- A feature showing a flag that shows the countries in that journey.
Creative Content Ideas for Travel Vloggers
Destination guides
Creating destination guides with Travel Animator helps vloggers showcase the best tourist destinations in a location.
Trip recaps
Recap videos are an excellent way to summarize a trip. Vloggers can utilize Travel Animator to create trip recaps to showcase their entire journey, including routes, vehicles, and memorable moments.
Itinerary previews
Vloggers can use Travel Animation to create itinerary preview videos that encourage their audience to become curious about their upcoming travels.
Before and after journeys
Vloggers can create engaging content by comparing what they planned for the journey and what they experienced in reality. Highlighting the unexpected challenges makes the video more interactive.
Where a Route Animation Fits in Your Vlog Edit
Most vloggers don’t post the animation on its own. It works best as a building block inside a longer edit. Three spots where it earns its place:
- The opener. A 5 to 10 second animation of the whole route tells viewers where the episode is going before you cut to footage. Add a cover image with a title and turn on Use cover as video intro so the clip starts with a title card.
- Between days or cities. A short leg, like the drive from one town to the next, works as a transition and keeps viewers oriented.
- The wrap-up. End with the full route and photos from each stop, so the episode closes on the big picture.
Exports are MP4, so they drop straight into your usual editing app. If you want the route laid over your own footage instead of a map, the Green Screen map style (Pro) gives you a solid background to key out.
Example: A Lisbon to Porto Train Episode
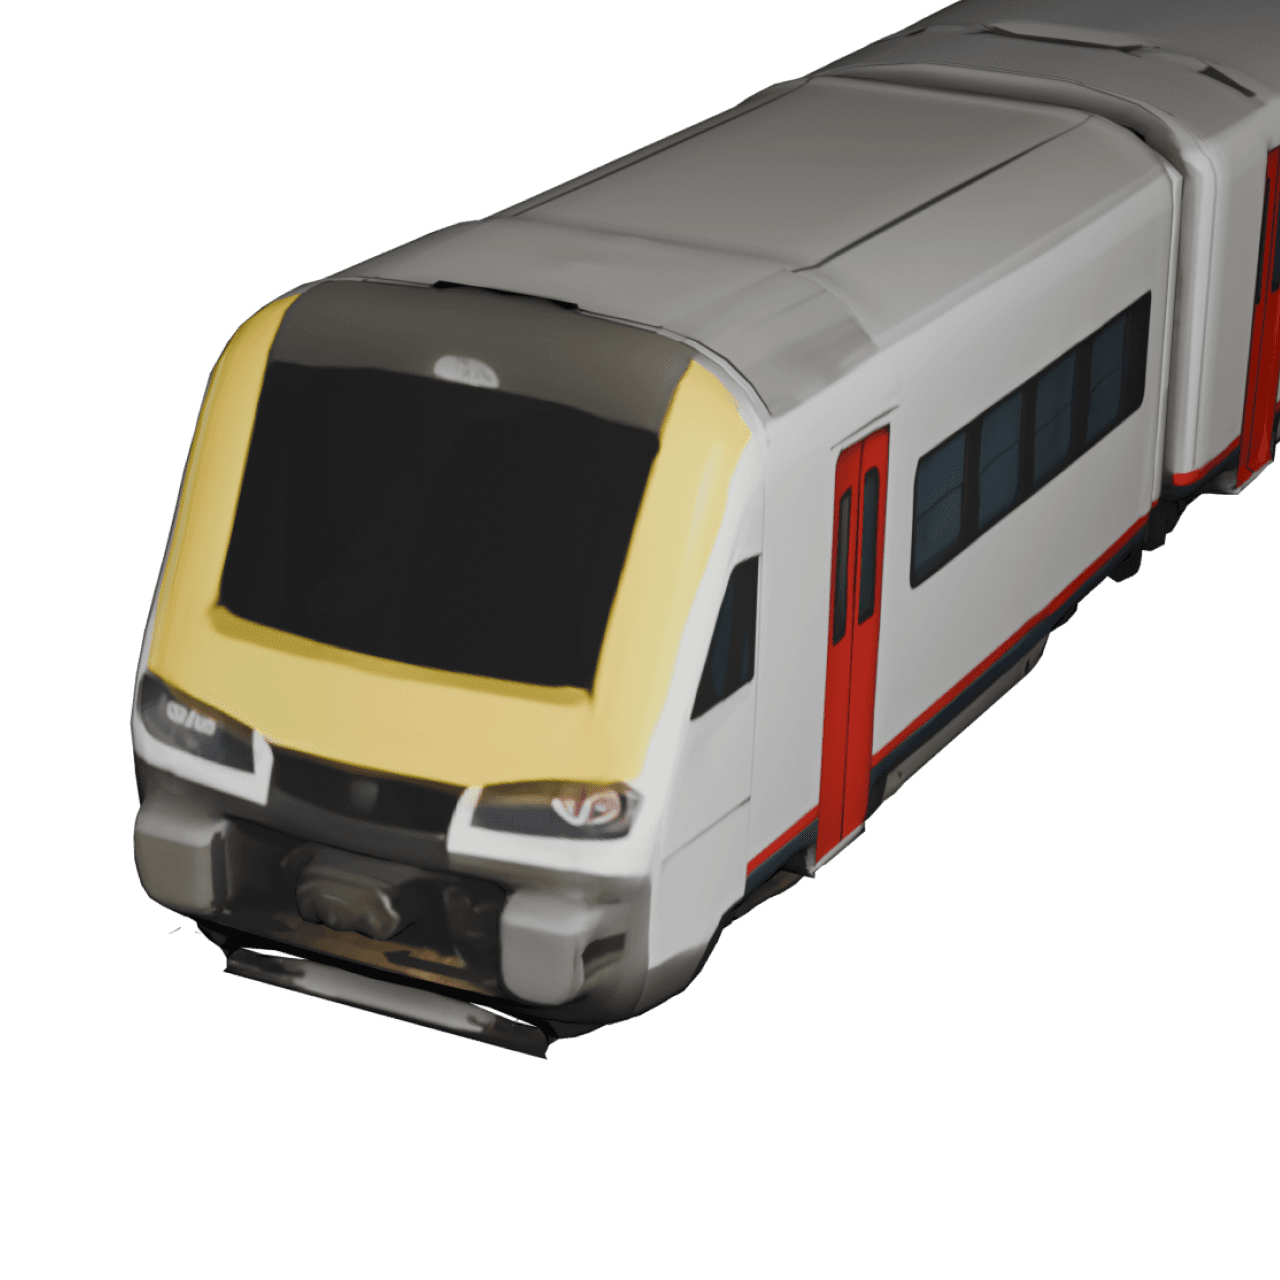
Say your episode covers a train trip from Lisbon to Porto with a stop in Coimbra. Add the three cities, choose a train model and drag the line into gentle curves so it doesn’t look like a straight shot up the coast. Put one photo at each city: the tram in Lisbon, the university in Coimbra, the riverside in Porto.
In preview, try the Follow scene style, where the camera rides behind the train. Export in 16:9 for the main YouTube video, then switch to 9:16 and export again for a Shorts teaser. Same route, two videos, no extra building.
Keeping a Consistent Look Across Episodes
Viewers start to recognise a channel by its visuals. Pick one map style, one route colour and one scene style for your series and stick with them, so every episode’s map feels like part of the same show.
If you’re on Pro, you can also add your own logo in place of the Travel Animator watermark. You can save up to four logos and switch between them, which helps if you run more than one channel.
How to Get Started with Travel Animator
Imagine you plan to share your travel experience through an animated video to make the content unique. Creating your travel videos is very easy with simple steps.
- Plan the story you want to share with the audience, whether a road trip, an international trip, or anything else.
- Download the Travel Animator App and start creating your travel animation videos.
- Select locations or import the GPX file that includes the destinations you traveled.
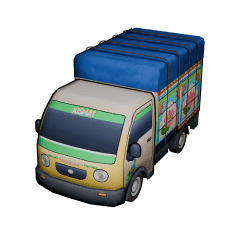
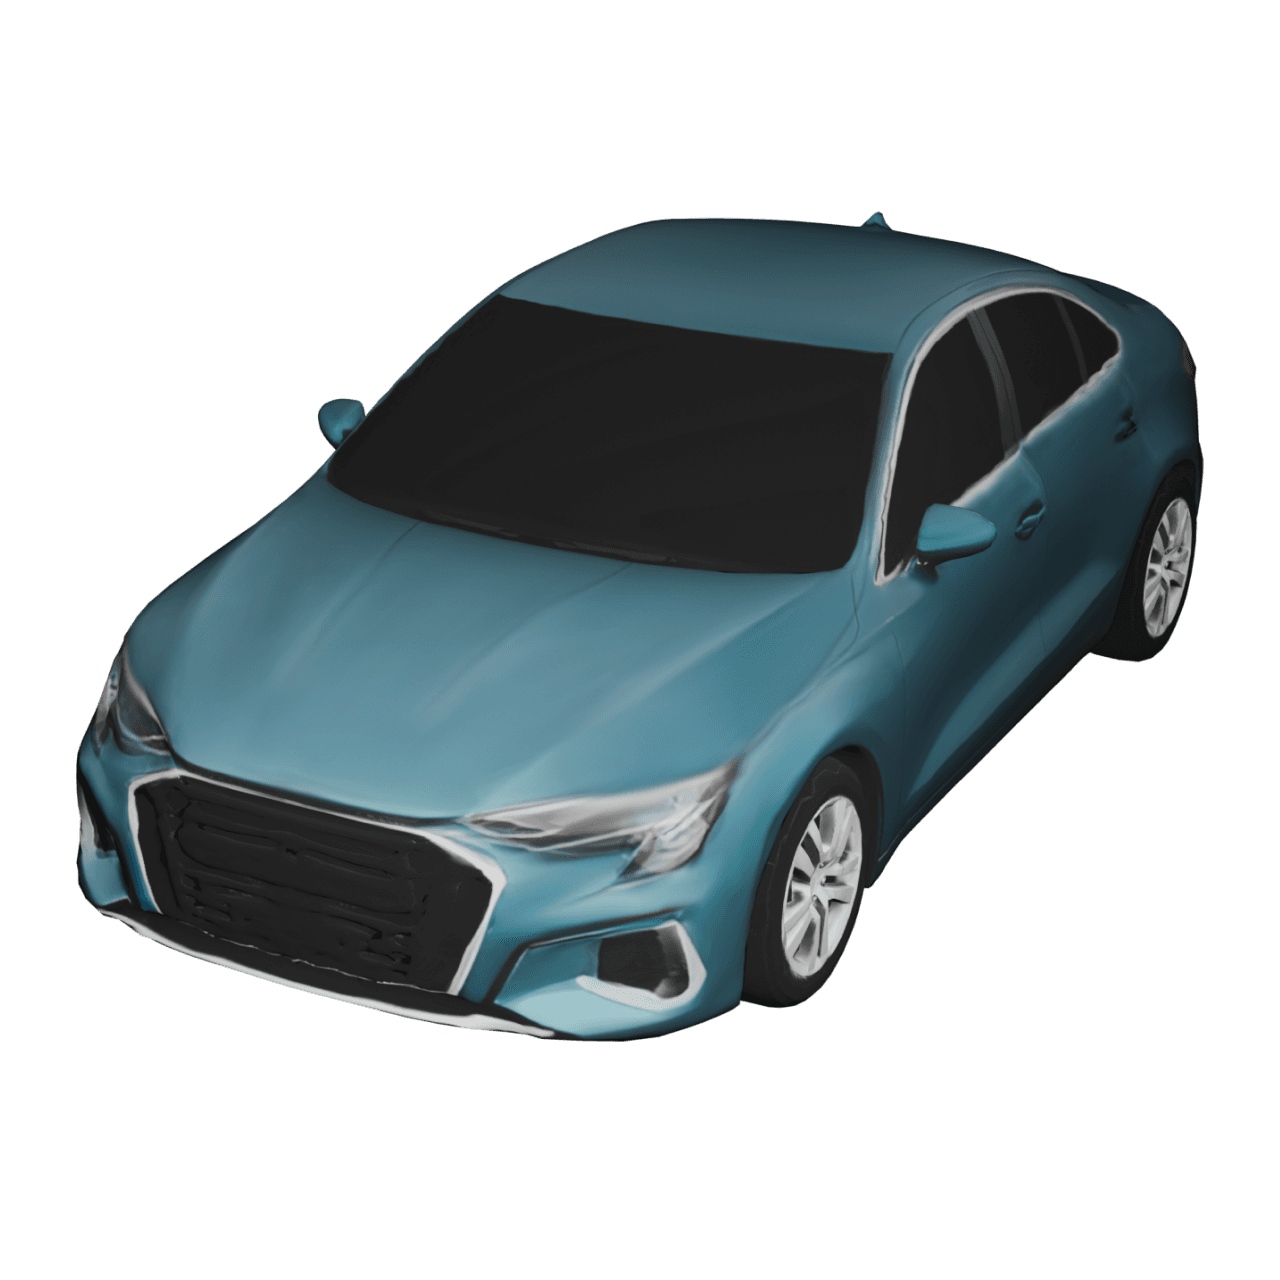
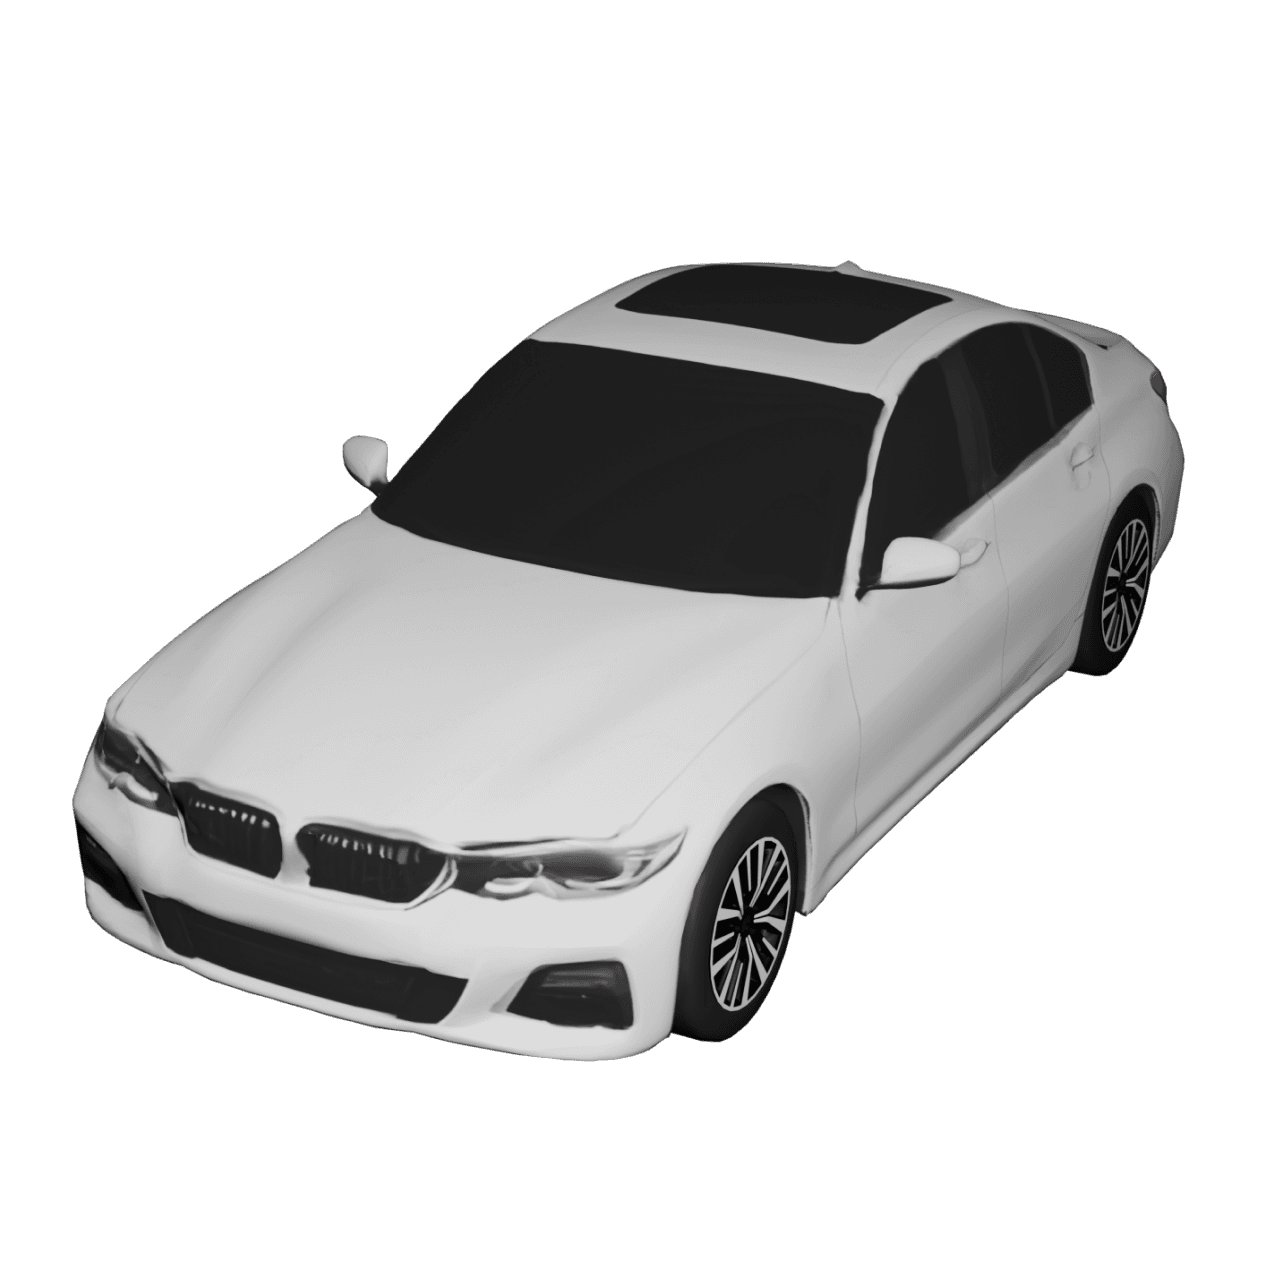
- Choose the model you traveled in and add photos between the destinations.
- Customize the animation using different features.
- Preview the video and utilize available features to personalize the video.
- Select the quality of the video and optimize the animation for different platforms. Share it directly on social media with attractive thumbnails and captions to maximize engagement and shares.
Are you Ready to create your Travel Animation Video?
Travel Vloggers are all about capturing and sharing their travel experiences. Travel Animation offers a powerful combination of dynamic maps, photos, and models in engaging visual content. It provides various features because it is specially developed for creating travel animation videos. Travel Animator helps vloggers to stand out with its unique content.
Frequently Asked Questions
Why Travel Vloggers Should Use Travel Animator?
Create engaging travel videos—Animation videos tell stories in an engaging way that takes the audience through the journey. Travel Animator helps vloggers create visual content for sharing on social media.
How do I get Started with Travel Animator?
Imagine you plan to share your travel experience through an animated video to make the content unique. Creating your travel videos is very easy with simple steps. Plan the story you want to share with the audience, whether a road trip, an international trip, or anything else. Download the Travel Animator App and start creating your travel animation videos. Select locations or import the GPX file that includes the destinations you traveled. Choose the model you traveled in and add photos between the destinations. Customize the animation using different features. Preview the video and utilize available features to personalize the video. Select the quality of the video and optimize the animation for different platforms. Share it directly on social media with attractive thumbnails and captions to maximize engagement and shares.
How can a route animation fit into a travel vlog?
Use it to introduce the itinerary, show movement between destinations or recap the journey. Keep labels short and include meaningful photos so the map connects the places shown in the vlog.
Can I use Travel Animator animations in my YouTube vlogs?
Yes. Travel Animator exports MP4 files that import into any common video editor, so you can cut the route animation into your vlog alongside your footage. Export in 16:9 to match a standard YouTube video, or 9:16 for Shorts. Free exports include a small watermark, while Pro removes it and adds 4K export.
How long should a route animation be inside a travel vlog?
There’s no fixed rule, but most vloggers keep it short, since the animation supports the footage rather than replacing it. An intro covering the full route often works in under 15 seconds. Use the Video duration control in preview to adjust the length, and remember that photos and text at stops add short pauses that make the clip longer.