TravelAnimator Video Tutorials: Step-by-Step In-App Guidance
 Jaseel S6 min read
In this article 10 sections
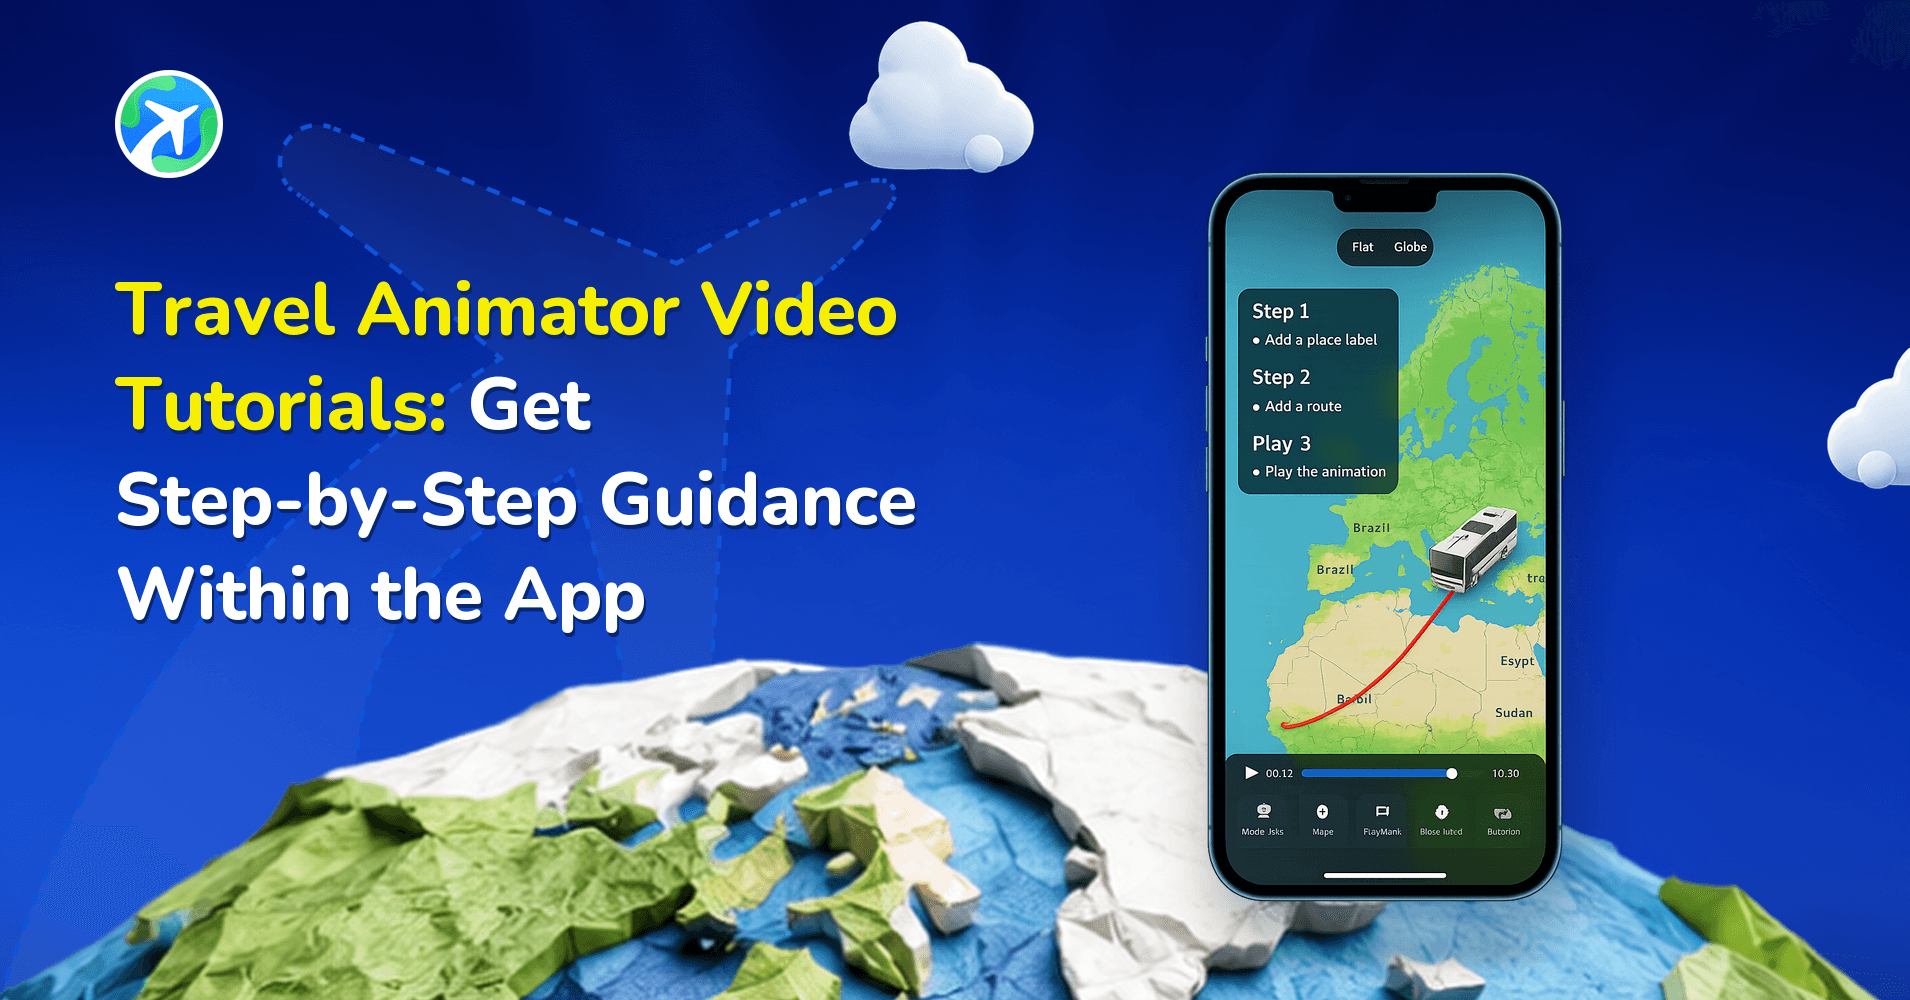
The Travel Animator app offers video tutorials within the app to guide users on creating a perfect travel animation video, utilizing the app’s full potential.
Many users are still confused about how to create travel animation videos in Travel Animator. In particular, new users may struggle with the interface, unsure of where to start or how to utilize the available features effectively. They are uncertain of how to use specific features, where they are located, or what benefits they will receive after applying. Without clear guidance, they will be confused and may stop users from exploring the app’s full potential.
So, Travel Animator helps you guide users to the tutorials, show them what they contain, and indicate who will find them beneficial.
Why are Video Tutorials Needed for New Travel Animator Users?
Video tutorials play a crucial role in helping users achieve the perfect output. It provides step-by-step instructions directly inside the app to make the process easy. They help new users quickly understand how each tool works, what the different features do, and how they can combine them to tell a compelling travel story. It turns a confusing first impression into an enjoyable experience.
Where to Find the Video Tutorial Icon in Travel Animator
- Open the Travel Animator app on your device.
- Look for the help tutorial icon in the bottom right of the screen. It is located above the + icon that is used to add a destination.
- Tap on the icon, and you can view video tutorials for the app that demonstrate how to use its various features to create a video.
- It will automatically play all the tutorials.
How to Use the Video Tutorials in Travel Animator
- Tap on the lines below to watch different step-by-step tutorials, or tap on the right and left sides of the screen to see the various tutorials.
- Choose what you want to watch – add destinations, adjust the travel path, change models, etc.
- Each tutorial gives you video instructions.
- After watching, apply the steps in your video.
- Repeat anytime, if you forgot or missed something.
- Complete your travel animation video with Travel Animator.
What You Can Learn from the Video Tutorials in Travel Animator
- Add Your Starting Point – Tap and enter your starting location to begin your journey.
- Add Your Destination – Tap and enter your location to add your next point.
- Adjust Your Travel Path – Drag the line between the points to create smooth, natural curves.
- Hold to Customize – Hold on a point to customize it with models, photos, or path colors.
- Double-Tap to Remove – Tap twice on a point to delete it from your journey.
- Import Route from Google Maps – Paste your Google Map link to plot your journey.
Common User Questions About Video Tutorials
Do I need the internet to access tutorials?
No. Tutorials are built into the app, allowing them to be accessed offline.
Are tutorials free or part of Travel Animator Pro?
Tutorials are available to all users, whether they are free users or pro users.
Can I replay a tutorial later in Travel Animator?
Yes. You can access the Help icon at any time and repeat tutorials as often as needed.
Do tutorials cover advanced features too?
Tutorials focus on essential steps to create your Travel Animator video.
Will tutorials change as the app updates?
Yes. The Travel Animator team updates tutorials whenever any new or essential features are added to keep them relevant.
When to Use the Video Tutorial in Travel Animator
- For first-time users, video tutorials are the fastest way to learn after just downloading the Travel Animator App.
- When you’re trying a new feature, like importing routes from Google Maps.
- For quick troubleshooting, such as when you suddenly forget how to adjust the travel path, you can refresh your memory instantly with a video tutorial.
- If you’re halfway through a project and unsure about the next step, tutorials guide you without leaving the app.
Video Tutorials or the Guided Tour: Which One to Use
TravelAnimator actually has two kinds of in-app help, and they’re good at different things.
The video tutorials behind the help icon are short clips you can jump between. They’re best when you’ve forgotten one specific gesture, like how to curve a path or delete a point, and just want a ten-second reminder before carrying on.
The guided tour is the walkthrough the app shows when you first open it. It takes you step by step through building a route on the map itself, including shaping the path and adding curves. If you skipped it on day one, or it’s been months since you last made a video, you can run it again:
- Open the app’s main Settings.
- Find Restart Guided Tour, just below the Remove Watermark section.
- If you have a route open, choose Save and Continue to keep it, or Continue Without Saving to start straight away.
A practical approach: run the guided tour once before your first real project, then lean on the video tutorials for quick refreshers.
When the Tutorials Don't Answer Your Question
The tutorials stick to the essentials, so at some point you’ll hit something they don’t cover. Maybe a GPX track that won’t line up, an export that stalls, or a map style that won’t load. Here’s where to go next.
- The in-app chatbot. Tap the chat icon on the right side of the screen and describe the problem. It answers most how-to questions in seconds and can hand you over to the support team by email if needed. See how the chatbot works.
- The forum. Search it first, since someone may have had the same issue after an update. You can browse without logging in, and reach it from the support option in settings. More in our guide to the TravelAnimator forum.
- The hub guides. Features like scene styles, highlights and GPX editing each have their own step-by-step article here.
If you do contact support, include your User ID, your device and app version, and a short screen recording of the problem. It saves a lot of back-and-forth.
Common Questions About the Guided Tour
Will restarting the guided tour delete my current route?
Not if you choose Save and Continue. When you tap Restart Guided Tour with a route open, the app asks whether to save first. Save and Continue stores your project before the tour begins. Continue Without Saving starts the tour immediately, and unsaved changes are lost.
Where is Restart Guided Tour in TravelAnimator?
Open the main Settings menu and scroll to the option labelled Restart Guided Tour. It sits directly below the Remove Watermark section. Tap it to replay the walkthrough from the beginning.
Is the Video Tutorial Beneficial for Creating Travel Animations?
If you’re new to Travel Animator, the tutorial provides step-by-step guidance right inside the app, eliminating the need to search endlessly for answers or guess how features work. From adding routes and destinations to customizing your paths with models and images, everything you need is clearly explained and visually. So, next time you open Travel Animator, don’t forget to try the video tutorials. They’ll help you to create your travel stories faster and with confidence.
Download TravelAnimator Now from the Play Store or App Store and try it now!