Common Mistakes in Travel Animator Videos
 Jaseel S6 min read
In this article 6 sections
Small mistakes may quickly reduce the impact of your whole travel animation video. From poor route creation to female exporting, you often make these mistakes, especially if you’re a beginner.
Imagine you just start creating your travel animation with Travel Animator for the first time, and you’re not aware of the good or bad that comes with it while creating.
In this guide, we will explain the common mistakes that most Travel Animator users make and you should avoid when creating your travel animation videos with Travel Animator to get a smooth, well-professional output.
Common Mistakes to Avoid in Travel Animator
Overcomplicating Routes
Adding too many stops between destinations or unnecessary curves can lead to congested or confusing animation, especially when adding photos and labels at each stop. This affects the overall neatness of your animation. To avoid this mistake, keep routes simple and avoid using photos and labels at every stop if there are many stops.
Using Inconsistent Travel Models
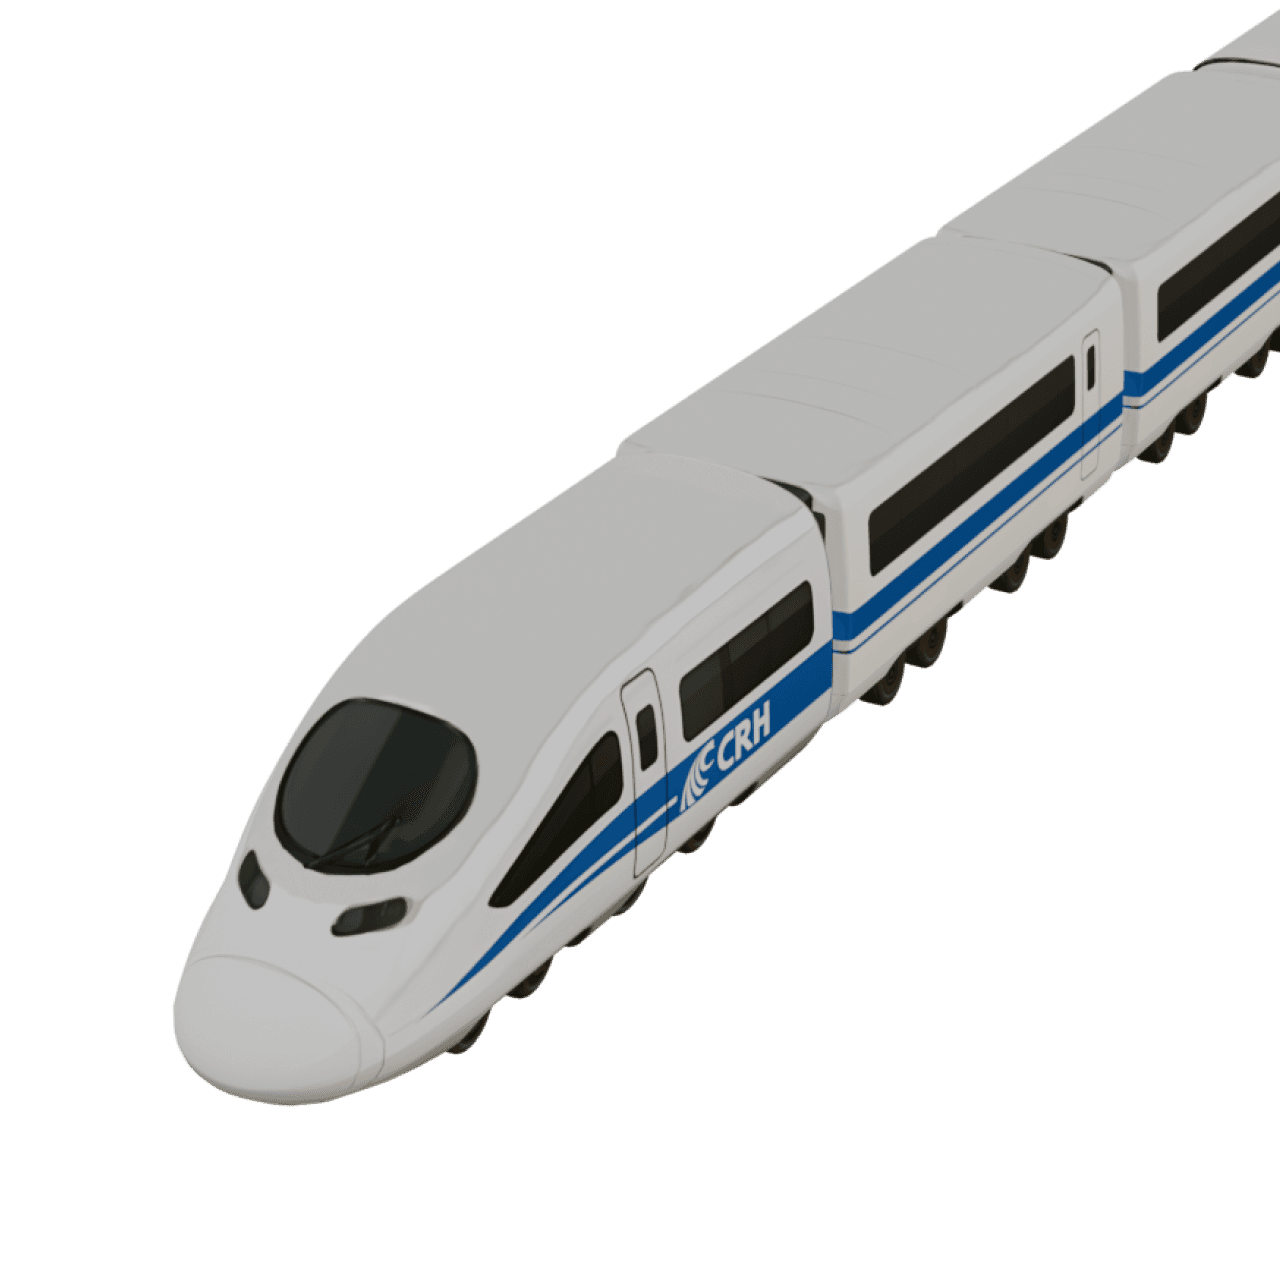
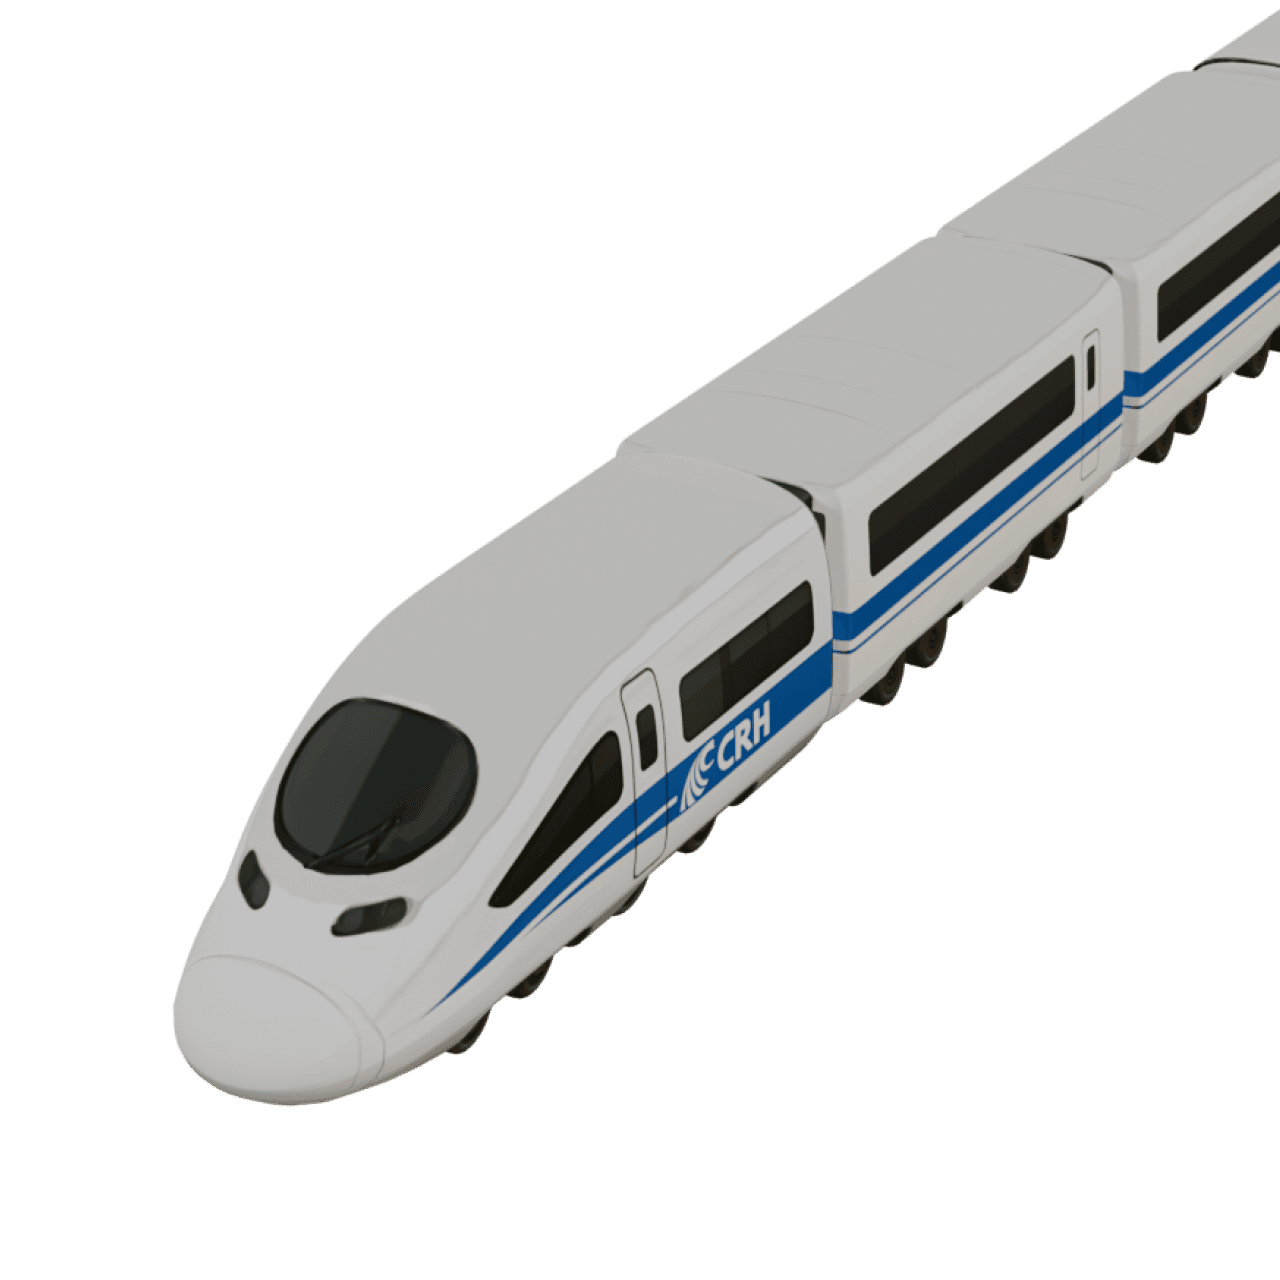
Switching between too many unmatched travel models in a single video confuses the viewers and feels like an unrealistic travel experience. For example, using a train in water or switching travel models frequently at every stop without any purpose. To avoid this mistake, use exact travel models in the exact use cases.
Ignoring Export Quality Settings
When you’re creating videos for large screens or presentations, exporting in 4K ensures crisp, detailed visuals that stand out. On the other hand, HD works perfectly for test exports, small-screen playback, or casual sharing on personal social media. To avoid this, upgrade to Travel Animator Pro and export in 4K quality for professional use.
Forgetting About Watermarks
Exporting your video in the free version has watermarks, which affects the overall professionalism of the video. There is a chance to divert the viewers to the watermark icon instead of the animation when watching videos. Upgrade to Travel Animator Pro to export without watermarks.
Ignore Route Speed and Timing
Routes that play too quickly or too slowly can disrupt the flow of your animation. The ideal speed depends on your video’s purpose and theme. If you covered a huge distance and set a short video duration, the speed will increase, and vice versa. To keep the storytelling smooth and engaging, always fine-tune the video duration for a balanced speed.
Misaligned Start & Destination Points
If you’re adding the routes manually, point the starting and ending points accurately. Wrong placements affect your whole travel story. So choose the right location to avoid this issue.
Not Previewing Before Export
If you don’t preview your video before exporting, it will lead to wrong routes or missing texts. You need to create it again from the start when you forget to add an image/label at any stop. So always preview your video before exporting.
More Mistakes We See Often
Photos That Cover the Route
A big photo on a vertical video can hide half the map. In Travel Animator, the image ratio is chosen when you first add the photo, so decide your video ratio before adding images. Vertical 9:16 videos need smaller photos than 16:9 ones. Our guide on resizing images shows which sizes suit each format.
Labels Nobody Has Time to Read
Text and photos at a stop appear for 1 second by default, which is often too quick for a longer caption. Increase the duration for stops with more text, and keep labels short: “Day 2: Munnar” reads faster than a full sentence.
A Route Line That Blends Into the Map
A pale line on a light map, or a dark line on a night map, makes the whole video hard to follow. Pick a colour that contrasts with the map style and bump the thickness up to Medium or Thick for phone viewing.
Posting a 16:9 Video to Reels
A landscape video on a vertical platform ends up small and letterboxed. Export a separate 9:16 version for Reels, TikTok and Shorts.
Fixing a Messy Video Without Starting Over
Most of these mistakes don’t mean rebuilding your project. Say you’ve made a two-week Europe trip with 18 stops and it looks crowded. Start by removing the in-between stops that don’t add anything to the story, like the motorway service station or a one-night layover. Then keep photos at the five or six places people will actually remember.
If you drag a point to the wrong spot while editing, the undo and redo buttons on the map screen reverse your last route change, so you can experiment without worrying.
Finally, watch the full preview once more at the ratio you’ll post in. It’s the fastest way to catch a hidden label or a rushed stretch before you export.
Best Practices for Smoother Animations with Travel Animator
- Keeps routes simple that can easily be understood by the viewers.
- Choose the best map style that aligns with the video’s purpose.
- Always export at HD/4K quality based on the usage of the animation video.
- Use suitable travel models for different locations or even stops.
- Adjust the video duration to correct the speed of the overall animation.
- Preview the video before exporting to confirm everything is included.
How to Avoid These Mistakes Every Time?
It’s also worth remembering that mistakes are part of the creative process. Every project helps you learn what works and what doesn’t, so don’t be discouraged if your first few videos aren’t perfect. The key is to preview, refine, and improve with each attempt.
And if you’re ready to take your animations to a professional level, upgrading to Travel Animator Pro is the best step forward. With watermark-free exports, access to premium map styles, and support for HD and 4K video quality, Pro ensures your travel stories look perfect and professional.
Frequently Asked Questions
Why should I avoid adding unnecessary stops and curves?
Adding too many stops between destinations or unnecessary curves can lead to congested or confusing animation, especially when adding photos and labels at each stop. This affects the overall neatness of your animation.
Why should travel models match the journey?
Switching between too many unmatched travel models in a single video confuses the viewers and feels like an unrealistic travel experience. For example, using a train in water or switching travel models frequently at every stop without any purpose.
How to Avoid These Mistakes Every Time?
Preview the full animation before exporting. Check the route points, model choices, label placement, speed and export quality so small mistakes can be corrected while the project is still open.
Why does my Travel Animator video look small with black bars on Instagram?
That usually means you exported in 16:9 landscape and posted it to a vertical placement like Reels or Stories. Instagram fits the wide video inside a tall frame, which leaves empty space above and below. Open the project, choose 9:16 in preview, check that photos and labels still fit, and export a new version for vertical platforms.
Why is my route line hard to see in my video?
The line colour is probably too close to the map colours, or it’s too thin for a phone screen. Open the route line settings and choose a contrasting colour, such as a bright line on a dark map style or a bold colour on a light one. Increase the thickness to Medium or Thick, then preview the video at full length before exporting.