Download TravelAnimator Now from the Play Store or App Store.
Terminal Map in Travel Animator
 Jaseel S6 min read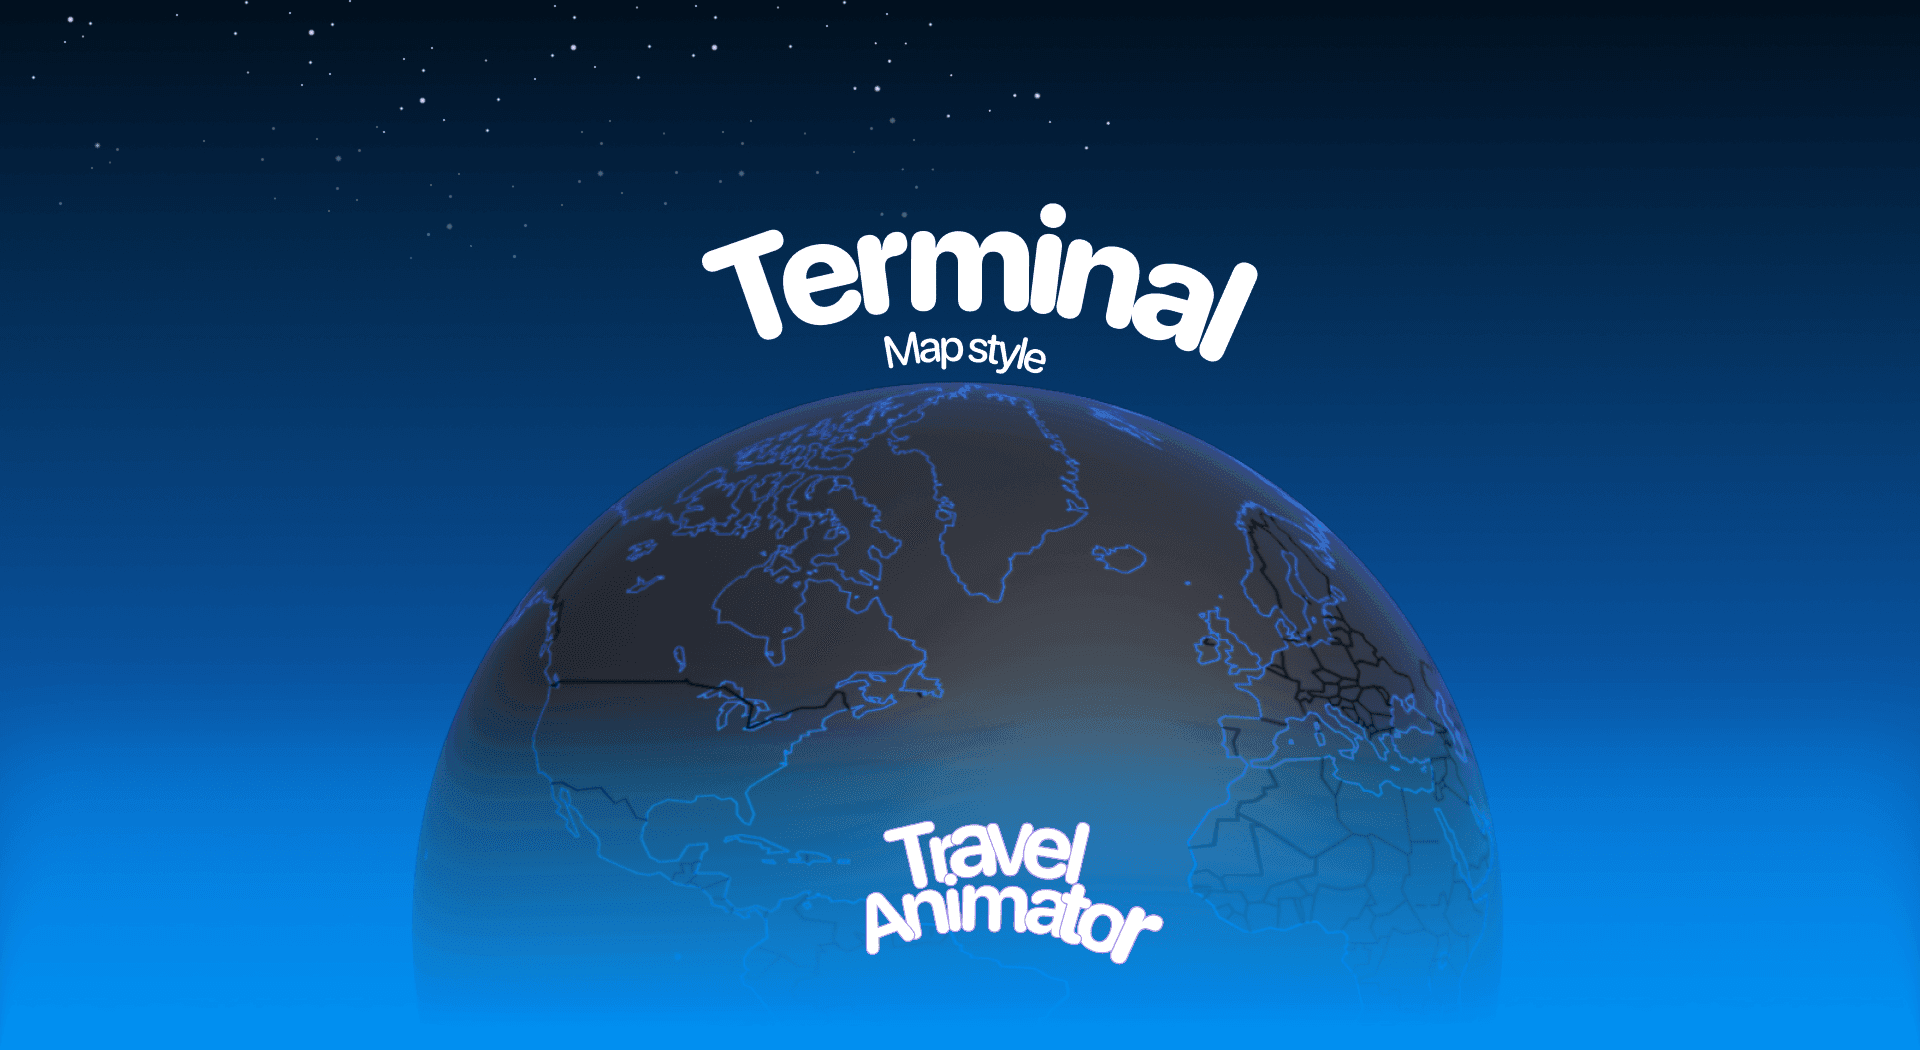
In this article 9 sections
Terminal Map is the newly released map style in Travel Animator, designed for creators who want a smooth, tech-driven, and futuristic aesthetic for their travel route animations. With its neon-inspired lines and digital interface look, it feels like you’re navigating through an airport terminal system or a high-tech control board.
Imagine showcasing your journey with glowing paths on a dark background, creating a futuristic vibe that feels like navigating through a digital city grid.
Let’s explore the newly released Terminal Map style in Travel Animator, its use cases, and how to use the map in your animations.
What Is the Terminal Map Style in a Travel Animator?
The Terminal Map Style is one of Travel Animator’s most unique map releases. It transforms your routes into something straight out of a cyberpunk city or a digital grid. Instead of using traditional earthy or vintage tones, Terminal uses dark backgrounds with vibrant highlights, making your paths and labels pop instantly.
The Terminal Map style takes inspiration from computer terminals, coding visuals, and digital grids. This style uses contrasting neon lines and dark themes that stand out clearly on screen. It’s a great choice if you want your travel animation to look innovative and visually different.
Is the Terminal Map Style Free or Premium?
Just like other newly released Travel Animator maps, the Terminal Map Style is free for the first 30 days from the release date. This allows creators to experiment, test, and see if the design suits their video before deciding to upgrade.
Travel Animator is now available as a premium subscription within the app. You need to upgrade the app to use the Terminal map in your videos. Along with this, you can use other premium features in your animation video to get a better output.
Steps to Use the Terminal Map Style in Your Project
- Download the Travel Animator App and sign in with your email address.
- Upgrade to Travel Animator Pro to use the Terminal Map in your video.
- Choose your route or travel path. Add images and labels in between the destinations.
- Go to Preview the video and tap on the map section.
Scroll and pick Terminal Map. - Toggle on Place Labels if you want location names visible on the map. Tap Select.
- Add video duration, model size, and ratio to make your journey attractive.
- Check how your route looks in 2D and 3D modes to find the best perspective.
Some Use Cases of Terminal Map Style
- Creators in the gaming or tech space can use the Terminal Map since the aesthetic matches futuristic and digital storytelling.
- Businesses that want a modern, innovative look for route mapping in presentations or project showcases can use the Terminal Map.
- The Terminal Map’s neon look will fit perfectly for Travel vloggers & creators if your content is modern, stylish, and targeted toward a younger audience.
Getting Routes and Labels to Read on Terminal
Terminal’s dark background makes a bright route pop, but its neon grid lines also compete for attention. If your path looks lost, the line colour is usually the problem. In Preview, tap Path Colour and choose something that’s clearly different from the map’s own neon tones. A warm orange or a clean white often separates better than another glowing blue. Our guide to changing the route line colour has more pairing tips.
Labels need the same care. A busy digital map plus a label at every stop gets noisy fast. Keep names short, show only the stops that matter to the story, and pick a label frame style and colour that stays readable against a dark screen. Then watch the whole preview at the size people will see it, not just the first few seconds.
Terminal, Neon Glow or Dark: Choosing a Dark Map
Travel Animator has a few dark styles, and they suit different videos:
- Terminal is built around computer terminals, code and digital grids. Choose it when you want the video to feel like a control board or a game interface.
- Neon Glow is a futuristic, cyberpunk-style map aimed at nightlife and city lights. It’s a good fit for neon-lit cities like Tokyo or Las Vegas.
- Dark is a night-mode map. It’s quieter, and it works for night drives and moody travel stories where you don’t want a strong tech theme.
If you can’t decide, build the route once and switch between the three in Preview. The full list of 2D and 3D map styles describes the rest.
A Sample Setup: One Night in Tokyo
Say you’re making a reel of a night out across Tokyo: Shinjuku, then Shibuya, then Akihabara. Add the three stops in order and long-press each leg to give it a train or metro model. Choose Terminal in Preview, then set the ratio to 9:16 for Reels. Switch place labels on, but rename them to the district names only. Pick a bright path colour, and add a photo at Akihabara so the animation pauses there before the route ends. Check it in 2D and 3D and keep whichever makes the grid feel less crowded.
Is the Terminal Map Style Right for Your Animations?
If your animations aim towards modern themes, gaming, tech, or vibrant storytelling, then the Terminal Map Style will be an excellent fit. With its free 30-day access, you can test it risk-free and decide whether it adds the visual impact you’re looking for. After that, upgrade the app to get the Terminal Map with all premium features for creating engaging and professional output.
Frequently Asked Questions
What Is the Terminal Map Style in a Travel Animator?
The Terminal Map Style is one of Travel Animator’s most unique map releases. It transforms your routes into something straight out of a cyberpunk city or a digital grid.
Is the Terminal Map Style Free or Premium?
The article describes a 30-day introductory offer measured from the map’s release date, not a fresh trial for each user. Check the map’s current availability and access requirement in the app before using it.
Is the Terminal Map Style Right for Your Animations?
Terminal suits modern, technology-inspired or game-like stories. Its digital-grid appearance can give a route a distinctive visual theme; preview the labels and line contrast before exporting.
Why is my route hard to see on the Terminal map in Travel Animator?
The route colour is probably too close to the map’s own neon lines. Open Preview, tap Path Colour and pick a colour that clearly contrasts with Terminal’s glowing grid, such as white or a warm orange. Showing fewer place labels also keeps attention on the line. Preview the whole animation before exporting.
What's the difference between the Terminal and Neon Glow map styles?
Both are dark and futuristic, but they lean different ways. Terminal takes its look from computer terminals, code and digital grids, so it suits tech and gaming content. Neon Glow is a cyberpunk-style map focused on city lights and nightlife. Try both on your actual route in Preview and keep the one that fits your story.